
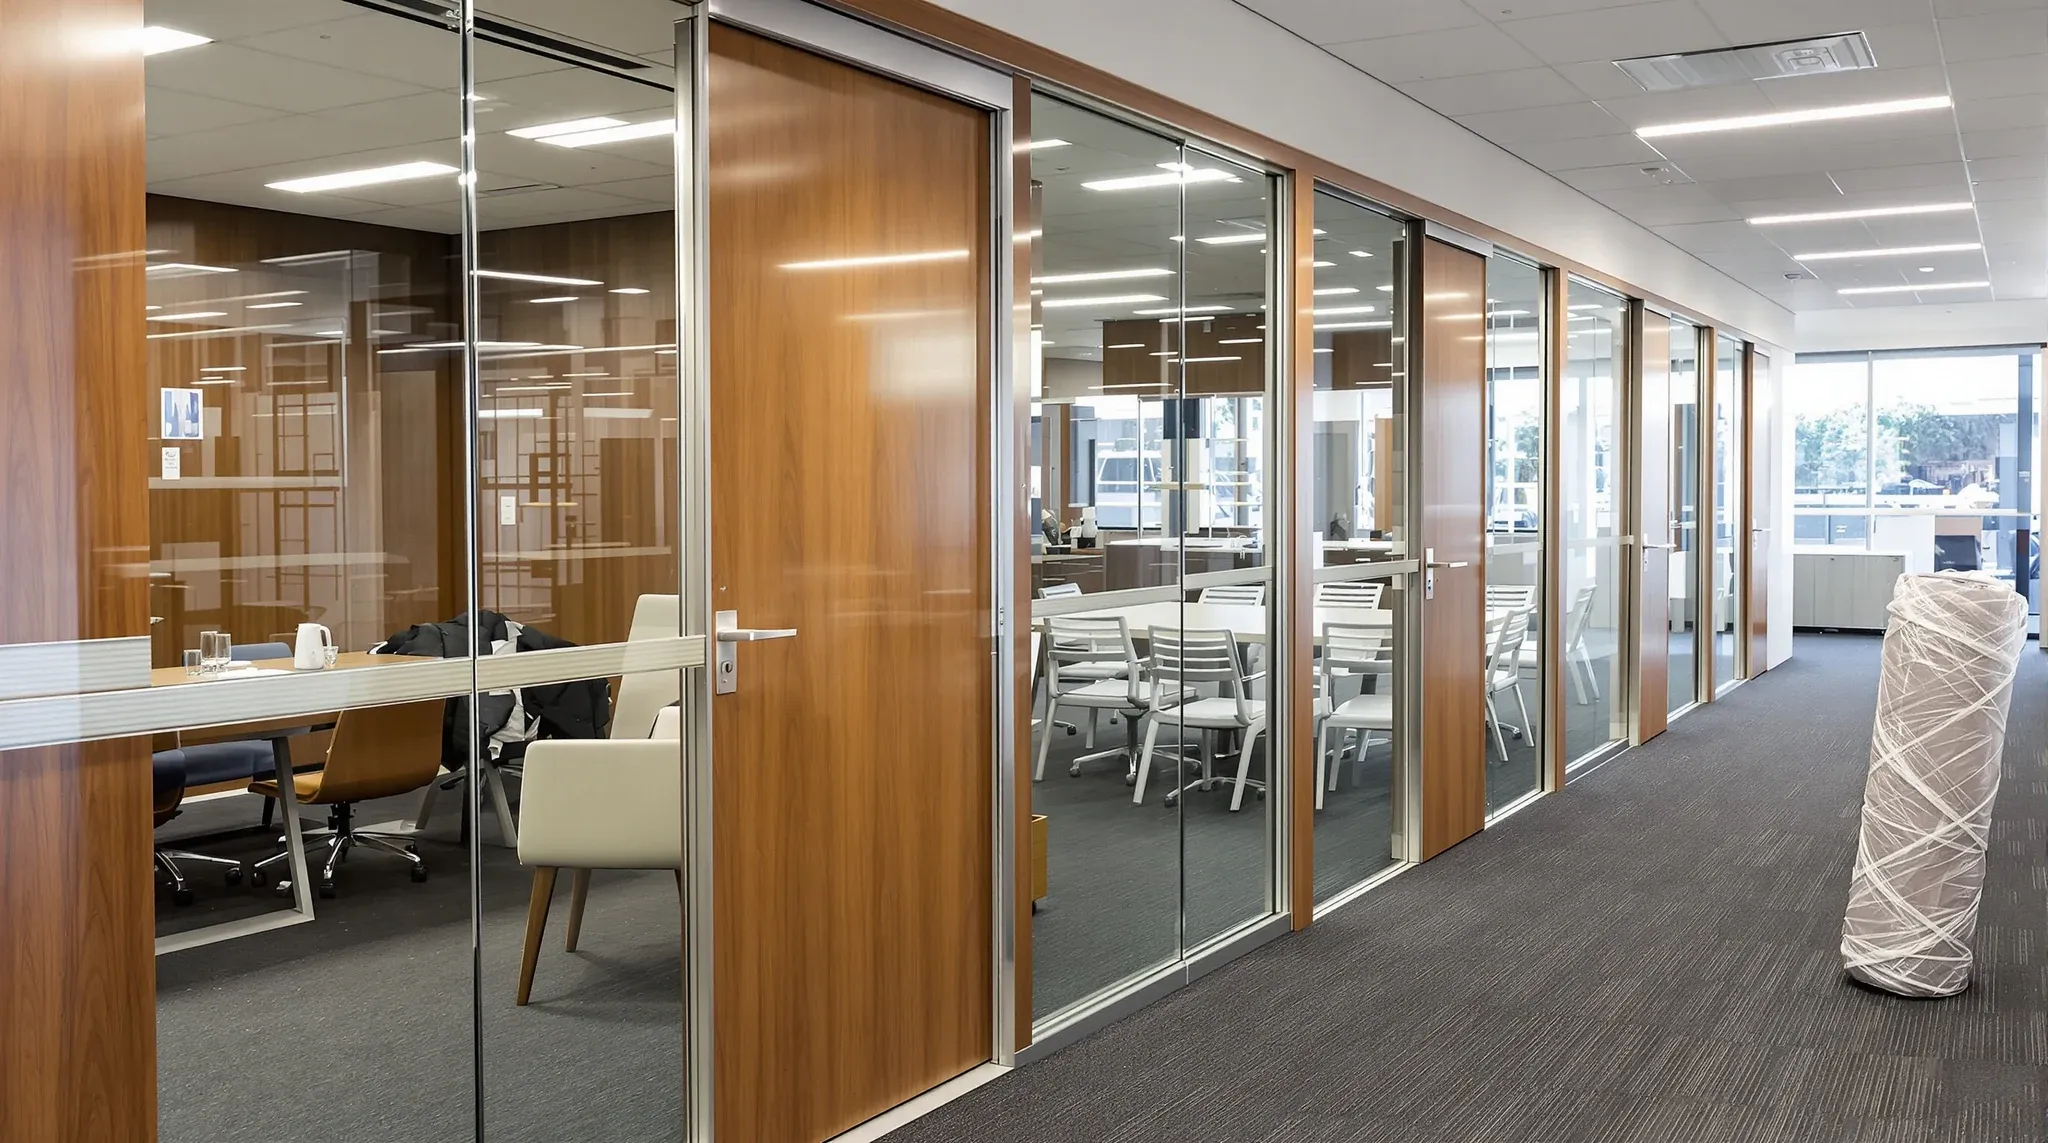
A growing Sydney tenant deciding the existing boardroom no longer covers the meeting load starts a small but distinct kind of fitout project: a second boardroom built into an existing occupied floor, with a glazed front, a discreet door, and the meeting load split between two rooms. The build looks small on paper. The sequencing on a live floor is what makes it actually small in practice, and where most of these projects lose pace is in the order the walls and glass go in.
The work runs against active workstations, an existing ceiling, an existing partition grid, and a team that needs to keep meeting in the existing boardroom while the new one comes up. None of that is hard. All of it has to be planned before the first stud is in.
Where The Second Boardroom Lands Sets The Rest Of The Build
The position of the new room decides almost everything that follows. We walk the floor with the operations team and the existing partition lines, and look for a position that gives the boardroom good acoustic separation from open-plan zones, daylight where possible, a clean run for cabling, and a door swing that does not collide with a workstation. The size of the new room follows from the meeting use, not the floor area available.
The position decision is not separate from the build sequence. A boardroom dropped into a corner of the floor with two existing walls can be built faster and quieter than a boardroom that floats in the middle of the open-plan zone, which needs all four walls framed from scratch. The right meeting-room size and count for a growing team is a separate question worth running before the build is committed, because adding a second room sometimes shifts the conversation toward two smaller rooms instead of one larger one.
The Walls That Have To Go In: Plasterboard Back, Glass Front
A typical second boardroom in a Sydney commercial office has a plasterboard back and side walls, framed in metal stud and lined both sides, and a glazed front facing the corridor or open-plan zone. The plasterboard walls give acoustic separation and a hangable surface for screens. The glass front gives the room visual openness, daylight transfer, and a sense of being part of the office rather than walled off from it.
The plasterboard side runs first. We frame the stud lines, set the deflection head detail against the existing ceiling, line the back face, run the acoustic insulation, line the front face, tape and set. The wall is ready for paint by the time the glass arrives. Doing the plasterboard before the glass keeps the dust, the noise and the heavy lifting away from any glazed surface, which matters because glass arrives clean and stays clean only if it lands into a finished surrounding wall.
Glazing Sequence On A Live Floor
The glass front is its own sequence inside the larger build. Frameless glazing systems, framed systems, demountable systems and full-height fixed glazing each carry a different install rhythm, but the principle is the same across them: the glass goes in last among the wall finishes, and never alongside trades doing dusty or wet work nearby.
Before the glass arrives, we confirm the floor channel or base track is set out true and level, the head track is fixed and shimmed against the ceiling, and the side jambs are clean and plumb. The base track detail under the glass is the small thing that most often shows when something is off; if the floor is uneven, the bottom edge of the glass either gaps or scrapes, and neither answer is acceptable on a new room. We grind, shim or pack as the level demands, and we do it before the panels arrive on site, not on the day.
The panels come in lifted by two or three people depending on size, and they go in from the wall ends inward, sealed at the perimeter with either a silicone bead or a dry gasket depending on the system. Whether the joints are siliconed or dry-gasketed changes the labour rhythm and the final visual, but both are honest commercial systems. The decision usually follows the architect’s spec or the system being repeated from elsewhere in the office.
Cabling, AV and Ceiling Integration Above The New Boardroom
The new boardroom needs cabling drops for the screen wall, video conferencing camera, room control panel, and table-box power and data. These runs come from the ceiling void above and have to be pulled before the wall and ceiling close in. If the cabling is forgotten until after the plasterboard ceiling above the room is closed up, every later run becomes an unnecessary tile lift or wall opening.
The ceiling above a new boardroom is sometimes the existing tile-and-grid carried into the room, sometimes a new plasterboard ceiling fitted lower with a deliberate drop and integrated lighting. The choice depends on the look the tenant wants and the height of the slab above. Where the room takes a plasterboard ceiling, we set out the lighting layout, the speaker and microphone positions, and any HVAC supply or extract terminations before the framing closes. A small return-air vent in the door or wall is often easier to live with than a ducted extract, but on a fully glazed front the vent in the glass is rarely an option, so the HVAC route has to be solved through the ceiling or a door undercut.
The Door, The Hardware And The Acoustic Detail
A boardroom door does two jobs: it controls who walks in, and it controls how much sound the room loses or gains through the wall opening. A standard hollow-core door rarely does either job well in a meeting room. We specify a solid-core door, an acoustic seal pack at the perimeter, and a drop-down threshold seal at the base, all set into a frame that has been screwed back to the stud, not just to the lining.
The hardware is where the look comes through, and the cost varies more than most tenants expect. Lever or pull handle, latch or magnetic catch, push or swing, access control or simple key: each combination changes the door package by a few hundred dollars. Door selection inside an existing office tends to anchor the new room visually to the rest of the floor; matching the existing door style is the quickest way to make the second boardroom read as part of the same office rather than a later addition.
What The Build Costs And What Shifts The Price
A second boardroom in an existing Sydney commercial floor, built to a typical commercial spec with a glazed front and a plasterboard back and side, lands in a fairly predictable band when the floor and ceiling are not unusual. The price moves on three things, in this order: the size of the glazed front and its glazing system, the count of cabling and AV drops, and the out-of-hours premium on the live-floor sequencing. How glass and plasterboard partition costs break down is a useful reference for the wall portion; the AV and cabling sits separately on the bill and usually surprises tenants who have not budgeted for it.
The smaller movers are door hardware, the choice of plasterboard finish level, and any HVAC modification. The bigger movers, in any boardroom build, are the glazing system spec and the cabling scope. If the price has not separated those, ask for them broken out before the build is approved, because that is where any later scope change will land.
Sequencing The Build With Your Team On The Floor
The works run in five phases. First, set-out and protection: the position is marked, dust walls go up if the area needs containment, and the workstations directly affected are moved. Second, the plasterboard back and side walls are framed, lined and set. Third, cabling and any HVAC modification runs above the room before the ceiling closes. Fourth, ceiling and lighting finish. Fifth, the glazing arrives and gets installed once the surrounding finishes are dry and clean.
The noisy phases are one and two: setting out, framing, drilling fixings, and lining. Most Sydney building managers will allow these in normal hours with appropriate protection, but the floor experience is loud enough that some tenants ask for them to run after hours instead. The glazing install itself is quiet and clean; if the rest of the build is well sequenced, the glass day is one of the lowest-disruption days of the project. On a typical second-boardroom build of moderate size, the total programme is usually three to four weeks from set-out to operational handover, with the boardroom ready for use ahead of the final commissioning checks.
If a growing Sydney office needs a second boardroom built into an existing live floor, we can walk the floor, confirm the position with your operations team, and price the framed walls, glazing and integration as one coordinated scope.
📞 Call us on 1300 60 93 93