
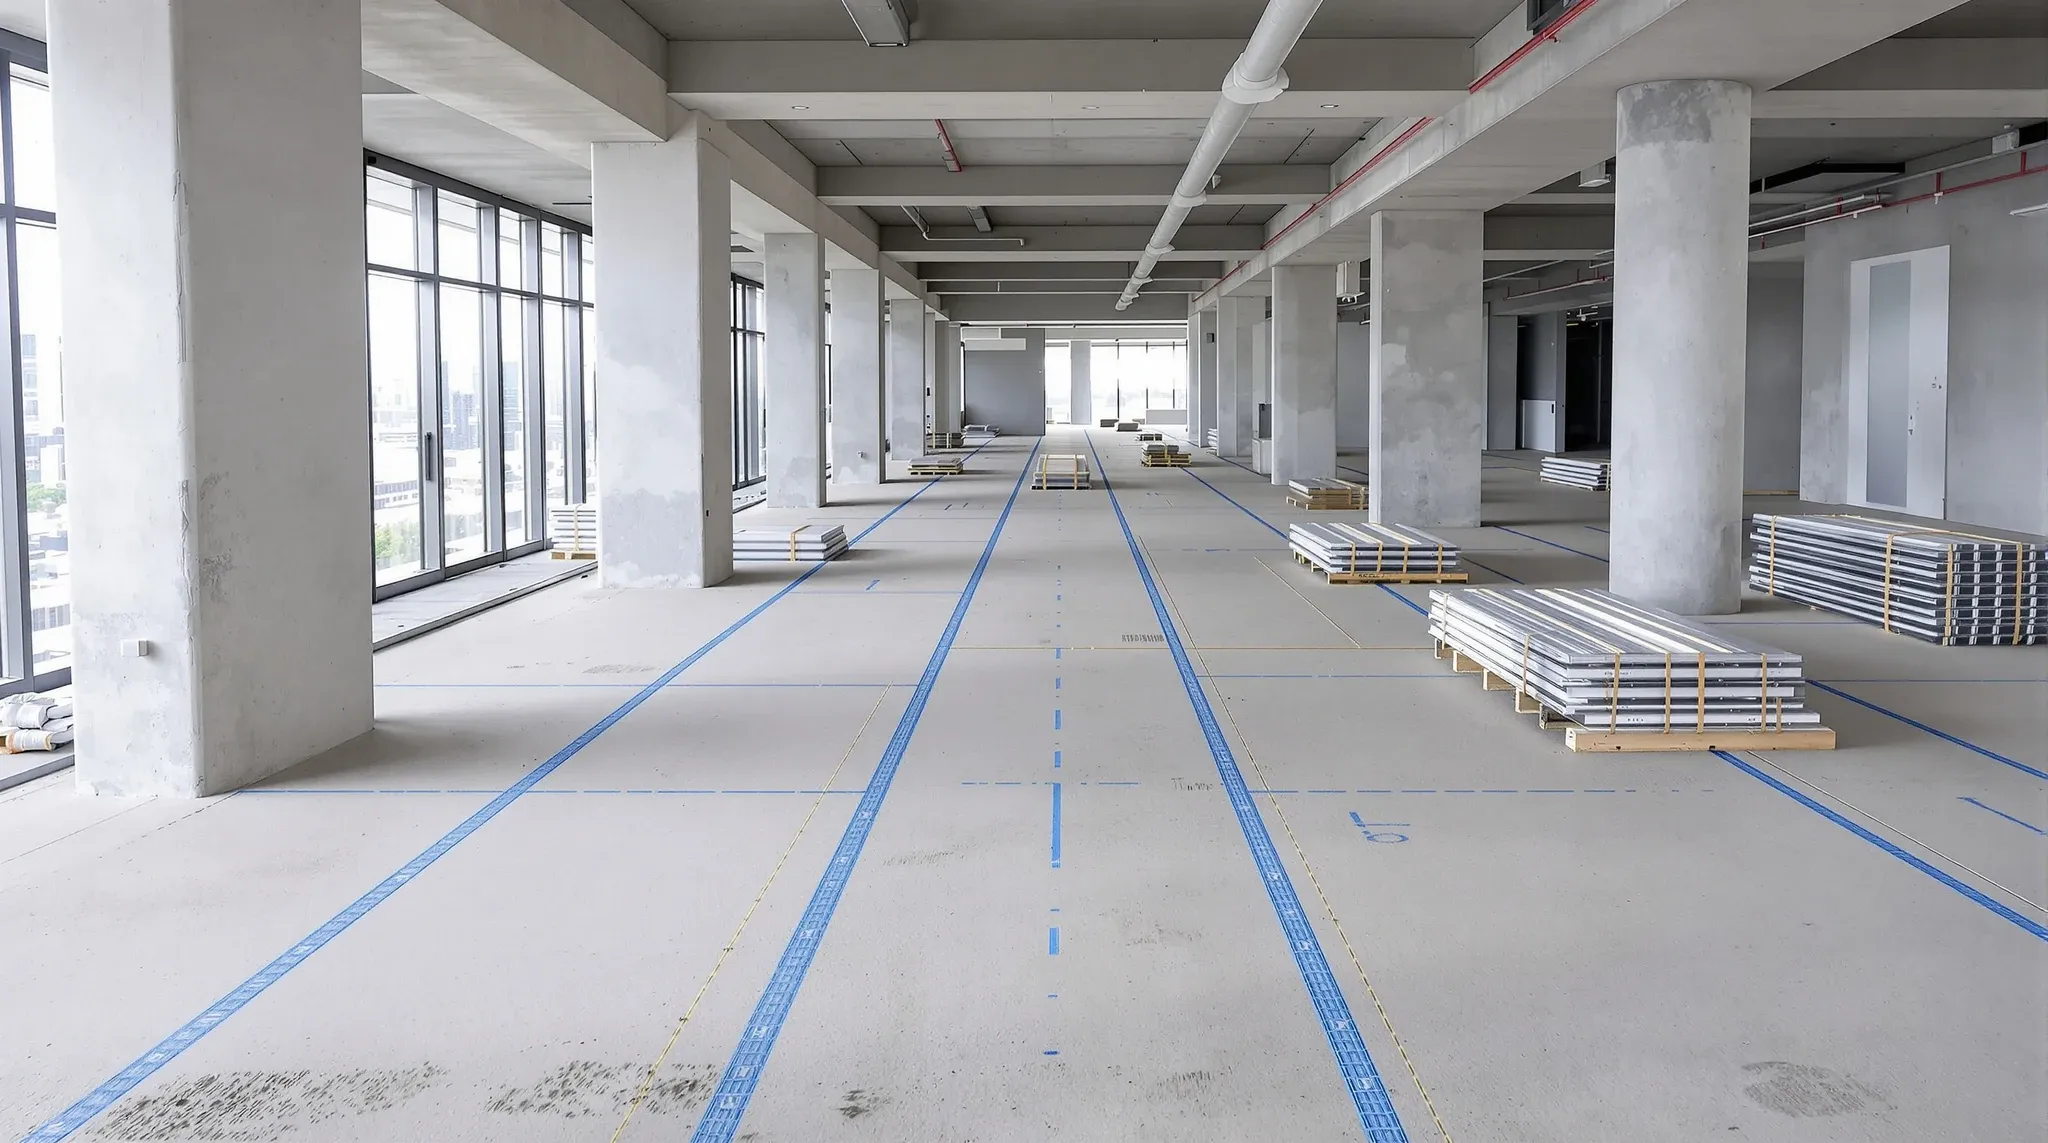
A Sydney tenant signing a cold-shell floor in a CBD building is taking a tenancy that has structure, base-building services and a slab, and nothing else. There is no ceiling, no partitions, no flooring, no kitchen, no power distribution at the tenant level. Every internal wall, every door, every cable run, every light fitting and every finish is the tenant’s scope. For most first-time tenants this is the most expensive square metre of office they will ever build out, and the plasterboard partition sequence is where the floor actually starts to feel like an office.
What we build out of a cold shell, in plasterboard, is the spine of the tenancy: meeting rooms, focus rooms, the kitchen back wall, the server-room enclosure, perimeter trims, demising walls if the floor is split, and the entire stud-and-line system that defines every internal space. The sequence from frame to finish runs over weeks, not days, and the order matters because every later trade depends on what the plasterboard team has done before them.
What you are actually buying when you sign for a cold shell
A cold-shell floor in a Sydney CBD building is the building’s base-building scope handed to the tenant. The slab is finished to a building-standard tolerance. The perimeter is glazed or curtain-walled. There is a base-building HVAC supply at the slab, with capped takeoffs, and a sprinkler grid sized for the typical occupancy. There is a power supply at a tenant-side switchboard location, and there is a riser with data and comms cabling reaching the floor. The difference between a Cat A and Cat B handover shapes which side of the line the tenant inherits; a cold shell is the leanest version of the tenant taking everything from there.
What this means for the partition build is that the floor we start with has no plenum, no horizontal services, no internal lighting and no ceiling above. We can frame the partitions before any of those go in, which is faster than working around an existing fitout but also requires the build sequence to account for everything that will land in the same plenum later. The framing has to anticipate the cable trays, ductwork drops and ceiling grid that will share the void above.
The set-out: where every wall lands
Before the first stud goes up, the partition lines are set out on the slab in chalk and laser, against an approved partition layout drawing. The set-out is the moment the architect’s drawing meets the building’s actual columns, perimeter and service stubs. Where the drawing shows a wall sitting cleanly between two columns, the real columns may be a few millimetres offset; where the drawing assumed a flush perimeter, the actual mullion line may sit forward of the slab edge by twenty or thirty millimetres.
We walk the set-out with the architect or designer where possible, mark up the discrepancies, and either rework the wall positions or absorb the offsets in the wall thickness. The set-out is also where we resolve the door positions, because a door swing on paper is a clearance on slab, and the smaller meeting rooms in a cold-shell first fitout are often the ones where set-out errors actually become daily user-experience problems.
Framing the plasterboard partitions on a cold floor
Framing in a cold shell is the fastest part of the partition build because there are no obstructions. We track the bottom plate to the slab, fix the top plate or deflection head to the soffit above, and erect metal studs at 400 or 600 millimetre centres depending on wall height and load requirements. Metal C-stud is the standard for commercial walls; timber studs are not normal in a Sydney CBD office build, except in very specific architectural details.
The deflection head detail is where the wall meets the slab above and where slab deflection over time has to be accommodated without cracking the wall. A correctly built deflection head is the single biggest difference between a partition that holds its line for the life of the lease and one that cracks visibly in the first eighteen months. The detail is not optional in a commercial CBD building; the slab will move, and the wall has to be built to absorb it.
Where the partitions reach the perimeter glazing, the head and base details have to seal against the curtain wall without compromising the curtain wall’s thermal or movement performance. We coordinate with the base-building design where the partition meets the mullion line, and we never fix into the curtain wall framing itself.
Linings, acoustic insulation and fire rating
Once the frame is up and signed off, the first side of the wall is lined. Standard commercial walls take a single layer of 13mm plasterboard each side. Where the wall needs to perform acoustically, we add a second layer one side or both, with staggered joints; the second layer is what gives the wall its sound transmission class rating.
Acoustic insulation goes into the cavity between the two faces. Standard mineral fibre batts are fitted between studs after the first face is lined, before the second face goes on. For meeting rooms, boardrooms and focus rooms, the insulation is non-negotiable; for short walls dividing open-plan areas without acoustic ambition, sometimes the insulation comes out of scope to save cost. We confirm the acoustic intent room by room before the framing closes.
Fire rating is the third layer of decision. Walls separating different fire compartments, or walls that form a path of egress under the building’s fire-engineering report, have specific fire-rated plasterboard requirements: thicker board, fire-rated stud sections, sealants and penetrations all detailed to the rating. These walls are framed and lined to a different specification than non-rated walls, and they cost more per linear metre. The set-out and the fire-rated wall lines have to be confirmed against the floor’s fire-engineering plan before any of these walls go up.
Set, sand and feather: the finish level decides the look
Once both faces are lined, the joints are taped, set and finished. The finish level (level 3, 4 or 5) determines how smooth the surface is before paint, and the difference between levels is hours of labour per square metre. Level 3 is appropriate for textured paint or behind joinery; level 4 is the typical commercial finish for matte paint in normal lighting; level 5 is required for gloss paint, raking light, or large unbroken walls where any minor imperfection will show.
For a first fitout in a CBD office, we recommend level 4 across most walls and level 5 on any wall with raking light from the perimeter or large unbroken expanses. The cost difference is visible on the bill; the cost difference on a poorly finished wall under bad lighting is visible to anyone in the meeting room for years afterwards.
Doors, hardware and the junctions that always need attention
The plasterboard system has to receive doors, glazed transom panels, switches, sockets, and a dozen other small interruptions, and each one needs framing support. Door frames sit into the wall before the second face is lined. Glazed transom panels above doors need their own studwork and frame opening, set out to the glazing supplier’s tolerance. Power and data outlets need backing boxes fixed before the lining goes on, with cables pulled to each box.
The junctions where plasterboard walls meet glass partitions, where two perpendicular walls meet at corners, and where walls return into bulkheads or kitchens are the details that finish the room. Each one is a small piece of work; together they are several days of careful finishing across a typical floor. Rushing these junctions is one of the most visible compromises on a first fitout, and the difference between a competent build and an excellent one usually shows here.
What the partition build costs and what shifts the price
Plasterboard partitions on a Sydney CBD cold-shell floor sit in a fairly stable cost band per linear metre, with the band shifting on wall height, acoustic spec, fire rating, finish level, and door count. The cost per linear metre breakdown is a useful reference. What moves the price meaningfully on a cold-shell first fitout is the count of doors (each one is a frame, a door, hardware, and a wall opening), the count of glazed transoms and openings, the count of fire-rated and high-acoustic-spec walls, and the chosen finish level.
What does not move the price much, at the volume of a typical first fitout, is small wall length variations. A wall that is two metres longer or shorter than the drawing rarely changes the bill noticeably. What does change the bill is unexpected scope: a wall that should have been single-layer specified as double-layer late in the design, or a non-rated wall that needs fire-rating after the engineering review.
Sequencing the partition build against ceilings, services and floor
The partition build does not happen in isolation. The mechanical, electrical and hydraulic trades all need to run cables, ducts and pipework through the wall cavities and the plenum above before the second face is lined and the ceiling closes. We sequence the build so the services rough-in lands during the framing window, after the first side is lined but before the second face encloses the cavity.
On a typical Sydney CBD cold-shell first fitout, the plasterboard build runs in five overlapping phases: set-out and bottom track, framing, first-side lining, services rough-in inside the wall, second-side lining and taping. The taping, setting and finishing then runs for another one to two weeks across the floor before any painting starts. The whole plasterboard package on a moderate-sized cold-shell floor is usually six to ten weeks of programme, with the ceiling, floor and services trades working in parallel through most of that window.
If you are signing for a cold-shell tenancy in a Sydney CBD building and need the partition build priced as part of a first fitout, we can walk the floor with the architect, set out the partitions against the actual slab, and price the plasterboard package from frame through to finish.
📞 Call us on 1300 60 93 93