
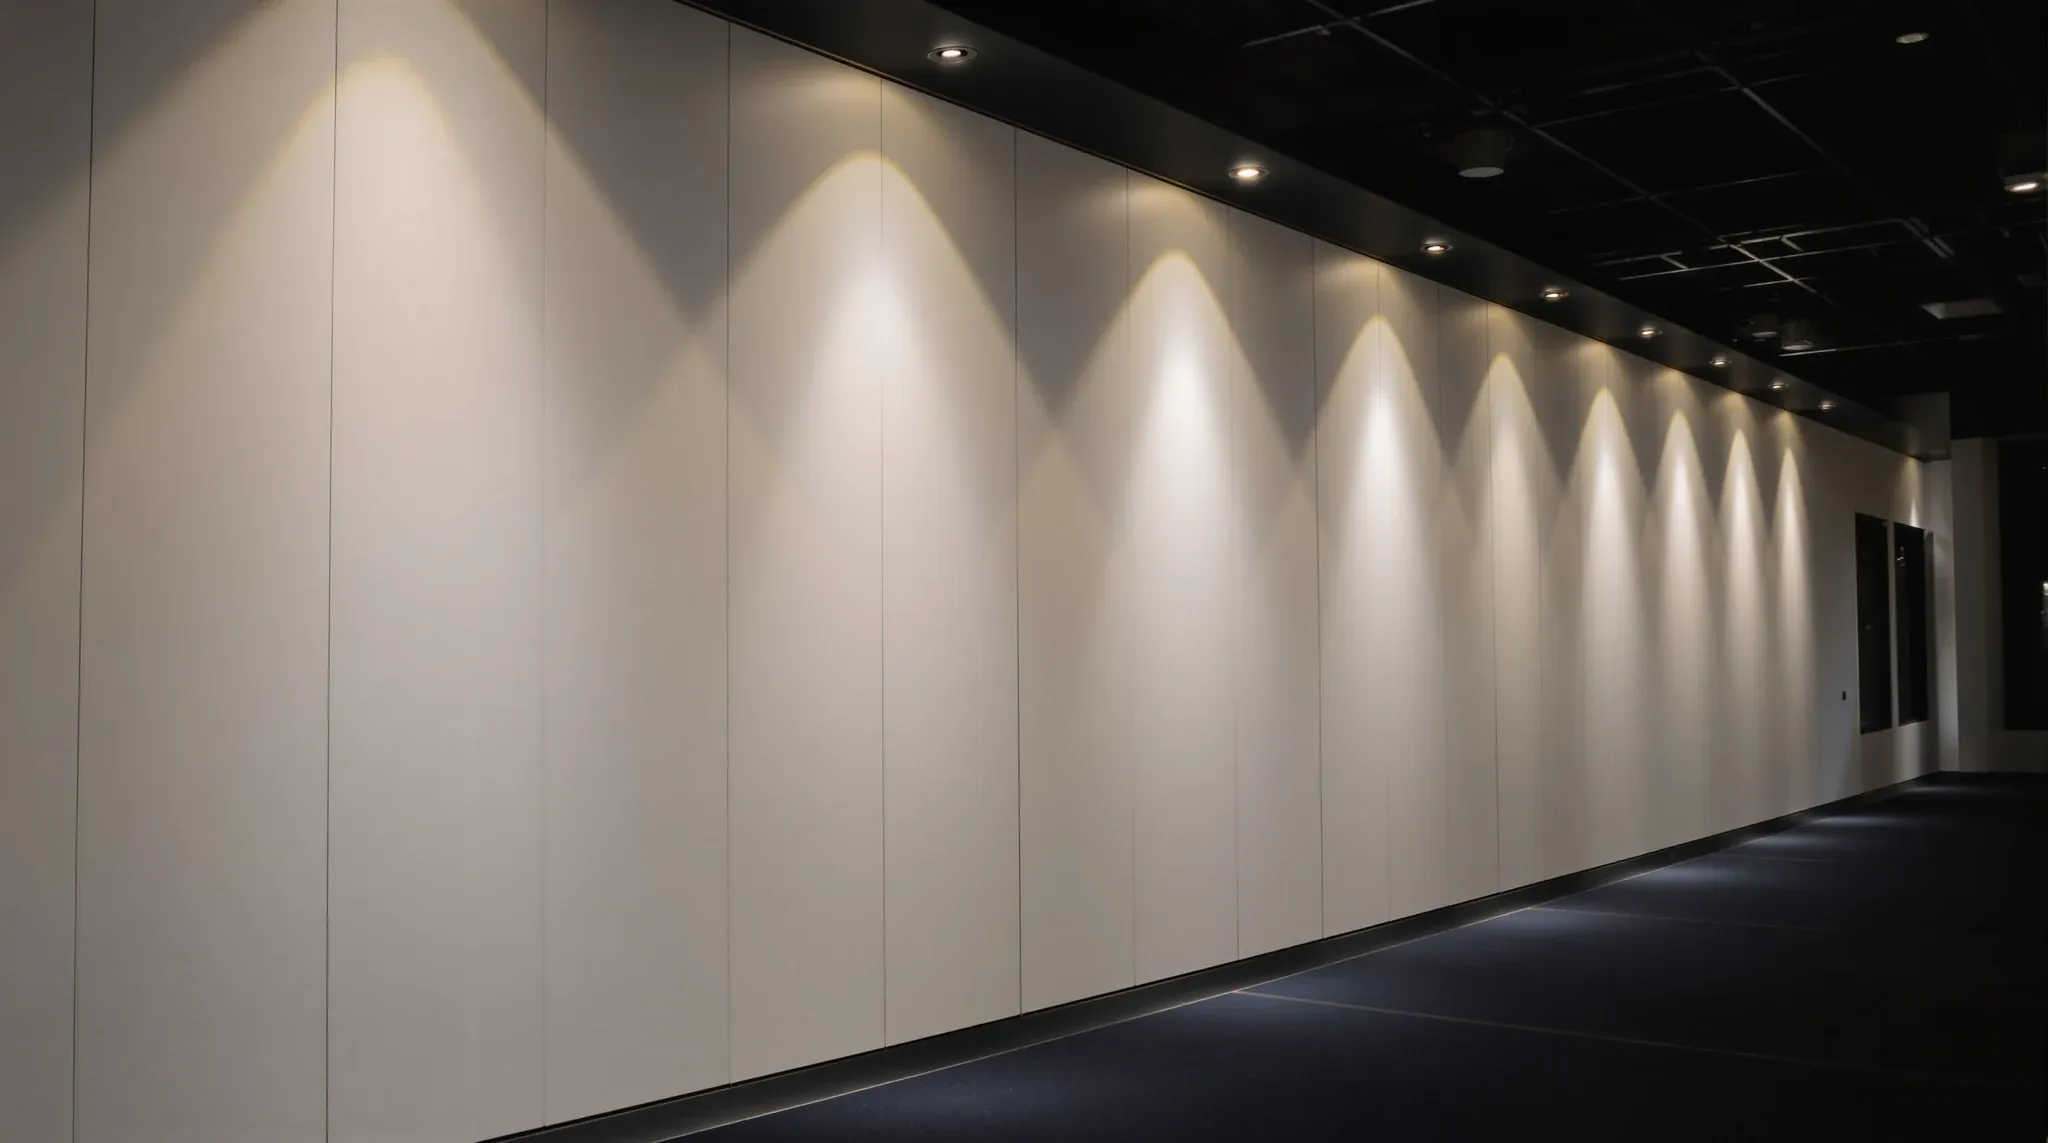
The finish level on a plasterboard partition is one of the specifications most tenants never see, and one of the specifications that decides what the wall actually looks like a year after the painter leaves. Level 3, Level 4, and Level 5 are not marketing language: they describe distinct finishes with distinct preparation requirements, distinct costs, and distinct outcomes in side-light. Getting the specification right for each part of the office is a small item on the drawings and a large item in the finished space.
The short version: Level 3 is for back-of-house and coarse-finish conditions, Level 4 is the commercial office default, and Level 5 is reserved for critical-light areas where a flaw in the surface would be visible from metres away. Most office partitions end up on Level 4 by default, which is usually the right answer, but not always.
What the finish-level system actually measures
The finish-level system used in Australian commercial plasterboard work originates from the international drywall finishing standards and is referenced in practice across most major manufacturers and trades. It describes the level of preparation applied over the plasterboard before paint, measured by the number of jointing coats, the treatment of fasteners, the sanding, and whether a skim coat is applied across the full face of the wall.
The key idea is that plasterboard, by itself, is not a finished surface. Joints between sheets are filled with tape and jointing compound; fastener heads are covered; the surface is sanded. The finish level describes how much additional work sits on top of that basic joining: each level adds coverage, smoothness, and consistency at the cost of time on site and paint on the surface.
The levels in the system go from Level 0 (untreated, for temporary walls) to Level 5 (skim coated, the highest standard). In commercial office fitout, Level 3, 4 and 5 are the three relevant options; the lower levels are for conditions that do not appear in a finished office.
Level 3, 4 and 5: the practical differences
Level 3 applies two coats of joint compound to the taped joints and fasteners, sanded. The wall face between the joints is not skimmed. The result is a wall where joints are smooth but the surface between them retains the original plasterboard paper texture. Under flat paint with low-angle light, Level 3 reads as “commercial wall with visible joint pattern” rather than “wall as a single continuous surface”. It is perfectly serviceable for plant rooms, storerooms, back-of-house corridors, and any area where a muted visual standard is acceptable.
Level 4 adds a third coat of joint compound over joints and fasteners, with more careful sanding and feathering. Joint compound is also applied more widely around fasteners. The paper face of the board between joints is not skim coated, but the joints blend more completely into the surrounding plane. Level 4 is the standard commercial office specification. It looks like a typical office wall: generally smooth, generally uniform, with the joint lines visible only under particular lighting conditions.
Level 5 applies a full skim coat of jointing compound across the entire wall face, sanded to a uniform surface, before primer and paint. The paper texture of the plasterboard disappears. The wall reads as a single continuous plane. Under critical light, including side-light from windows, angled downlighting, or wall washers, Level 5 looks visibly different from Level 4. It is the finish used in reception areas, premium meeting rooms, boardrooms with wall-wash lighting, and anywhere the wall itself is a visual feature.
Where each level belongs in a commercial office
Most commercial office fitouts use a mix. Back-of-house zones, comms rooms, storerooms, stationery cupboards, and plant spaces can run on Level 3 without visual compromise. Regular office space, circulation, and general meeting rooms are typically Level 4. Reception, boardroom, client-facing spaces, and walls that receive feature lighting move up to Level 5.
The key decision is not the room type but the lighting condition the wall sits under. A back-of-house wall with a direct downlight hitting it at a flat angle will show Level 3 joints more obviously than a reception wall lit from above with a wide wash. Reading the lighting plan alongside the partition plan is how the finish-level specification becomes useful, rather than guessed.
In a tenancy with wall-mounted artwork, wayfinding graphics, or applied vinyl, Level 4 is usually sufficient even in a public-facing space because the visual attention is drawn to the applied element, not the wall behind it. Where the wall is itself the feature, whether through paint colour, texture, or a continuous unadorned plane, Level 5 earns its cost.
How lighting changes what the finish looks like
The finish level specification is meaningful only in the context of how the wall will be lit. Two identical walls, one Level 4 and one Level 5, can look almost indistinguishable under diffuse overhead lighting and conspicuously different under low-angle side-light. A reception wall facing a glass facade with afternoon sun raking across it will show every joint that has not been skimmed, regardless of how carefully the painter worked.
This is one of the reasons ceiling design and lighting interact with the partition specification more than most fitout briefs account for. Downlights close to a wall create a near-grazing light that magnifies any surface irregularity. Wall washers designed to highlight an architectural plane make a Level 4 wall look flawed and a Level 5 wall look intentional.
In practice, if the design intent calls for dramatic lighting on a wall, the finish needs to match the intent. A tenant specifying feature lighting on Level 4 walls is usually disappointed at handover. The alternative is either to adjust the lighting to reduce angle-critical conditions or to move those walls to Level 5, whichever fits the brief.
Cost implications and the commercial reality
Level 4 is the default cost baseline. Level 3 is typically lower by a modest amount per square metre, because the reduction in work is limited to the surface treatment between joints. Level 5 adds meaningful cost: a full skim coat, sanding, additional dust management, primer, and extra paint coats. Depending on the area involved, Level 5 usually sits fifty to one hundred per cent above Level 4 on the painting and plastering rate.
The commercial decision is less about the unit rate and more about the targeted area. Using Level 5 across a whole tenancy is rarely justified and adds significant cost. Using Level 5 on the six or eight walls that genuinely benefit from it produces the visual result at a fraction of the all-floor premium. This is why the finish-level specification is done by wall, not by room or by floor.
Where the budget is constrained, the right play is usually to hold Level 4 as the default and negotiate Level 5 into the two or three walls that will carry the visual weight of the tenancy. That tradeoff tends to come out better than moving the whole floor to Level 4.5 through vague language in the spec.
Common mistakes in the specification
The most common specification mistake is silence. Partition schedules that list wall types, acoustic ratings, and fire separation, but omit the finish level, default to Level 4 by trade convention. In most cases that is the right answer, but it is the right answer by accident rather than by decision. Where the tenancy has specific critical-light conditions, the absence of a Level 5 call-up in those zones is an oversight that reveals itself only after handover.
The second common mistake is the reverse: specifying Level 5 across the whole floor in a misplaced reach for quality. Level 5 in a stationery cupboard is money that will never be seen and never appreciated. The budget is better directed to the walls that carry the design intent.
The third mistake is not coordinating finish level with paint selection. A high-gloss or high-sheen paint reveals surface irregularity more than a flat or low-sheen product. A Level 4 wall that performs acceptably under a matt finish can look poor under a satin finish, not because the plastering work has changed but because the reflectivity has. The relationship between plasterboard execution quality and the paint sheen is often only recognised during site walks after the fact.
What to include in the brief
A workable brief for a commercial office fitout specifies the finish level on a plan basis, not a written note. Partition drawings identify which walls are Level 3, which are Level 4, and which are Level 5. The lighting plan confirms which walls sit under critical-light conditions. The painting specification confirms sheen level for each zone.
Where the tenancy is being designed without a dedicated interior designer, the brief can reference manufacturer literature directly: most plasterboard systems come with clear documentation of what each finish level delivers, and referencing those documents gives the fitout team unambiguous direction. What does not work is the word “high quality” on its own; that instruction is inherently ambiguous and will produce Level 4 by default in almost all cases.
If you are specifying a fitout and the plasterboard finish levels have not been set wall by wall, or you have inherited a space where reception and boardroom walls are not performing visually against the lighting that highlights them, we can walk the plan with you and specify plasterboard partitions to a finish level that matches the intent of each zone.
📞 Call us on 1300 60 93 93