
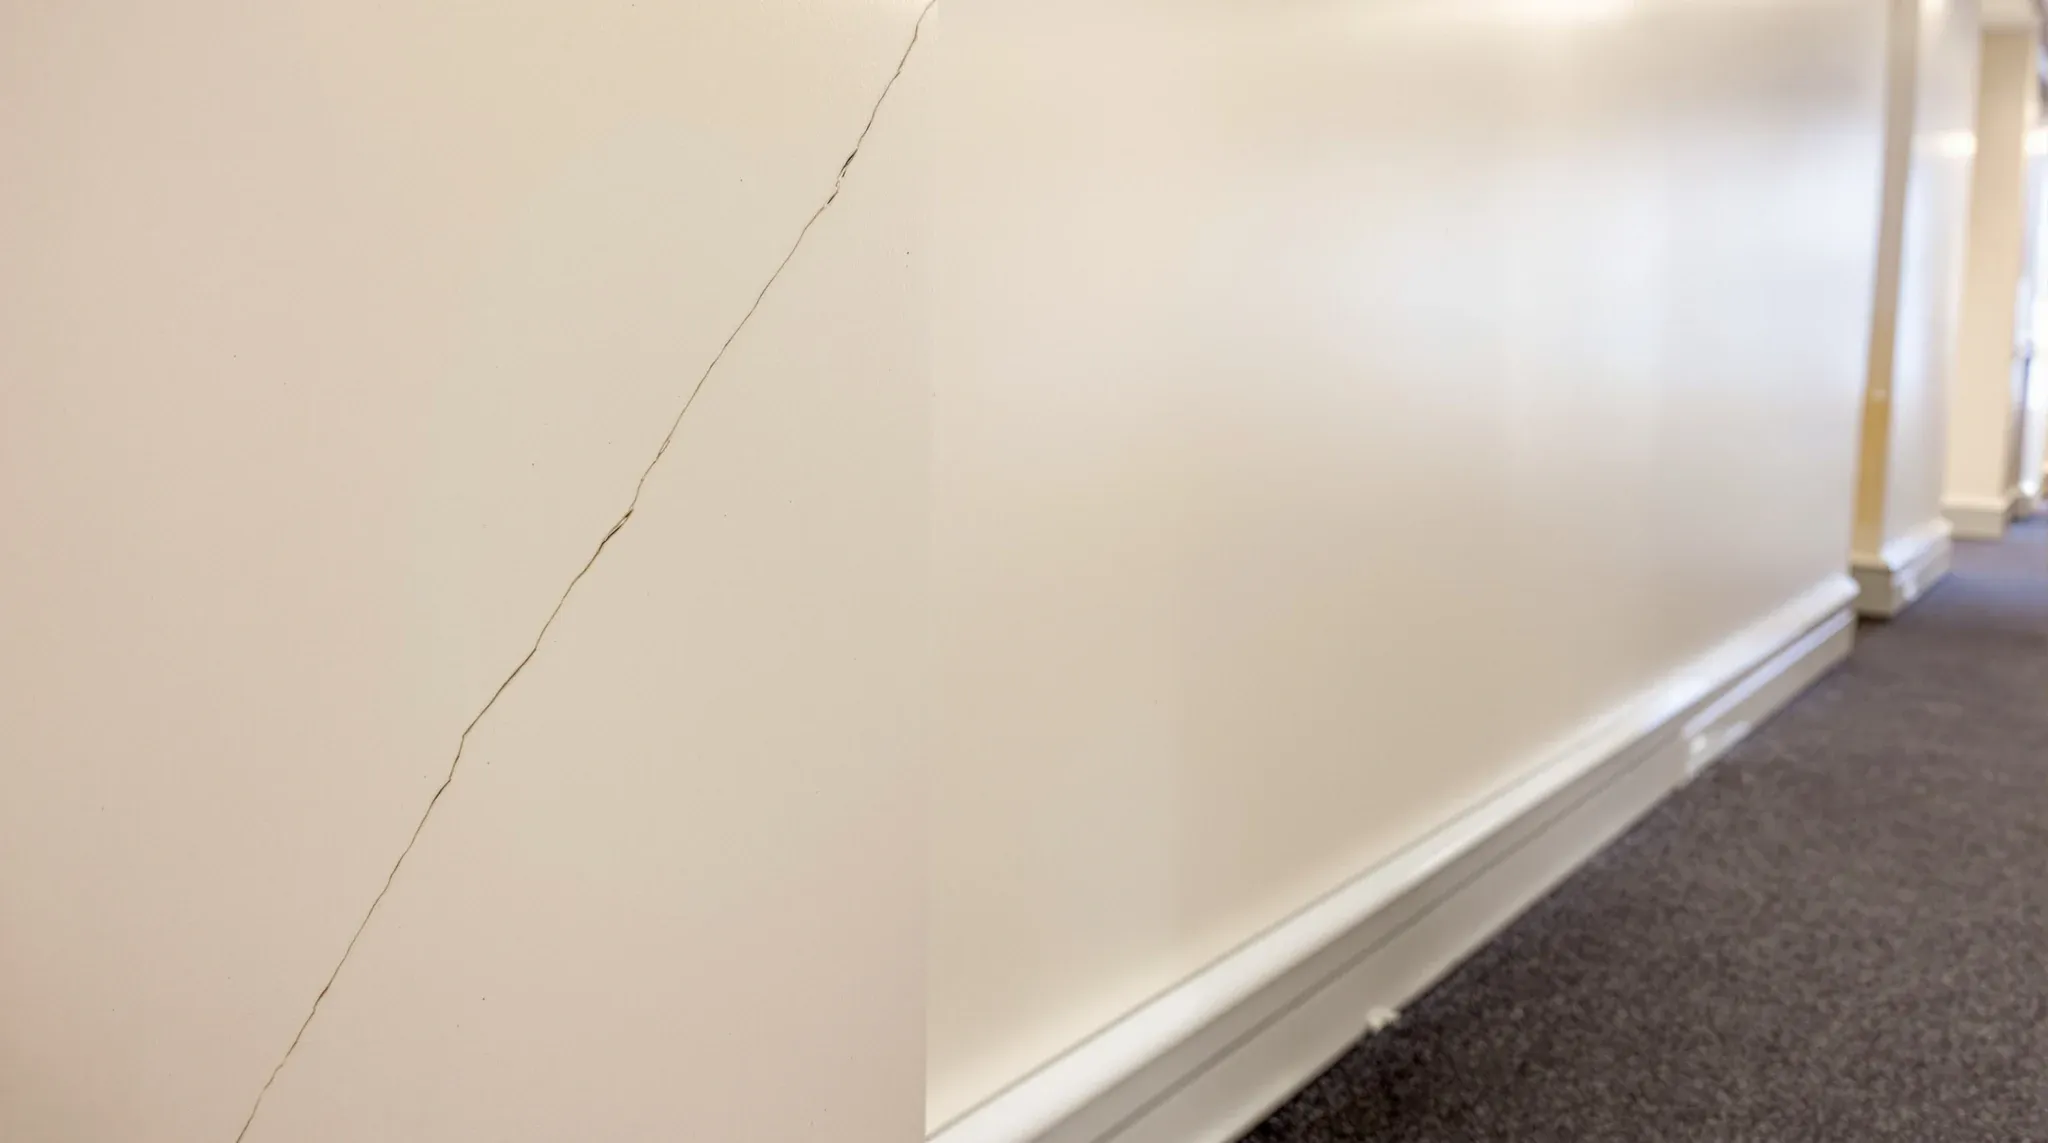
Plasterboard installation is one of the most common trades in commercial office fitouts, and it is also one of the most commonly done poorly. The consequences of poor plasterboard work are not immediately catastrophic. Walls do not collapse. But over the weeks and months following occupation, the problems start to appear: cracks at joints and corners, nail pops pushing through the paint, acoustic performance that falls short of what was specified, and surface imperfections that become visible under changing light conditions. Each of these problems traces back to specific installation shortcuts, and each costs more to fix after the fact than it would have cost to do properly the first time.
The challenge for tenants is that most plasterboard problems are invisible at handover. The walls look clean, the paint is fresh, and the rooms appear to function as intended. It is only after the building settles, the temperature cycles through a few seasons, and the office is used at full capacity that the quality issues reveal themselves. Understanding what goes wrong and why helps tenants recognise the warning signs early and make better decisions about who builds their walls.
Why Plasterboard Problems Are So Common in Office Fitouts
The primary reason plasterboard problems are so common is that the trade is under constant pressure to work faster and cheaper. Plasterboard is one of the larger labour components in a fitout programme, and it is often the first item that gets squeezed when the budget is tight or the programme is running late. The result is framing that is erected quickly without adequate checking, insulation that is installed loosely or left out of difficult-to-reach cavities, joining compound that is applied in fewer coats than the specification requires, and sanding that is rushed to clear the space for painters.
Each of these shortcuts saves a small amount of time and money during construction, but each creates a problem that will surface later. The cheapest fitout quotes often achieve their price by reducing the labour hours allocated to plasterboard finishing, and the effect is not visible until after the defects liability period has expired or after the tenant has accepted the work and lost their leverage to demand rectification.
The other factor is skill variability. Plasterboard setting is a manual trade that depends on the individual worker’s technique, and the quality difference between an experienced setter and an inexperienced one is significant. The same materials and specification can produce a Level 5 finish or a Level 3 finish depending on who is holding the trowel, and the difference only becomes apparent after the final paint coat is applied.
Cracking at Joints and Corners
Cracking is the most visible and most common plasterboard failure in office fitouts. It typically appears at the joints between plasterboard sheets, at internal corners where walls meet, and at the junction between the wall and the ceiling. The cracks can range from hairline fractures that are barely visible to open gaps that are clearly substandard, and they tend to worsen over the first year as the building goes through temperature and humidity cycles.
The most common cause of joint cracking is inadequate tape embedding. When the paper tape is applied over the jointing compound, it needs to be pressed firmly into the compound with no air bubbles or dry spots beneath it. If the tape is applied to a thin or dry bed of compound, it does not bond properly, and the differential movement between the two plasterboard sheets on either side of the joint causes the tape to lift and the surface to crack. This is entirely a workmanship issue, and it is caused by rushing the taping stage.
Corner cracking is often caused by movement in the framing, particularly at the junction between partition walls and the building’s structural elements. If the top track of a partition is rigidly fixed to the slab above, and the slab deflects under load, the partition is forced to follow the deflection and the joints crack at the stress concentration points. The correct detail in many situations is to allow the top of the partition to slide rather than being rigidly fixed, which accommodates building movement without transferring it to the plasterboard surface.
Nail Pops and Screw Failures
Nail pops, which in modern plasterboard construction are actually screw pops, occur when the fixing screw pushes through the surface of the compound and paint, creating a visible bump or a small circular fracture in the surface. They are caused by screws that were driven too deep, screws that missed the stud centre and are pulling through the board edge, or screws that are reacting to timber shrinkage in the backing frame, although steel-framed partitions are less susceptible to this last cause than timber-framed ones.
Over-driven screws are the most common cause in commercial fitouts. When a screw is driven too deep, it breaks through the paper face of the plasterboard, which is the surface that provides the holding strength. The screw then holds only through friction with the gypsum core, which is much weaker, and over time the compound over the screw flexes and cracks as the fixing loosens. The correct screw depth leaves the head just below the paper surface without breaking through it, which requires consistent trigger control on the screw gun and regular checking during installation.
Screw pattern also matters. If screws are spaced too far apart, the board can bow between fixings, creating a waviness in the surface that is visible under raking light. If screws are too close together, the concentrated fixings can weaken the board locally and create a line of stress points. The specification defines the correct screw spacing for each board type and framing configuration, and deviating from it produces problems that only become apparent after the wall is finished.
Acoustic Failures from Framing and Sealing Shortcuts
Acoustic performance in plasterboard walls depends on the entire assembly performing as a system, and any weak point in the system reduces the effective performance. The most common acoustic shortcut is leaving gaps in the cavity insulation, either at the top of the wall where the batts do not reach the full height, at service penetrations where the insulation is cut away but not replaced, or at stud locations where the batt is compressed rather than properly fitted.
Unsealed junctions are the other major acoustic failure mode. The junction between the bottom track and the floor, the top track and the ceiling, and the end of the wall and the adjacent structure each need to be sealed with acoustic sealant to prevent sound from flanking around the partition. If these junctions are left unsealed, sound passes through the gaps regardless of how well the rest of the wall is constructed. A soundproof plasterboard partition for a meeting room that has an unsealed top track will perform like a standard wall, because the sound bypasses the wall through the gap.
These acoustic shortcuts are invisible from both sides of the wall, which means they are rarely detected during construction inspections unless the inspector specifically checks for them. The tenant discovers the problem when they occupy the meeting room and find that conversations are audible in the corridor, or when an adjacent office complains about noise. By that point, rectification requires opening the wall, which means demolishing and rebuilding sections of the partition.
Surface Imperfections That Show Through Paint
Plasterboard surface imperfections fall into two categories: those caused by the setting process and those caused by the board installation. Setting imperfections include ridges over tape lines, trowel marks in the compound, sanding scratches that are not filled, and uneven feathering at the edges of set joints. Board installation imperfections include misaligned sheet edges, depressed screw heads that were not filled properly, and damaged board faces where corners or edges were crushed during handling.
Many of these imperfections are difficult to see under the diffused lighting conditions of a construction site, and they only become apparent after the final paint coat is applied and the permanent lighting is switched on. Direct downlighting, which is common in corporate and meeting room settings, is particularly unforgiving because it creates raking light across the wall surface that highlights every ridge, bump, and unevenness.
The industry addresses this through finish level standards that specify the smoothness required for different lighting conditions. A wall that will be lit by raking downlights requires a higher finish level than one that will be lit by ambient ceiling panels. If the finish level is not specified or if the installer applies a lower level than the lighting conditions require, the result is a wall that looks rough, patchy, or visibly imperfect under the installed lighting, even if the paint application itself is perfect.
How Poor Plasterboard Work Creates Cascading Problems
The effect of poor plasterboard installation extends beyond the walls themselves. When walls are not straight, the joinery that butts against them does not fit properly, creating visible gaps or requiring scribing and packing that adds time and cost. When walls are not plumb, door frames do not sit square, which affects door operation and can cause latches to miss strikers. When walls are not in the correct position, the ceiling grid does not align, the flooring pattern breaks at the wall line, and the services routes do not match the design.
Each of these cascading effects adds cost to subsequent trades, extends the programme, and reduces the quality of the finished fitout. Hidden costs in office fitouts frequently trace back to plasterboard work that was not done to the required standard, because the plasterboard is the first major construction element and every trade that follows depends on it being accurate.
The most expensive cascading failure is acoustic underperformance discovered after occupation. If a meeting room’s plasterboard walls do not achieve the specified acoustic rating due to unsealed junctions or missing insulation, the remediation options are all disruptive and costly: reopening walls, adding insulation, sealing junctions, and making good the finishes. This work cannot happen while the meeting room is in use, which means either accepting the poor performance or scheduling disruptive construction work in an occupied office.
What to Check Before Accepting Plasterboard Workmanship
The most effective way to avoid plasterboard problems is to check the work at each stage of the construction process rather than relying on a final inspection after the wall is finished. Key checkpoints include verifying stud alignment and spacing before linings go on, confirming insulation installation is complete and continuous before the second side is closed, checking tape embedding quality after the first coat of compound, and inspecting the set finish under raking light before the painter starts.
At handover, the walls should be inspected under the actual lighting conditions that will be installed in the finished space. If the permanent lighting is not yet operational, a portable light held at a low angle to the wall surface simulates raking light and reveals imperfections that ambient lighting would mask. Any ridges, bumps, or visible tape lines identified at this stage should be rectified before the defects liability period ends.
Good fitout companies build these quality checkpoints into their standard process, because they know that plasterboard quality affects the perception of the entire fitout. The walls are the largest surfaces the occupant sees, and if they look rough, cracked, or poorly finished, the overall impression of the fitout is diminished regardless of how good the furniture, lighting, or floor finishes are.
If you want plasterboard partitions that are built properly the first time, we can manage the full scope from framing through to final finish, with quality checks at every stage to ensure the result meets the standard your office deserves.
Call us on 1300 60 93 93