
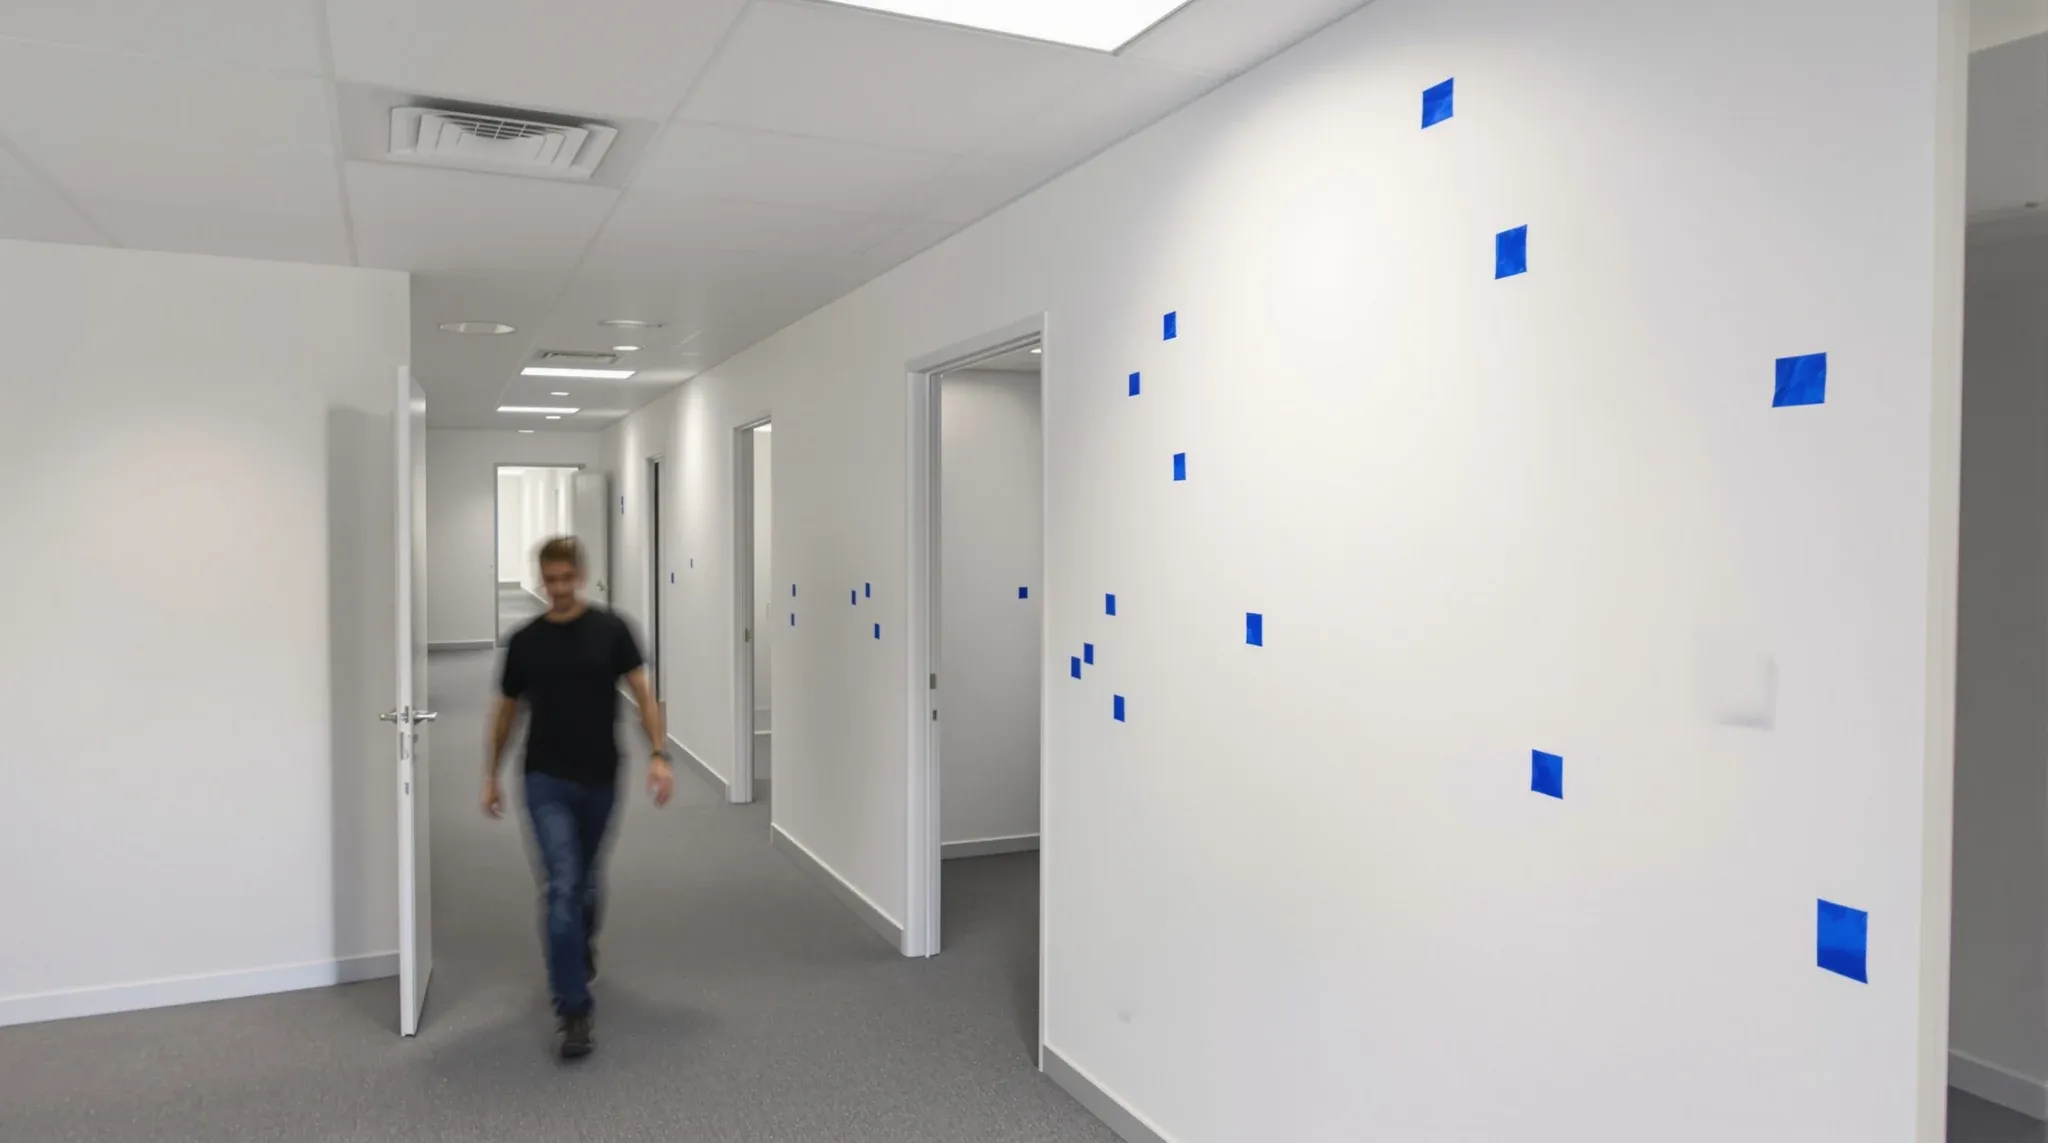
A flush finish on plasterboard partitions is the specification line that decides whether your walls read as a clean architectural surface or as competently-finished commercial standard. For most tenants the difference shows up as how the wall looks under raking light, how it photographs, and how often you notice the joint lines and screw dimples that the lower finish levels accept. The decision sits inside the plasterboard finish-level system, and the cleanest way for a tenant to navigate it is to understand what the contractor will deliver at each level and what to inspect at handover.
The thing most fitout briefs get wrong is treating “flush finish” as a single specification. It is not. Plasterboard finish levels run from 0 to 5, with Level 3 typical for general commercial walls, Level 4 for walls that take feature paint or sit in normal light, and Level 5 reserved for walls that have to read as flat under critical light. A spec calling for “flush” without naming the level lands wherever the contractor reads the brief; sometimes that is fine, sometimes it is not, and the tenant rarely knows until they walk the finished space.
What Flush Finish Actually Means At Each Level
Level 3 is the workhorse plasterboard finish for general commercial work. Joints and screw dimples are taped, set with two coats of compound, and sanded smooth, but the surface is not skim-coated. Under flat ambient light the wall reads as smooth and clean. Under raking light (light hitting the wall at a shallow angle, such as morning sun across a long corridor or a wall-washer fixture), the joint lines and dimples become visible as subtle texture changes.
Level 4 adds a thin skim coat of compound across the joints and dimples, then a final sand. Under raking light the result is significantly cleaner; the joints are not invisible but they no longer read as distinct lines. This is the level most commercial office walls should be specified at for any wall that sits in line of sight or under any directional lighting.
Level 5 takes the skim coat across the entire wall surface, not just the joints. The result is a uniformly flat plane that reads consistently under any light condition, including the harshest raking conditions and high-gloss paint applications. The cost step-up from Level 4 to Level 5 is meaningful, typically 30 to 50 percent more on the finishing labour, because the entire wall has to be skimmed and sanded rather than just the joints.
The pattern we see most often is briefs that specify Level 4 for the whole tenancy but get Level 3 delivered on the back-of-house walls where the contractor judges the lighting will not reveal the difference. That is sometimes the right commercial call and sometimes not; the time to confirm is at the drawing-set stage, not at handover.
What “Flush” Implies Beyond The Finish Level
A flush finish in the broader sense means more than the surface coating. It implies that the wall has been built straight, the framing is plumb, the linings have been fastened without bowing, the corner beads sit cleanly without ridges, and the wall meets adjacent surfaces (ceiling, floor, perpendicular walls) with clean junctions rather than visible gaps or shims. How plasterboard office partitions are built shapes whether the underlying construction can support a flush finish at all; a wall built with wavy framing cannot be finished flat regardless of the compound work applied to it.
The structural details that affect finish quality are stud spacing (overspaced studs produce sheet movement and joint cracking), the type of fastening (screws over-driven tear the paper and reduce the bond for setting compound), the joint backing (where two sheets meet without a stud behind, the joint is weak), and the corner conditions (external corners need rigid bead, internal corners need tape that fully bonds without lifting).
The detail that matters most for long-term finish quality is the deflection head detail at the top of the wall. A partition fixed rigidly to a deflecting ceiling structure will crack at the head joint within a year as the structure moves; a properly detailed deflection head accommodates the movement and the finish stays intact.
What Tenants Should Specify On The Drawing Set
A clean brief calls out the finish level by location, not as a blanket specification. Front-of-house walls (reception, boardroom, lobby) at Level 5 where the design supports it. Office and meeting room walls at Level 4. Back-of-house and storage walls at Level 3. Where a wall is going to take a specific finish that affects the reading of the surface (high-gloss paint, dark colours, large unbroken surfaces, raking light from a designed lighting plan), Level 5 should be specified explicitly even if Level 4 is the floor’s general standard.
The drawing set should also call out the corner and junction details. Standard corner beads are typically fine for back-of-house; rigid square-edge beads or shadow-line trims are usually needed for front-of-house. Ceiling-to-wall and wall-to-wall junctions can be set as full plaster joints, P50 trim shadow lines, or shadow-gap details, and each delivers a different reading.
Where the wall will take feature finishes (timber wraps, acoustic panels, fabric wraps, decorative laminate), the substrate finish level can be lower since the finish layer will hide the underlying plasterboard. Specifying Level 5 under a fabric-wrapped wall is wasted budget; specifying Level 3 under a high-gloss paint is a guaranteed visible fault.
The Handover Inspection: What To Actually Look At
The handover walk is where the finish quality is tested and where defects are formally logged. The single most useful tool is a hand-held LED torch held at a shallow angle to the wall, simulating raking light. Joint lines, screw dimples, ridges from over-applied compound, and corner imperfections all show up under raking light when they are invisible under flat ambient lighting.
The inspection sequence that works is to walk each wall under three light conditions: the room’s normal lighting (the everyday reading), the torch-as-raking-light test (the critical reading), and any directional fixture or daylight angle the wall actually has to live under (the conditional reading). A wall that passes all three is a properly finished wall. A wall that only passes the normal lighting test will surface defects within the first year of occupancy when seasonal sun or fixed lighting hits it at the wrong angle.
Specific items to flag at handover: ridges along joint lines (compound applied too thick), star-pattern shadows around screw heads (dimples not fully filled), bowed sheets (framing or fastening issue), visible bead lines at external corners (bead not buried), gaps at wall-ceiling or wall-floor junctions (set joint not finished), and any wave or undulation visible across the wall plane (framing was not straight).
The pattern we see most often at handover is tenants accepting walls that pass the normal lighting test without applying the raking light check. Three months later, when the seasonal sun angle changes or when the tenant’s lighting strategy is fully commissioned, the latent defects become visible and the contractor has moved on from the DLP rectification cycle.
What The Contractor Cannot Fix At Handover
Some defects in plasterboard finish quality cannot be repaired without rework that affects the wall’s structural integrity. A bowed wall caused by framing issues cannot be re-finished into flatness; the framing has to be corrected, the sheet has to come off, the framing has to be straightened, and the wall has to be re-sheeted and re-finished. The cost is several times that of the original wall.
A wall finished to Level 3 where the brief called for Level 4 can be upgraded by adding a skim coat, but only if the underlying Level 3 finish is properly done. Where the contractor has delivered a sub-Level-3 finish (incomplete joint setting, missed dimples, ridges), the upgrade has to address the underlying defects first.
Cracking at deflection head joints, where the head detail was not designed to accommodate structural movement, will reappear after repair unless the head detail is reworked. Tenants who notice cracking returning after the contractor’s rectification should ask whether the head detail itself is the issue rather than accepting repeated touch-ups.
Cost Implications Across The Tenancy
Upgrading finish level across an entire tenancy from the Level 3 default to Level 4 typically adds 8 to 15 percent to the plasterboard package cost, depending on the wall area. Upgrading to Level 5 selectively on specific walls (rather than across the floor) is usually a small additional cost; upgrading to Level 5 across the floor adds 25 to 40 percent.
The compression strategy is to specify by location rather than across the board. Most tenancies have 70 to 80 percent back-of-house and general walls where Level 3 or Level 4 is sufficient, and 20 to 30 percent feature or front-of-house walls where Level 5 earns its place. A specified-by-location approach delivers the visual outcome where it matters at meaningfully less cost than a uniform high specification.
If you are scoping plasterboard partition finishing on a commercial office fitout, or want to brief the inspection process so the handover catches the items it should, we run plasterboard partition packages across the full plasterboard partition scope and can work through the finish-level decisions by location before pricing.
📞 Call us on 1300 60 93 93