
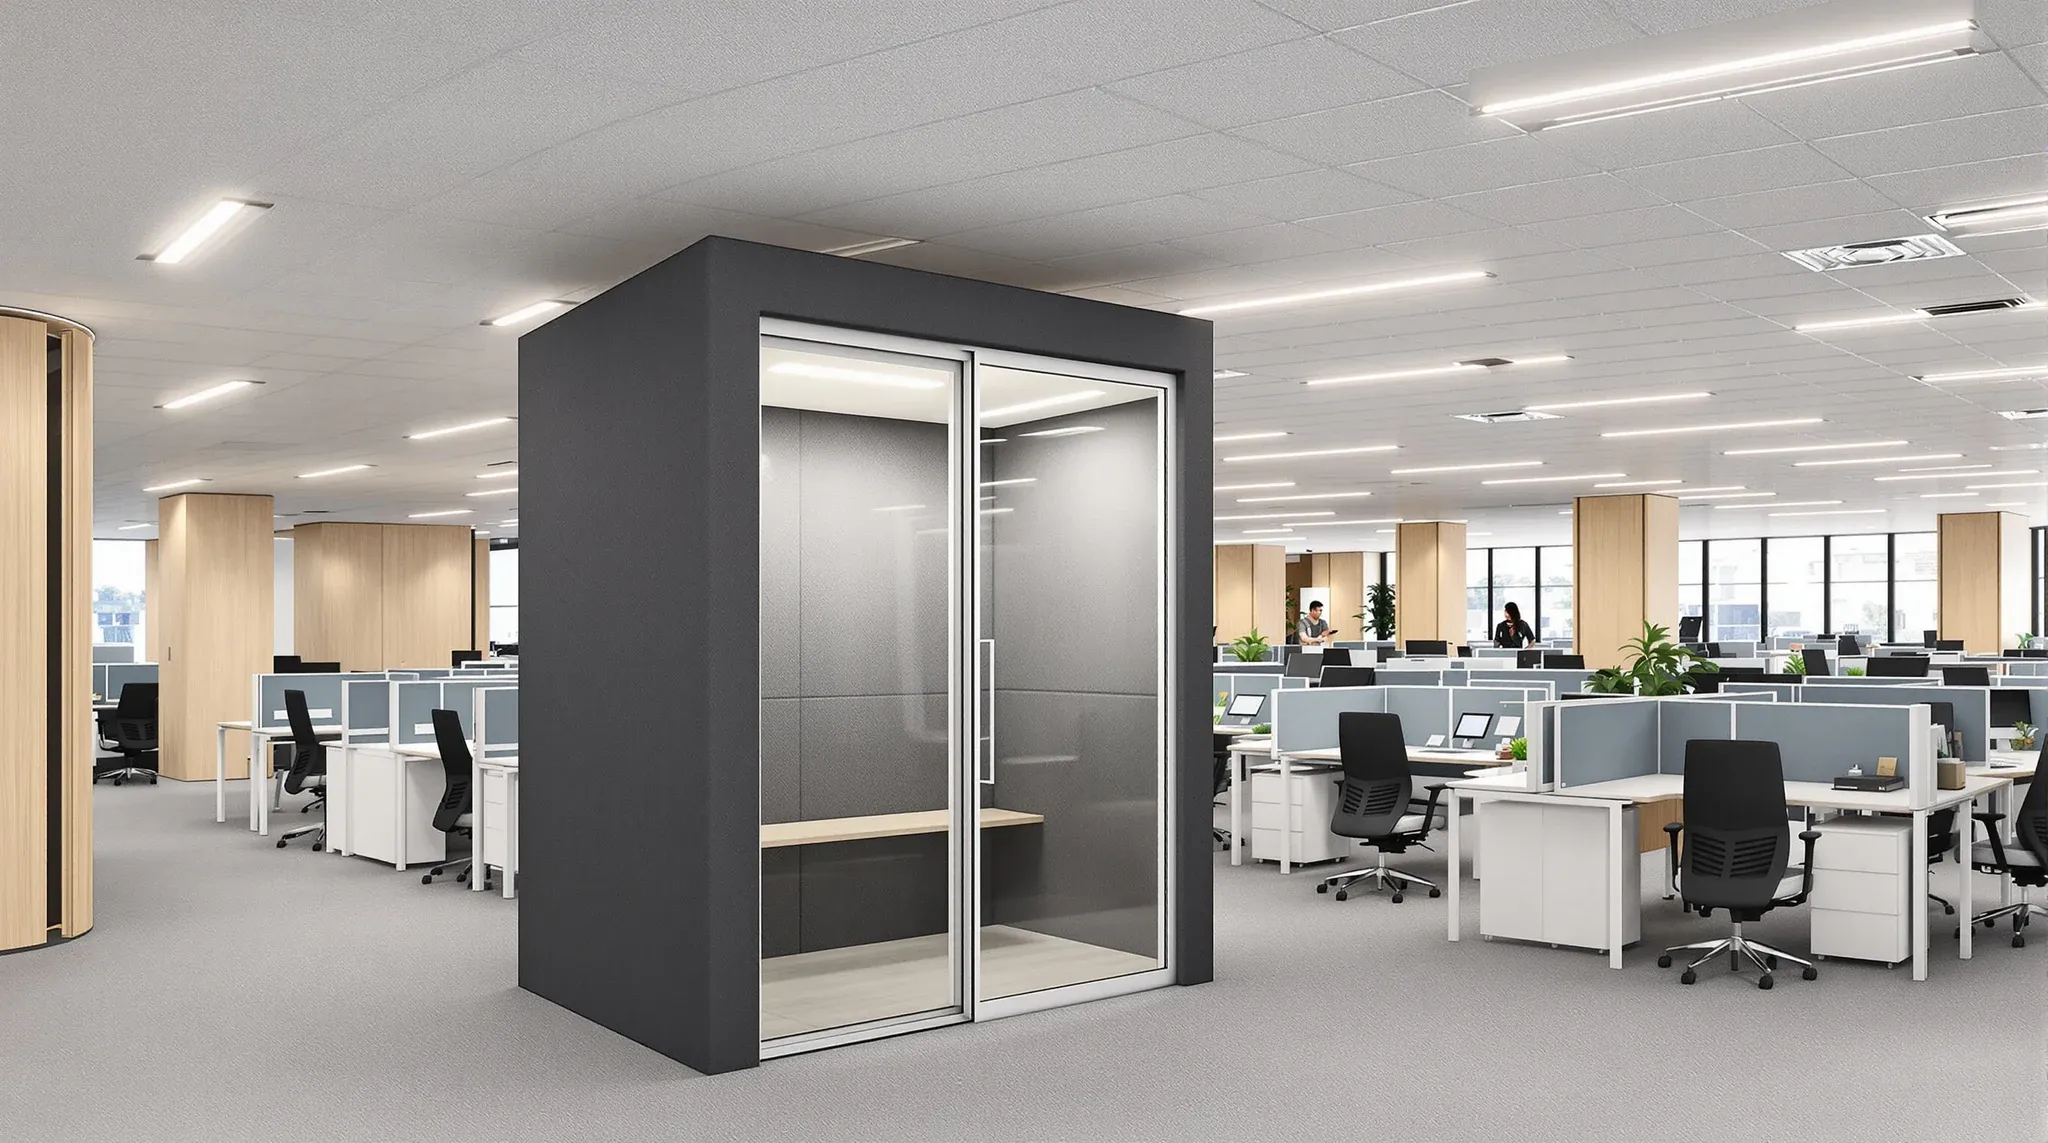
A Sydney tenant deciding to add phone booths or focus pods to an existing open-plan office often treats the pods themselves as the project. The pod arrives, it sits on the carpet, and the office has booths. That part is the small part. The bigger part of the work is everything the build has to do to make the pods land cleanly, run safely, and stay quiet enough to actually be used.
What we touch around the pods, on every install of this kind, is power, data, ceiling, lighting, sometimes air, sometimes a wall line, and almost always the cable management between the pods and the nearest service point. Where any of those are skipped, the pods get installed, then sit unused because the room is hot, the screen will not turn on, or the door catches a light fitting overhead.
The first question that shapes the whole build
Before the pod count is locked, the choice between pre-fabricated pods and built-in rooms changes everything that follows. A pre-fab pod arrives as a sealed unit on a pallet, sits on the floor, and connects to power and data through a single cable drop. A built-in room is framed, lined, glazed, ceilinged and serviced like a small meeting room, integrated into the existing partition and ceiling layout.
Pre-fab pods are quicker to install, easier to move at lease end, and almost always carry their own ventilation, lighting and acoustic lining. Built-in rooms cost more to land, are harder to remove, but match the rest of the office visually and acoustically and give more usable floor area per square metre than a pod ever does. Where each type suits which use is its own decision; this article is about what the build does when the pre-fab pod path is the chosen one.
Power: what runs from where and why a floor box is rarely enough
Each pod needs its own dedicated circuit, not a tap off the nearest workstation floor box. A pod runs internal lighting, ventilation fans, a media display, sometimes a charging dock and an integrated screen, all on the one circuit, and adding that load to an existing workstation circuit can take the floor over capacity. The first thing we do on a pod install is read the existing distribution board and confirm which circuits have headroom and which need a new GPO from the floor void.
For a cluster of four or six pods, the cabling route from the distribution board to the pod positions is the main build event. On a raised access floor, the run is straightforward; on a slab-on-grade floor without a raised system, the run has to come from the ceiling void, drop down a wall, and emerge at the pod position through a discreet floor box. The drop point is what we set out first, because once the pod is on the floor, the cable has nowhere to go that does not show.
Data and AV: routes that drop from the ceiling, not snake across the carpet
Each pod usually carries a data point for its display, a cat6 or cat7 run, sometimes a video conferencing camera and sometimes a small wall plate for hot-desk laptops. Like power, the data routing has to drop from the ceiling void or come through the floor void; it must not run across the carpet in a wire guard, regardless of how short the run is.
Where the ceiling cut to drop the data cable lands close to an existing service tray, the route is clean and the ceiling reinstatement is small. Where the route crosses a ceiling main runner, a grid takedown is needed, or where the run has to pass through an existing wall, a plasterboard chase has to be cut. Coordinating cabling to keep the ceiling grid intact is a separate scoping question worth running before the pod positions are finalised, because a small shift in where the pod lands can save a grid takedown.
Air: when a sealed pod is enough, when the room needs proper supply
Pre-fab pods are normally self-contained acoustically and have their own ventilation built in. The internal fan circulates filtered air through the pod cavity, and for occasional one-person calls or short meetings this is genuinely enough. For longer occupancy, two-person use, or a higher-traffic pod where the door opens and closes through the day, the internal fan starts losing the temperature battle and the pod gets stuffy.
Where the pod is used more like a small meeting room than a phone booth, we look at integrating the pod with the office HVAC: a flexible duct dropped from the supply trunk in the plenum into the pod ceiling, and an extract pathway either through the door grille or through a second small duct. This adds cost and removes some of the move-it-easily appeal of the pre-fab pod, but it is the difference between a pod that stays used and a pod that sits empty after the first warm month.
Where the pod lands in the ceiling line
Most pods sit below the suspended ceiling, with their own internal lighting and acoustic lid. The ceiling above the pod stays as it is, except where a downlight, a sprinkler head, or a smoke detector lands inside the pod footprint. Each of those has to come out of the pod position and find a new home in the surrounding ceiling field.
Lighting relocation is the most common one, because the original lighting design was built around an open-plan floor, not a pod cluster. We coordinate with the electrical trade to drop the affected downlights, cap their wiring, and add replacement fittings in the surrounding zone if the new layout has dark patches around the pods. Sprinkler coverage is the more constrained one: where a head sits inside the new pod footprint, the fire-services contractor has to relocate it, and the relocation has to satisfy spray-pattern requirements for the surrounding zone. None of this is dramatic on a single pod; on a cluster of six or eight, the count of service relocations adds up.
The partition tie-in: where the pod meets a wall or a workstation bank
Most pods are freestanding, but a meaningful share of installs back the pod against an existing partition wall to save floor area. Where the pod sits against a plasterboard wall, the wall has to take the pod’s lean load and absorb the door cycle without cracking. How the existing partition was built matters here: a single-skin stud wall framed for visual division, not lean load, will start showing cracks at the pod junction within months.
The cleaner detail is a small spacer gap between the pod and the wall, set out so the gap reads as deliberate and so any pod movement does not transfer into the wall finish. Where the pod backs onto a workstation bank or another pod, we set out the gap, cable routing, and any service tie-ins together. Where workstation screens already provide partial privacy, the pod cluster sometimes ends up taking workstations out and changing the density of the surrounding floor, which the operations team needs to walk through before the install.
What the cluster costs to land beyond the pod price
The pods themselves are typically the largest line on the bill, but the build-side cost to land them rarely lands at zero. For a cluster of four to six pods on a typical Sydney commercial floor, the cabling cut-ins, ceiling service relocations, partition tie-ins, lighting reworks, and any HVAC integration usually add a meaningful percentage to the pod cost itself. The percentage shifts on three things.
The first is the count of service relocations: every downlight, sprinkler and smoke detector that has to move is a coordinated trade visit. The second is the cabling path: routes through a raised access floor are quick, routes through a plenum and down a wall are not. The third is whether the HVAC integration is needed, because that single decision moves the cost noticeably. If the price you have been given for the install is a single round figure, ask for the service relocations, cabling drops and HVAC scope written down separately. That is where the variation lands later when something needs adjusting.
Sequencing the pod install on a live floor
The cabling and ceiling work for a pod install is largely out-of-hours work on a live floor, because the cuts, drops and reinstatements happen above and around active workstations. The pods themselves usually arrive and get craned or trolleyed in over a weekend, with a small buffer of evenings after the install for snagging, electrical commissioning and AV setup.
We sequence the work in three phases. First, services pre-installation: power circuits run to the pod positions, data cabled, ceiling service relocations completed, partition prep finished. Second, the pod delivery and placement: the units arrive, get positioned, and are connected to the live service points already prepared. Third, commissioning: electrical tests, AV and data tests, acoustic walk-through with the operations team, and any final ceiling or partition patching around the pods. On a four-to-six pod install in a typical Sydney commercial office, this is normally a two-to-three week build, of which the visible pod placement is one weekend. Most of the time is the build before and after the pods arrive.
If you are planning to add phone booths or focus pods to a Sydney open-plan office, we can walk the floor, set out the pod positions against your existing services, and price the cabling, ceiling, partition and HVAC work around the pods as a single coordinated partition and integration scope.
📞 Call us on 1300 60 93 93