
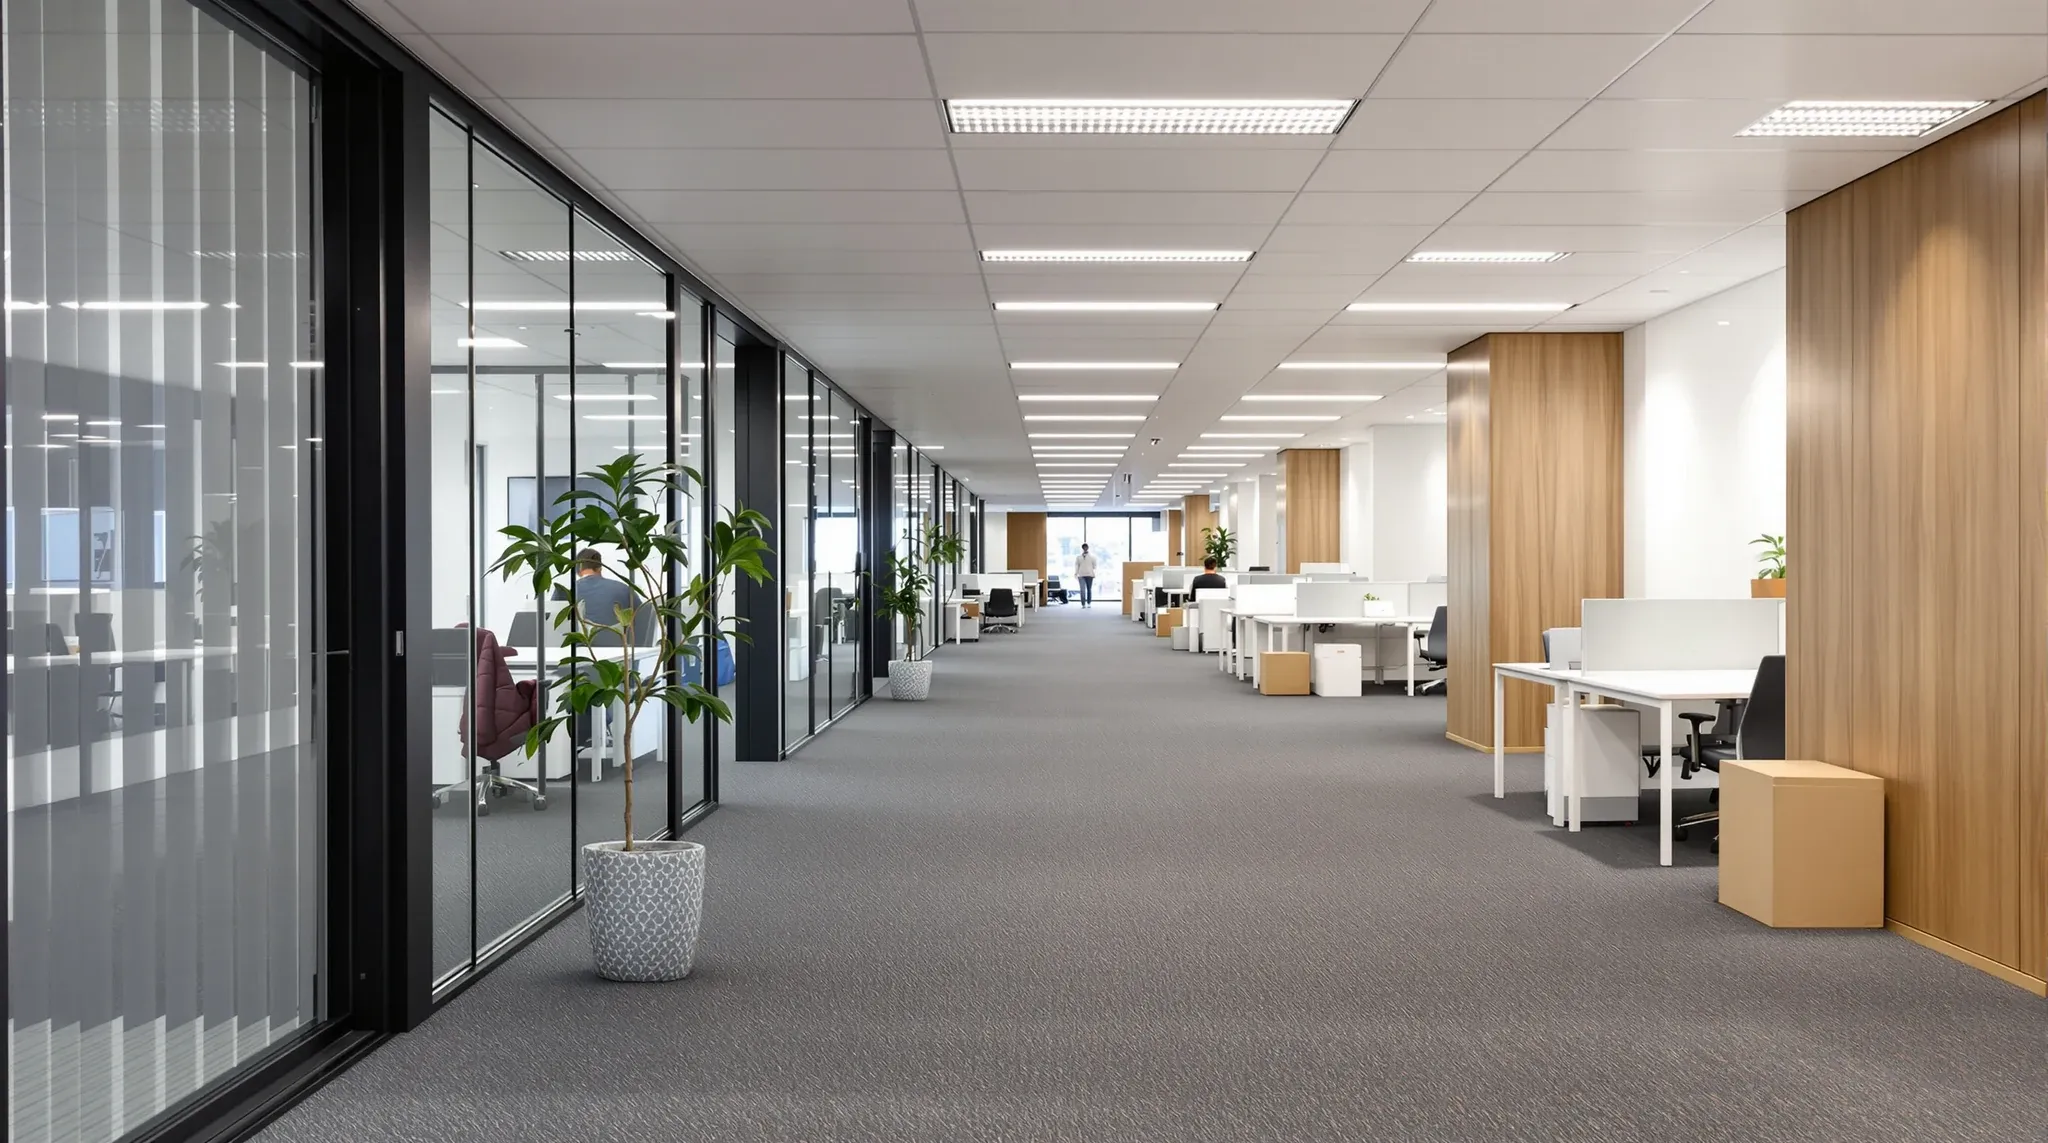
A Sydney tenant who sub-let half their floor at some point during the lease and is now bringing the tenancy back together usually has a single visible problem: the demising wall in the middle of the floor that no longer needs to be there. The build question is what comes out, what stays, and what gets patched back so the floor reads as one tenancy again rather than two tenancies with a wall removed between them.
The wall itself is the smallest part. The work we sequence around its removal is the part that decides how long the tenancy is disrupted, how much of the floor finishes need to be touched, and what the floor looks like at the end. A clean strip-out done in the right order can land the floor back together over a long weekend; a rushed one leaves visible scars in the carpet, ceiling grid, paint, and skirting that the tenant has to live with for the rest of the lease.
What we look at before any wall comes down
The first step is reading the wall, not removing it. We walk the demising wall from both sides, identify how it was originally built, what services run through it, where it ties into the existing ceiling and floor, and what neighbouring partitions touch it. A demising wall built for a commercial sub-let is usually a full-height plasterboard wall framed in metal stud, double-lined for acoustic and sometimes fire performance, with a deflection head detail at the slab above and a base track sitting on the carpet or sub-floor.
The wall almost always carries some services: power outlets serving both sides, data cabling running across the wall to either tenancy, AV cabling, sometimes door access wiring, sometimes acoustic seal terminals. Each of those has to be safely decommissioned and capped before the wall comes out, or re-routed through the ceiling plenum if the cable run is still needed on the unified floor.
Services first, demolition second
The electrical, data and AV trades all need to visit the wall before the demolition crew does. Power circuits feeding outlets on the wall have to be isolated at the distribution board, the outlets removed, and the cables either capped at the board or pulled back to the next live point. Data and AV cabling routed through the wall has to be identified, traced, and either disconnected and removed, or re-pulled into the ceiling plenum if the new tenancy layout still needs the run.
This stage is where most rushed strip-outs go wrong. A wall that comes down with live cabling still inside it produces a coordination problem at the end of the day, not at the moment of removal: the new tenancy floor plan suddenly has missing cable runs, and the floor has to be opened back up to re-pull them. Where a strip-out runs ahead of services decommissioning, the cost of the rework is often more than the cost of the original removal. We hold the wall until the services trades have signed off.
Taking the wall down: stud, lining, insulation, head and base
Once services are clear, the wall comes down in a specific order. The linings come off first, both sides, in panels that minimise dust and debris. Where the wall is fire-rated, the linings have to be disposed of separately because the rated boards are a different waste stream. The acoustic insulation in the cavity is bagged and removed. The studs come out next, top track then bottom track, with the deflection head detail at the slab above carefully released so the slab above is not damaged.
The base track sits on the floor finish. On a carpeted floor, the track has been fixed through the carpet into the slab or the sub-floor. Removing the track leaves either a clean line of fixing holes (if the carpet has been protected during the original install) or a tear in the carpet where it was cut around the base. The floor scar at this point is the single most visible mark the wall leaves, and it sets the scope of the floor reinstatement.
The carpet scar and how we patch the floor line
Where the demising wall sat, the carpet has either been cut and butted against the base track or continuous under the wall with the track laid over it. The first case is much more common in Sydney commercial offices because it gives a cleaner sub-let install, but it leaves a visible carpet seam across the floor when the wall comes out. The second case avoids the seam but only works if the original sub-let install was planned for eventual reversal.
The patch options are three. The first is to lift carpet tiles either side of the wall line and re-lay with a continuous run, which works if the carpet is tile-format and the existing field is in good condition. The second is to patch the wall-line strip with new carpet tiles ordered to match, which sometimes lands close enough in colour and texture to be acceptable. The third is to accept the seam as a thin transition strip across the floor, which is the cheapest answer and the least successful visually. We walk the carpet condition with the tenant and recommend the option that matches the floor’s remaining lease term, because a tenant with five years still to run usually wants the cleaner answer; a tenant with twelve months left often accepts the strip.
The ceiling line: tile, grid and lighting
The suspended ceiling that landed against the demising wall now has to close across the gap left by the wall. The grid and perimeter trim along the wall line either butted into a deliberate termination or sat against a deflection head detail. Either way, the put-back means new grid sections running across the wall line, new tiles to match the surrounding field, and any lighting that sat against the wall edge possibly needing relocation.
Where the ceiling on either side of the demising wall came in as one continuous original installation (most common, where the wall was added later for the sub-let), the put-back can match cleanly because the grid and tile stock match. Where each side of the demising wall received its own separate fitout (less common, but it happens where the sub-let arrangement was negotiated before the original fitout), the tiles, grid and perimeter on the two sides may not match, and the unified floor will show a visible ceiling seam unless one side’s ceiling is brought across to match the other.
Any lighting that ran along the wall line, whether linear fittings against the wall or pendants close to it, has to be assessed for relocation. Lighting that was designed to wash the wall as a visual feature no longer has a wall to wash; it usually comes out or is repositioned to suit the unified layout.
Adjoining walls, paint, and the finish that ties everything back together
The walls perpendicular to the demising wall, where they butted into it, now show a stub end where the demising wall was. The stub end needs to be either finished cleanly (capped, set, painted) so the perpendicular wall reads as a deliberately terminating wall, or extended further if the new floor layout wants it to continue. We confirm with the tenant which they want before the strip-out, because extending the perpendicular wall changes the demolition sequence.
The paint on the surrounding walls, where they connected to the demising wall, will not match the rest of the wall after a patch. A four- or five-year-old wall paint has faded; a fresh paint patch on it reads as a darker block. Plasterboard touch-up and repaint within an existing lease usually requires the patch to be feathered out across the whole wall to disappear cleanly, and we cost the work that way rather than as a small patch. Where the walls adjoining the demising wall have visible age, the tenant sometimes uses the strip-out as a chance to refresh those walls entirely, which lands at a cleaner finish for not much more cost.
What this kind of work costs and what shifts the price
The wall removal itself is a relatively small piece of work on a typical Sydney commercial demising wall: a few days for the strip-out, services decommissioning and waste removal. The cost on the bill is dominated by the reinstatement: carpet patching, ceiling put-back, paint feathering on adjoining walls, lighting adjustments, and the labour to make the finishes read continuously across the line where the wall used to be.
The biggest movers are carpet condition (replace versus patch) and ceiling match (continuous versus mismatched). The smaller movers are paint, lighting adjustments, and any electrical re-routing. Where the rest of the floor is operating while the strip-out runs, the out-of-hours premium on the noisy phases shifts the cost upward; on a tenancy that can be unoccupied for the strip-out (often the case if the sub-tenant has just vacated), normal hours apply and the cost lands lower.
Sequencing the strip and patch on a live or vacated floor
The full programme on a typical demising wall removal and reinstatement is two to three weeks, with the first week being services decommissioning and demolition, the second week being floor and ceiling patching, and a short third week for paint and final commissioning. Where the floor is partially live, the noisy demolition phase usually runs after hours, and the reinstatement runs in normal hours behind dust walls.
The decision that affects the programme most is how much of the surrounding finish is being refreshed. A strip-and-patch back to the existing finish lands in the short end of the range; a strip-and-refresh of the surrounding carpet, ceiling and paint lands at the longer end and produces a cleaner final result. The tenant who is bringing the floor back together for the remainder of a long lease usually pays the cleaner result; the tenant nearing lease end accepts the patch.
If a Sydney tenant is bringing a sub-let arrangement to an end and wants the demising wall taken out and the surrounding floor put back together, we can walk the floor, scope the services decommissioning, the strip-out and the plasterboard reinstatement as a single coordinated package.
📞 Call us on 1300 60 93 93