
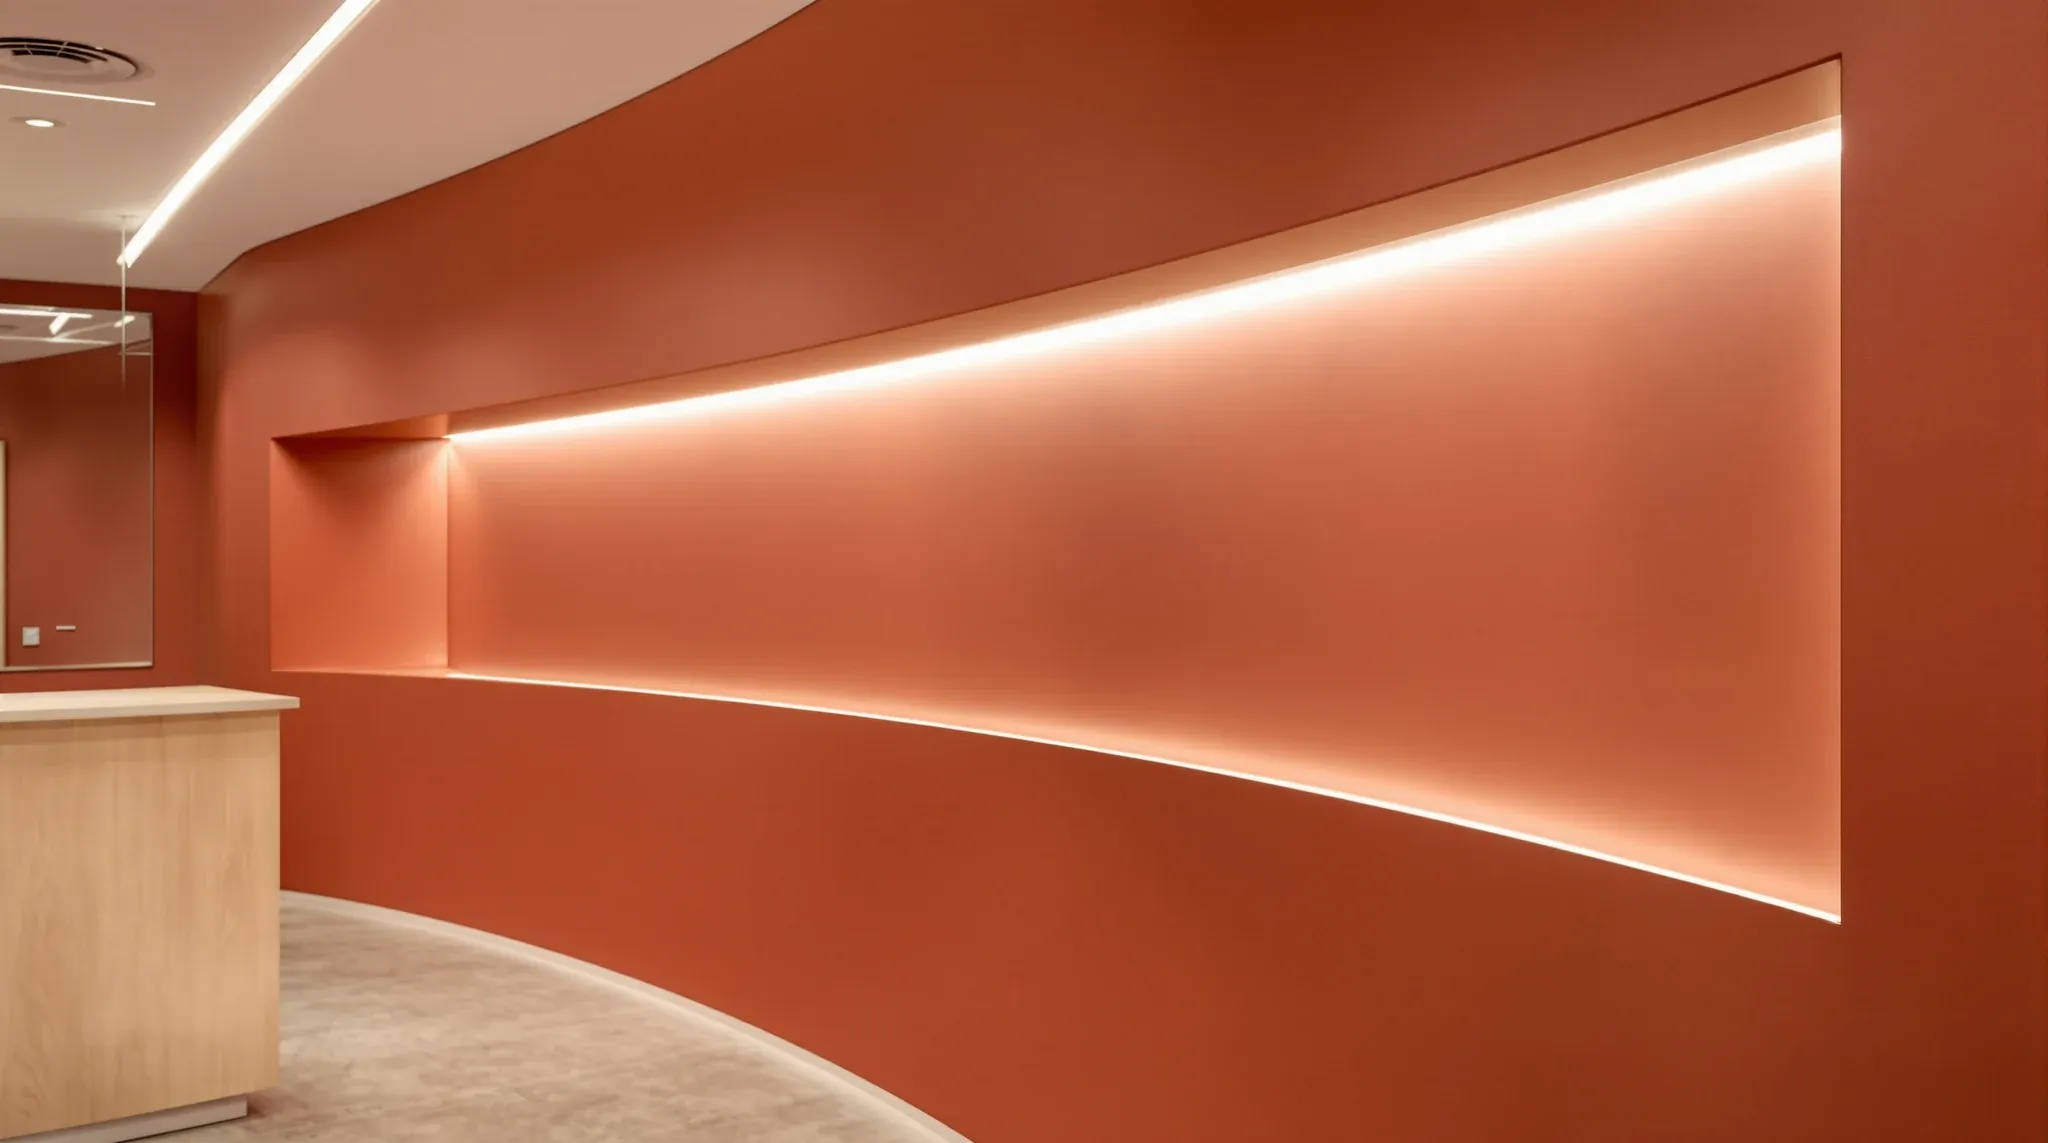
When a rebrand reaches the office, the feature wall is usually where the new identity lands first. What the designer’s render shows as a sweep of colour with a recessed logo and a glow of light is, on site, a framing exercise: curved track, layered board, shadow-line beads and a lighting channel that has to be roughed in while the wall is still open. The gap between a painted flat wall and a built feature wall is the part of the scope most people cannot see in the drawing.
That gap is worth seeing before the quote stage, because it is where the budget and the render either meet or quietly part ways. A feature wall is a small package with an outsized number of trades through it, and the ones that land well are the ones scoped as a build, not as a paint colour.
What turns a wall into a feature wall
Four ingredients separate a feature wall from the walls either side of it, and most briefs use at least two. Geometry: curves, angles or thickness changes that give the wall a form of its own. Relief: recesses, reveals and shadow lines that give the surface depth. Light: integrated LED channels, backlit panels or a washed surface from above. And substrate: the wall as the mounting ground for a fabricated logo or dimensional lettering.
Each ingredient writes its own line into the framing package. None of them can be added convincingly after the wall is sheeted, which is the practical difference between a feature wall and a repaint. The decision about what the wall does has to be finished before the first stud is fixed.
It is also worth saying what a feature wall does not need to be: structural. It is still a partition under the finishes, built from the same steel framing as everything else on the floor, and it carries the same questions about what is above it and behind it. The exotic part is the first twenty millimetres.
The build choices behind the look
Curves are framed, not bent into place afterwards. Curved track is segmented or kerfed to the radius, studs run at closer centres than a flat wall, and the board goes on in two thinner layers that can take the curve without cracking at the joints. Tight radii need more of everything, which is why the same metre of wall prices differently at a gentle sweep than at a drum-tight curve. The framing logic is the same one that governs curved and radius plasterboard walls anywhere in an office; the feature wall just spends more of it per metre.
Recesses are double-framed. A recessed logo zone or a shadow reveal is a cavity the framer builds twice, once for the wall plane and once for the set-back, with stopping beads defining every edge the eye will read. Crisp edges are a framing outcome, and no amount of careful painting rescues a soft one.
Light needs power and depth. An LED channel needs its recess framed, its driver housed somewhere serviceable, and its cabling roughed in before sheeting. Backlit panels need cavity depth that has to come from somewhere, usually the wall growing thicker, and that thickness has to be in the set-out from day one.
The logo is a coordination item more than a build item. Fabricated lettering and signage panels arrive late, installed by the signage supplier, but their fixing loads need backing inside the wall, plates or ply set behind the board at the right heights, exactly as a screen does in the systems used for mounting displays on plasterboard partitions. Backing planned during framing costs almost nothing. Backing retrofitted through a finished feature surface costs the finish.
The finish is half the wall
Feature walls get judged at close range and usually under their own accent lighting, which is the harshest possible audience for a plasterboard surface. The flat walls of an office are finished to the commercial standard; a lit feature wall almost always justifies the step up, with a full skim and tighter sanding before paint. The difference between plasterboard finish levels is invisible on a corridor wall and glaring on a backlit one.
Paint is only one of the finish paths. Timber-look battens, panel systems, wallcoverings and printed graphics all ride on the same framed and sheeted base, and each has its own substrate expectations. The brief decision that matters is choosing the finish before the framing is priced, because the finish dictates the flatness, the backing and sometimes the thickness of what sits behind it.
Durability belongs in the finish conversation too. Reception walls get touched, brushed by bags and bumped by deliveries, and a feature wall sits exactly where the traffic is heaviest. Impact-rated board at the lower section, washable coatings, or a panel skirt over the first metre keep year three looking like week one, and every one of those choices costs little at specification stage and a repaint later.
Building it in a working reception
Most feature walls go into receptions that are still receiving. The build is contained, a few metres of frontage, but it is the most visible few metres in the tenancy, so the staging matters: screened off cleanly, noisy stages placed out of hours, and the dusty work finished before the finish work starts in earnest.
The trade sequence through that screen is tight: set-out, framing, electrical rough-in, backing, first layer of board, second layer on the curves, set and sand, prime, finish coats or panels, then signage last, after everyone else is gone. Each handover point is small, and a missed one, paint before the signage backing was confirmed, an LED driver sheeted in with no access, is the kind of miss that gets fixed by cutting open a finished wall.
A reception build also touches whatever the reception already does: the desk keeps operating, visitors keep arriving, and the wall comes to life behind a screen until the reveal. Done in the right order it is a fortnight of mild inconvenience; done in the wrong order it is a month of apologising to visitors. The reveal itself is worth a thought too, because a rebrand usually has a launch date, and the wall finishing three days before it lands very differently from three days after.
What a feature wall costs, and what moves the number
The honest answer is that the geometry and the finish set the price, not the size. A flat, painted accent wall is barely more than a partition. Add a curve and the framing cost steps up; add recesses and lighting and the electrical and setting trades step in; specify a premium finish and the surface preparation doubles. Each ingredient is a deliberate choice, which is what makes the package controllable: the brief decides the budget, line by line.
The quiet costs are the ones to watch at quote stage. Backing for signage that has not been designed yet, access panels for drivers and transformers, and the protection and out-of-hours premiums of working in a live reception. None of them are large, and all of them are cheaper named in the quote than discovered after it.
Spent well, the money lands where visitors look. A built wall with real depth and integrated light reads as a different class of fitout from a painted one, and it does so every working day of the lease.
Plan for year three, not just launch day
A feature wall is the most photographed surface in the office on day one and the most touched surface every day after. The maintenance plan is part of the brief: a record of the paint system and batch for touch-ups, accessible drivers for the lighting, and spare material where the finish is panelised or printed, because matching a discontinued finish three years in is the same problem as matching a discontinued carpet.
Lease end belongs in the thinking too. A feature wall is tenant fitout, and unless the landlord agrees otherwise it typically comes out or comes back to plain at exit, recesses filled, lighting removed, surfaces returned to the standard the lease describes. None of that argues against building it; it argues for knowing the exit cost at the same time as the entry cost, which is true of every striking thing a tenant builds.
Brief the wall as a build, not a colour
The render is the start of the conversation, not the scope. The scope is the radius, the recess depths, the lighting positions, the signage loads and the finish system, settled with the people framing it before the price is locked. Briefed that way, the feature wall is one of the most satisfying small packages in plasterboard partitions work: contained, visible and finished in weeks.
If a rebrand has a feature wall on the drawing, we can frame and finish it, curves, recesses and lighting included.
📞 Call us on 1300 60 93 93