
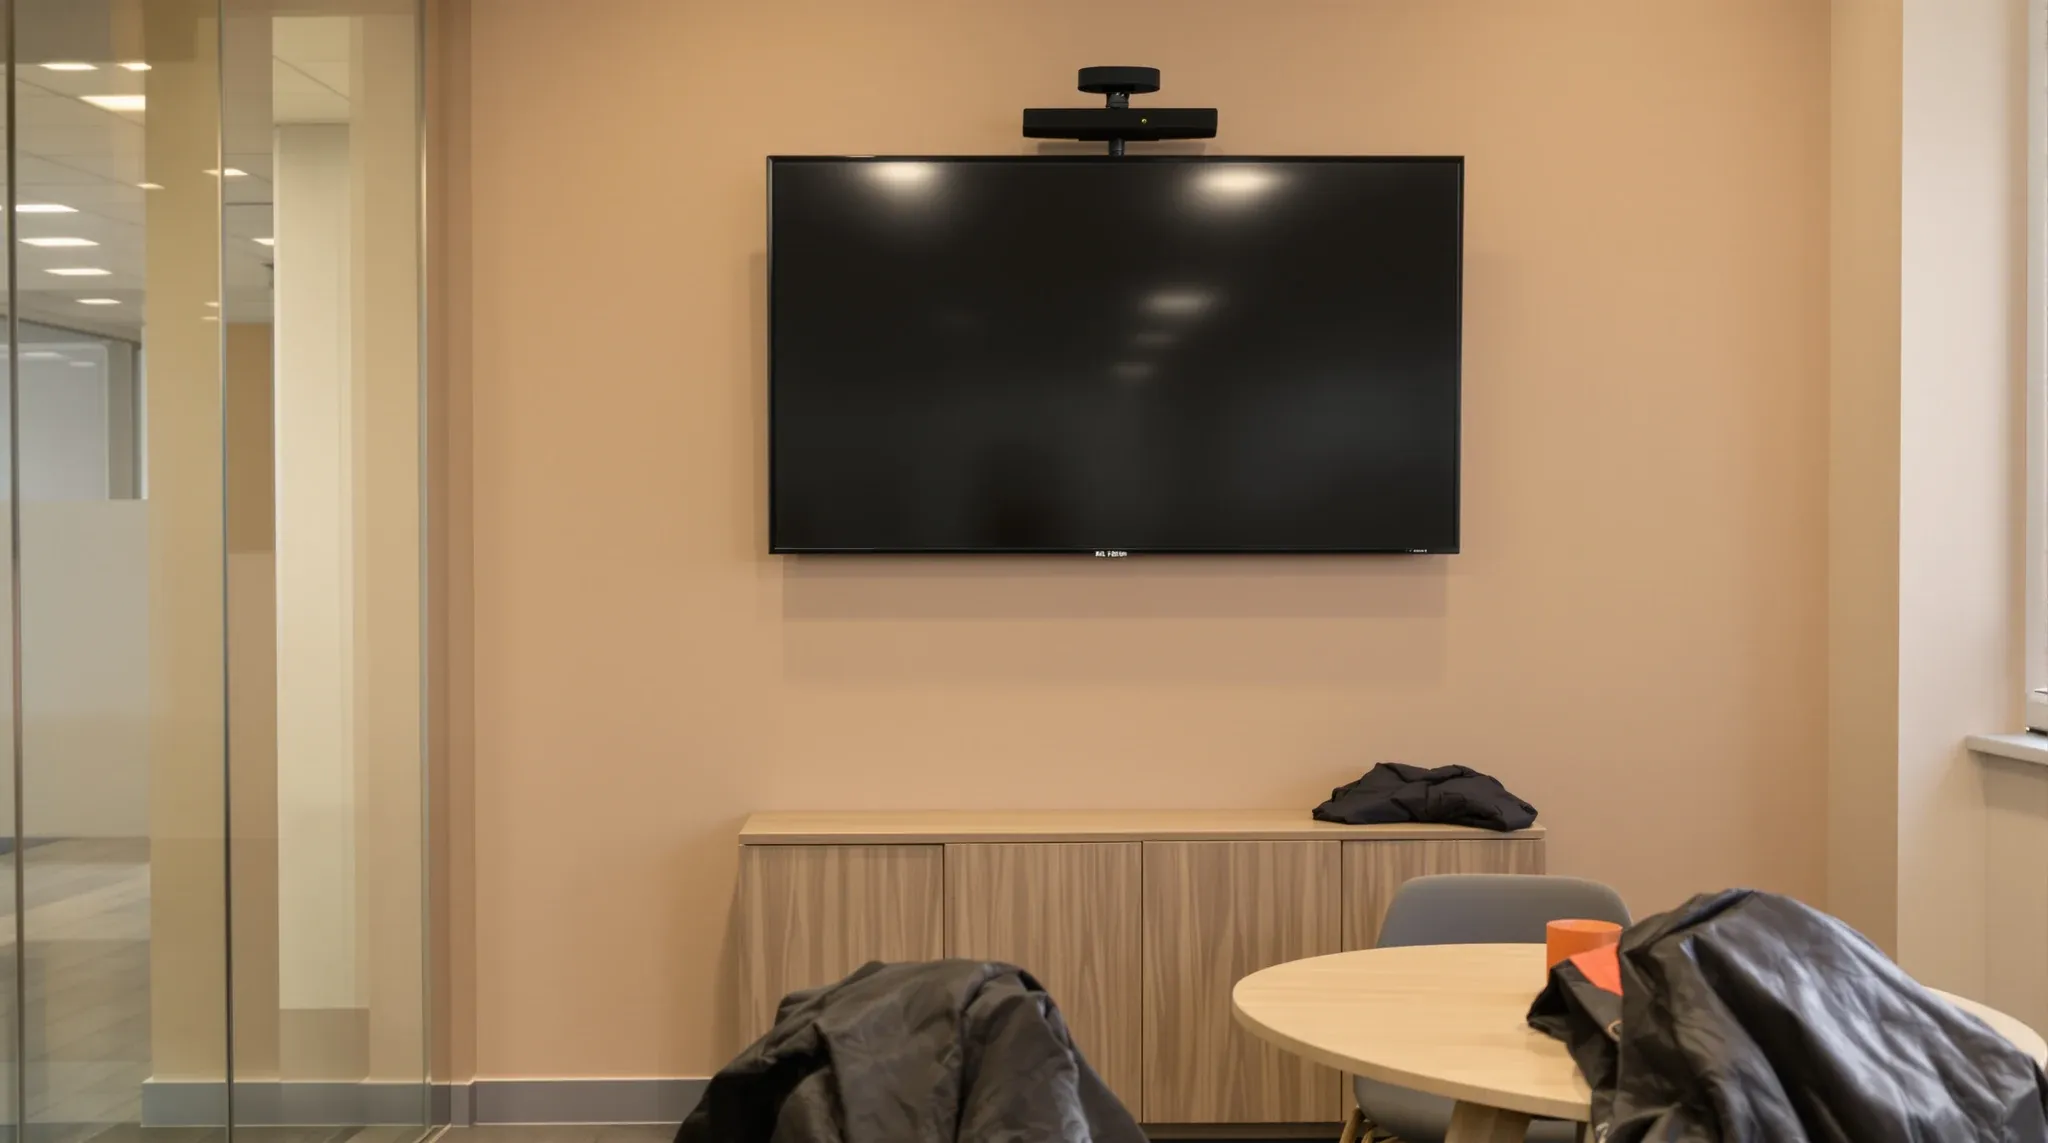
A 75-inch commercial display weighs around 45 to 50 kilograms before you add the bracket, the cabling and any videobar or sound system. A standard plasterboard wall on 600-millimetre metal studs, with the sheet fixed into steel at 450-millimetre centres, cannot carry that load reliably for the lease term if the bracket lands anywhere other than a stud. The screen may hang straight for a week or a month, but the fixings slowly pull through the board, the bracket tilts forward, and the installer who gets called in to fix it is repairing a problem that should never have been built.
Every meeting room, boardroom and training room with a wall-mounted display needs the partition designed around the mount, not the mount fitted to the partition. That usually means embedded steel backing, a properly specified pattress plate, or carefully placed noggins, put in during the framing stage before the plasterboard lining goes on. Put in later, the same solution is two to three times the cost and introduces visible patching on a wall that the room is now oriented toward.
Why Plasterboard Alone Cannot Hold A Modern Display
Standard 13-millimetre plasterboard has a surface mass of roughly 10 kilograms per square metre and a tensile strength that is designed for axial loads along its face, not for cantilevered weight hanging off it. When a bracket is fixed into plasterboard alone with cavity anchors, the initial grip is acceptable, but the combination of the screen weight, the lever arm of the bracket and the small micro-vibrations the building transmits into the wall over time slowly enlarge the anchor holes and loosen the fixing.
The failure mode is rarely dramatic. The screen does not usually fall. It tilts forward by a couple of degrees, then a few millimetres over the following months, and someone eventually notices that the brackets are pulling away from the wall. By that stage the plasterboard around the fixings is torn and the only fix is to cut out a section of wall, install the backing that should have been there originally, patch the plasterboard, re-finish the paint and re-hang the screen.
The same calculus applies even harder to the newer ultra-wide and tiled video-wall displays that are becoming common in larger boardrooms. A tiled video wall may run 80 to 120 kilograms in total and distributes that load across a larger mounting frame. The load per fixing is lower, but the total wall load is higher, and the consequences of partial failure are more visible because a video wall is the focal point of the room.
Stud Spacing And Why The Screen Mount Rarely Lines Up With A Stud
Commercial plasterboard partitions in Australia are typically framed with 64 or 76-millimetre metal C-studs spaced at 450 to 600-millimetre centres. That spacing is adequate for the wall itself but is rarely aligned with the hole pattern on a commercial display mount. Most large-format screen brackets use VESA patterns at 600 by 400 millimetres, 800 by 400 millimetres, or 1000 by 600 millimetres, and none of those patterns coincide cleanly with a 600 millimetre stud module.
The result is that any bracket fixed directly into the studs usually catches two studs at best, and the bracket’s horizontal arms cantilever away from those two fixing points. That geometry concentrates the load on a small number of screws, which magnifies the failure risk in anything other than a light, well-balanced display. The problem is not that the studs are weak. It is that the screen wants to spread its load across a plane, and the plane is not there.
A steel backing plate fixed across three or four studs solves the problem by giving the bracket a continuous substrate to bolt into. The bracket’s full hole pattern contacts steel, the load is distributed across multiple studs, and the plasterboard around the bracket carries none of the structural role. Once the backing is in, the mounting detail becomes as reliable as a mount into a concrete or brick wall, with the added benefit that the backing is still concealed inside the wall cavity.
Steel Backing And Pattress Plates Explained
Two solutions do the same job in slightly different ways. A steel backing plate, sometimes called a strap or a pattress, is a flat sheet of steel, usually 3 to 6 millimetres thick and sized to the likely bracket footprint, fixed horizontally across the studs before the plasterboard is sheeted. Screws from the bracket pass through the plasterboard and into the steel, which carries the load into the studs through its own fixings.
A pattress plate is a smaller, more targeted version of the same idea. It is a pre-cut block or plate, usually 300 by 300 or 400 by 400 millimetres, positioned precisely behind the planned screen location and fixed back to the studs with short brackets. It uses less steel than a full backing plate and is cheaper in pure material terms, but it requires the screen location to be known with centimetre accuracy before the wall is lined.
The practical choice usually comes down to certainty. In a boardroom with a fixed display layout, a compact pattress plate is fine because the mount location is locked. In a meeting room where the screen size or position might change during the fitout or in a subsequent refresh, a full steel backing plate sized generously across the likely mounting zone is cheap insurance against a future tear-out. The incremental cost of upsizing the backing is modest. The cost of opening a finished wall to add backing later is significant.
Timber Noggins And When They Are The Right Answer
For smaller displays, up to around 55 inches and 25 kilograms, timber noggins can do the job at a lower hardware cost. A noggin is a horizontal timber member, usually 75 by 35 or 90 by 35 millimetres, fixed between two metal studs at the mounting height. Screws from the bracket land in timber rather than steel, and timber holds a wood screw reliably at that load.
Two caveats apply. First, the noggin has to be at the right height, which means the screen mounting height has to be confirmed before the wall is framed. A noggin 100 millimetres off the bracket hole line is worse than no noggin at all, because it commits the wall to one height that is no longer useful. Second, the span of a single noggin between two studs is 450 to 600 millimetres, which is often narrower than the VESA pattern on larger displays. For anything beyond a 55-inch screen, the steel backing solution is usually the cleaner answer, and the cost difference becomes small.
Noggins are also a reasonable choice for smaller fittings that live alongside the main screen. Soundbars, touch-panel controllers, wall-mounted cable managers and acoustic panels around the display all benefit from noggin backing even when the main screen has its own steel plate. Walking the room in advance of framing and marking every anticipated fitting for noggin or backing is usually faster than choosing between competing hardware solutions on site.
Planning The Backing During Framing, Not After
The cost difference between planning the backing during framing and adding it after the wall is lined is roughly three to one. In-framing backing is fixed to open studs, sheeted over, and finished without trace. Retrofit backing requires the plasterboard to be cut out, studs exposed, backing fitted, sheet replaced, joints re-taped and re-set, and the paint re-finished across the patch area. The result is acceptable, but it is never invisible, and the wall behind the screen often has a slightly different paint plane where the patch sits.
The planning task itself is lightweight. It needs three pieces of information before the plasterboard goes on: where the screen will be, how big the screen will be, and what the bracket hole pattern is. In most fitouts, the first two are known from the design drawings. The third requires reading the bracket specification sheet, which the AV supplier can provide on request. Ten minutes of coordination between the plasterboard team and the AV consultant avoids the retrofit entirely.
Where the AV design is genuinely still being decided at the point of framing, the pragmatic answer is to over-spec the backing. A 1200-millimetre-wide steel plate centred on the likely mounting height catches any reasonable bracket size up to an 85-inch display. The material cost is marginal. The flexibility it buys is significant, particularly in meeting rooms where the next tenant or the next refresh may want a different screen.
Retrofit Options For Walls That Are Already Lined
Where the wall is already finished and a screen is being added, three options exist. The best is to open the wall, install the correct backing, and re-finish. This is cleaner than it sounds when the builder knows the wall and the damage can be contained to a single access panel.
The second is a surface-mounted steel strap. A thin steel plate fixed directly onto the face of the plasterboard, over a larger area than the bracket alone, then finished with a painted cover plate. This is visually different from a flush finish, and it reads as a piece of hardware rather than an invisible wall detail, but it solves the structural problem without opening the wall. For a temporary installation or a wall that will be reworked at a later fitout, it is an acceptable pragmatic solution.
The third is a floor-mounted or column-mounted bracket, where the screen is supported by a steel column that lands on the floor, not the wall. This is the only option if the wall is genuinely not suitable for a mount, such as a heritage lath-and-plaster wall or a curtain wall with a single plasterboard lining over glass. The column is visible, but the screen works and the existing wall stays intact.
Cable, Power, And Control Routing That Lives Inside The Backing
The mount is only half of the installation. A commercial display needs a power source within reach of the factory cable length, an HDMI or HDBaseT input from the videoconferencing system, often a USB-C or control connection, and sometimes a data run for a soundbar or touch panel. All of those cables need to reach the back of the screen without being visible below it.
The clean solution is a wall-box or recessed outlet plate directly behind the screen, with power, data and AV cabling terminated into the plate. The plate sits inside the wall behind the display, so when the screen is on the mount, the cables disappear. Two coordination points usually get missed. First, the wall-box location has to be chosen to sit inside the bracket’s arm footprint so the bracket arms do not block the plate. Second, the power outlet has to be properly rated for the continuous load the display draws, which is usually not a problem but is occasionally overlooked in kitchenette-grade outlet runs.
For a fitout where the AV design is still evolving, an over-sized recessed wall-box with conduit and a draw-string to the comms room is cheap insurance. Adding services into a sealed wall later is expensive and usually involves visible surface conduit. Rough-in during framing, with a generous wall-box and future-proof cable runs, sits inside the same plasterboard coordination window as the steel backing itself.
Common Failures That Turn Up Months Later
The screens that fail in service usually do so for one of four reasons. The bracket was fixed into plasterboard alone, without backing. The backing was present but offset from the actual bracket location by 100 millimetres or more. The wall was built with timber studs that had moved or split. Or the bracket type was wrong for the screen weight and the installer trusted the product page rather than the weight chart.
All four are avoidable with a few minutes of coordination at framing stage and a bracket sized for the actual screen rather than the aspirational one. The partition trade knows how to install backing correctly when told it is needed. The AV trade knows which bracket suits which display when given the screen weight. The coordination task, and the fitout cost, is in getting the two trades talking to each other before the wall is lined rather than after.
If you have an upcoming Sydney office fitout with boardroom, meeting room or training room screens, we can coordinate the AV bracket locations with the framing so the steel backing, pattress plates, noggins and recessed outlets are all in place before the plasterboard partition scope is sheeted, and the screens land clean on day one.
📞 Call us on 1300 60 93 93