
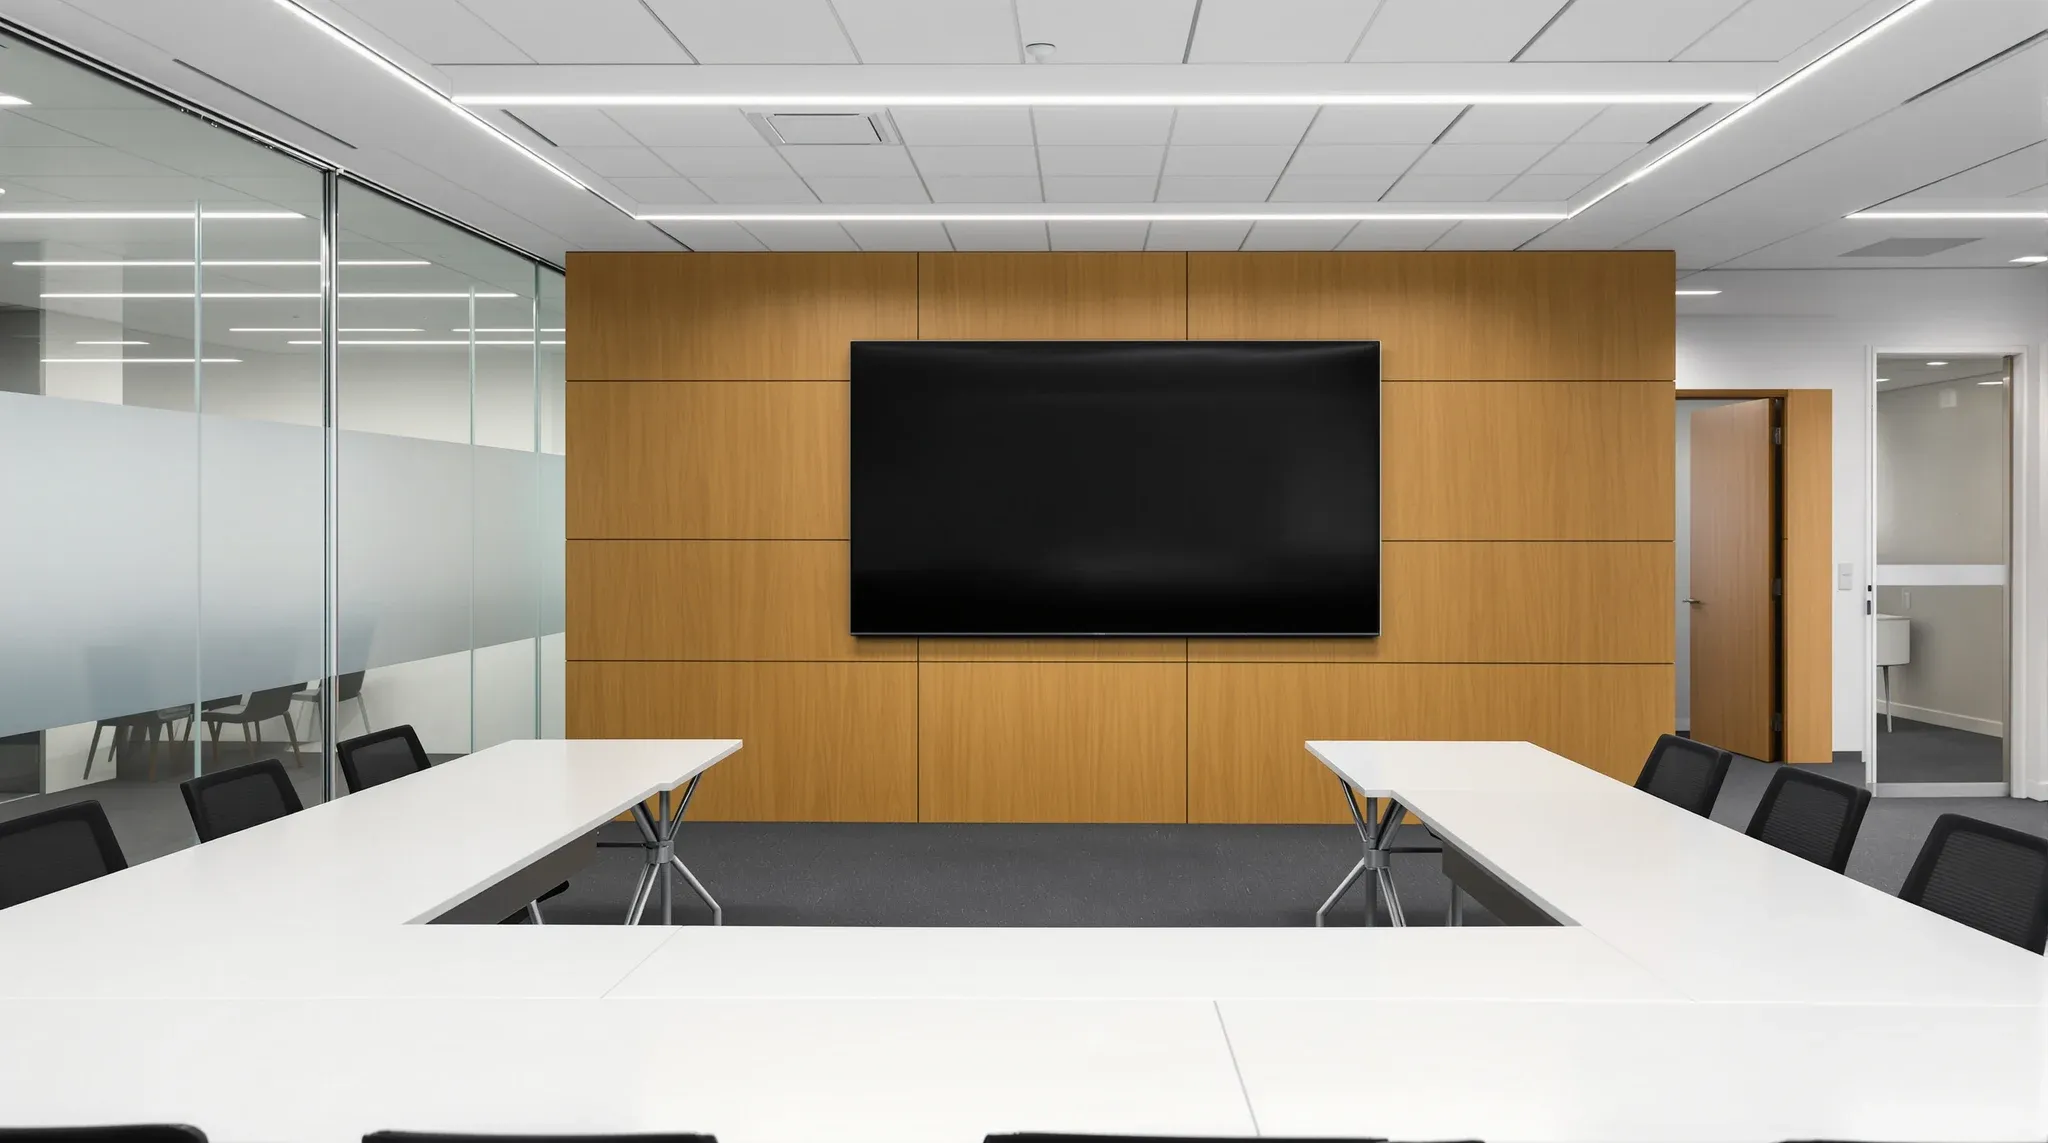
A training room differs from a meeting room in one way that drives almost every build decision: a whole group faces one teaching wall for hours at a time. The training room layout, whether rows, a U-shape, pods or a single table, sets how much floor area the room needs, which wall holds the screen, where power and data come up through the floor, and how the ceiling, lighting and walls have to perform.
When we price a training room, the first question is how it will be taught, and the second is how many people it has to hold on its busiest day. Those two answers fix the room's length and width before anyone draws a wall, and most of the cost and programme follow from there.
How Each Layout Sets the Floor Area
Each common layout uses floor space differently, so the same headcount can need a very different room. The main options we build around are:
- Classroom rows: tables in rows facing the front, the most compact layout for a given number of people, with the room running deep from the screen wall.
- U-shape: tables around three sides with the open end at the screen, which suits discussion but leaves an empty centre and needs a wider room for the same group.
- Cabaret or pods: small groups at separate tables, often angled towards the front, which needs space around each group so people can move and turn.
- Boardroom: one long table, good for small groups and senior sessions, with the room proportions set by the table length and chair space around it.
- Theatre: chairs only in rows, the densest option, used for briefings where nobody needs a work surface.
Occupant numbers are counted differently for building compliance. The National Construction Code uses area-per-person figures to work out how many people a space holds for exits and amenities, and in the NSW version of the 2022 edition a school general classroom and a board room are both listed at 2 square metres per person. There is no row labelled training room, so the figure applied to a corporate training room usually needs to be confirmed with the certifier, and it is a compliance count rather than a comfortable teaching density.
For planning, we work from the chosen layout drawn at full size, with the tables, the aisles and the clear zone in front of the screen shown on plan. That drawing tells us whether the room fits the tenancy, and it often shows that a U-shape for the same group would push a wall further than the floorplate allows.
Room Proportions, Sightlines and the Screen Wall
Once the layout is set, the room's proportions decide how well everyone can see. A long, narrow room suits classroom rows but stretches the distance to the back row, while a wide, shallow room keeps everyone close to the front but puts the outer seats at a sharp angle to the screen.
Screen size is worked back from the farthest seat. The AV industry body AVIXA publishes a display sizing standard, and its DISCAS calculators (opens in a new tab) relate the farthest viewer distance to the image height needed for the content being shown. Detailed content such as spreadsheets or drawings needs a larger image than slides with large headings, which is why we ask for the screen size from the AV designer before we build the wall behind it.
The screen wall is usually a short wall with no door and no glazing, so nothing competes with the display and nobody walks through the presenter's space. We avoid putting the screen on a wall with windows opposite or behind it, since daylight on the screen or behind the presenter causes glare that blinds cannot always fix.
The takeaway for the build is to fix the teaching wall first. It decides where the room's door goes, which wall can take glass, and where the ceiling services for the projector or speakers are set out.
Power, Data and AV in the Floor and Walls
Training rooms carry more cabling than most rooms of their size, and most of it has to be in place before the walls are sheeted. The screen wall typically needs power and data behind the display, a cable path down to the presenter's position, and in-wall backing so the mount has something solid to fix to.
The presenter's lectern or table usually needs its own power and data outlet, and in a deep room that often means a floor box. Floor boxes are simple to cut into a raised access floor, but on a concrete slab they need coring or a surface-mounted solution, and coring a slab usually needs building management approval and a scan first.
Delegate power depends on the layout. Classroom rows and boardroom tables can be fed from a few floor boxes lined up with the tables, while a cabaret layout that changes often is better served by outlets on the perimeter walls and a small number of floor boxes in fixed positions. Once a floor box is set, moving it is a new round of works, so the table plan has to be settled before the electrician sets out.
The rack or equipment for the room needs a ventilated location, either a joinery unit or a small cupboard nearby, with its own power circuit and data. We confirm conduit routes from that location to the screen, ceiling speakers, cameras and microphones while the frame is open, because running cable through a finished wall means cutting and patching.
Ceiling and Lighting for a Room That Presents
The ceiling in a training room does more work than in a general office. It usually holds speakers, sometimes a projector and a ceiling microphone, and the lights have to be arranged so that the screen can be read without the room going dark.
We set out the lights in zones so the area in front of the screen can be dimmed or switched off while the rest of the room stays lit for note-taking. Fittings directly in front of the display are the ones that wash out the image, so the zone nearest the screen wall is usually controlled separately. The control position is normally beside the door and at the presenter's end, so the trainer can change the lighting without walking to the back of the room.
Glare on the screen also comes from the fittings themselves. Low-glare fittings, and keeping bright lights out of the viewing line between the seats and the screen, matter more in a training room than in an open office where people face in every direction.
The ceiling layout is where these trades meet, and it pays to draw every item on one reflected ceiling plan before the grid goes up. Speakers, sensors, sprinklers, diffusers and lights all compete for the same tiles, and the air-conditioning in a full room has to be checked by the mechanical contractor, since a packed training room holds far more people than the office area it replaced.
Acoustic Separation from the Rest of the Office
A training room is loud in a way meeting rooms are not. A presenter speaks at raised volume for long periods, video sound is played through speakers, and group exercises produce bursts of noise, so the walls have to stop that sound reaching the desks next door, and stop office noise reaching the room.
The walls we build for this are full-height walls taken up to the slab, with insulation in the cavity and sealed junctions at the floor, ceiling and window mullions. Our office partitions work covers both plasterboard and glass versions, and the choice depends on which side of the room faces the corridor and which faces work areas. Where the room sits against open-plan desks, a solid wall with no glass is often the better choice on that side.
The weak points are usually the details rather than the wall itself. Sound travels over the top of walls that stop at the ceiling grid, through shared ductwork, around power points cut back to back, and under doors without seals. We treat each of these as part of the room scope from the start, because adding seals and acoustic baffles after a complaint means removing ceiling tiles and working around people.
A glass wall to the corridor gives the room light and lets staff see whether it is in use. With glass partitions in training rooms, the type of glass and the film on it change how much corridor movement people inside notice. We set the glazing out on a side wall, well away from the screen, so nobody watching the display looks straight into the corridor.
Doors, Circulation and the Breakout Space Next Door
Door position follows the layout. The best place is usually at the back of the room or at the side away from the screen, so late arrivals and people stepping out do not cross between the presenter and the group. A larger room may need a second door, which is usually a question for the certifier based on the number of people and the travel distance to an exit.
The door itself needs to suit a room that fills and empties at once. A wider leaf helps when trolleys and equipment come in, and a door closer, acoustic seals and a vision panel are standard items we price for these rooms. The corridor outside also has to take a group at the break, so we check that it is wide enough and that the door swing does not block the path.
Breakout space next to the room keeps a full group out of the working office during breaks. On a corporate floor this is often a small kitchenette, a standing area or a widened corridor, and on a dedicated training floor it can be a larger lounge space with its own services. Planning it at the same time as the training room means the water and waste for any sink, the power for appliances and the extra toilet demand are all picked up in the one design.
On multi-tenant floors, this is also where the training room meets the rest of the tenancy. In corporate fitouts, placing the training room and its breakout zone near the lift lobby means visitors attending a session do not walk through staff work areas.
Splitting and Combining Training Rooms
Many clients want two training rooms that can open up into one. This affects the build well beyond the wall that moves, since each half needs its own screen wall, door, lighting zone and AV, and the combined room needs a screen position that works for the larger group.
When we plan a divisible room, the dividing line is set so that both halves have a sensible shape on their own, with neither half left long and narrow. The ceiling services are laid out in two groups so each half can run on its own, and the air-conditioning zones are split to match. The slab above also has to carry the track, so we confirm what holds up an operable wall track with the building before the ceiling is set out.
Some clients decide that two fixed rooms suit their bookings better than operable walls for training rooms, and that choice changes the ceiling and services layout, so it needs to be made before set-out. Once the slab fixings, ceiling bulkhead and floor track are in, moving the dividing line is costly.
For training centres, colleges and registered training organisations, the same principles apply across a whole floor of rooms, and our education fitouts cover the wider mix of classrooms, offices and student areas around them.
When we build a training room, we set out the screen wall, floor boxes and ceiling services from the chosen layout before any wall goes up, so the room works for the group it was sized for from the first session.
📞 Call us on 1300 60 93 93