
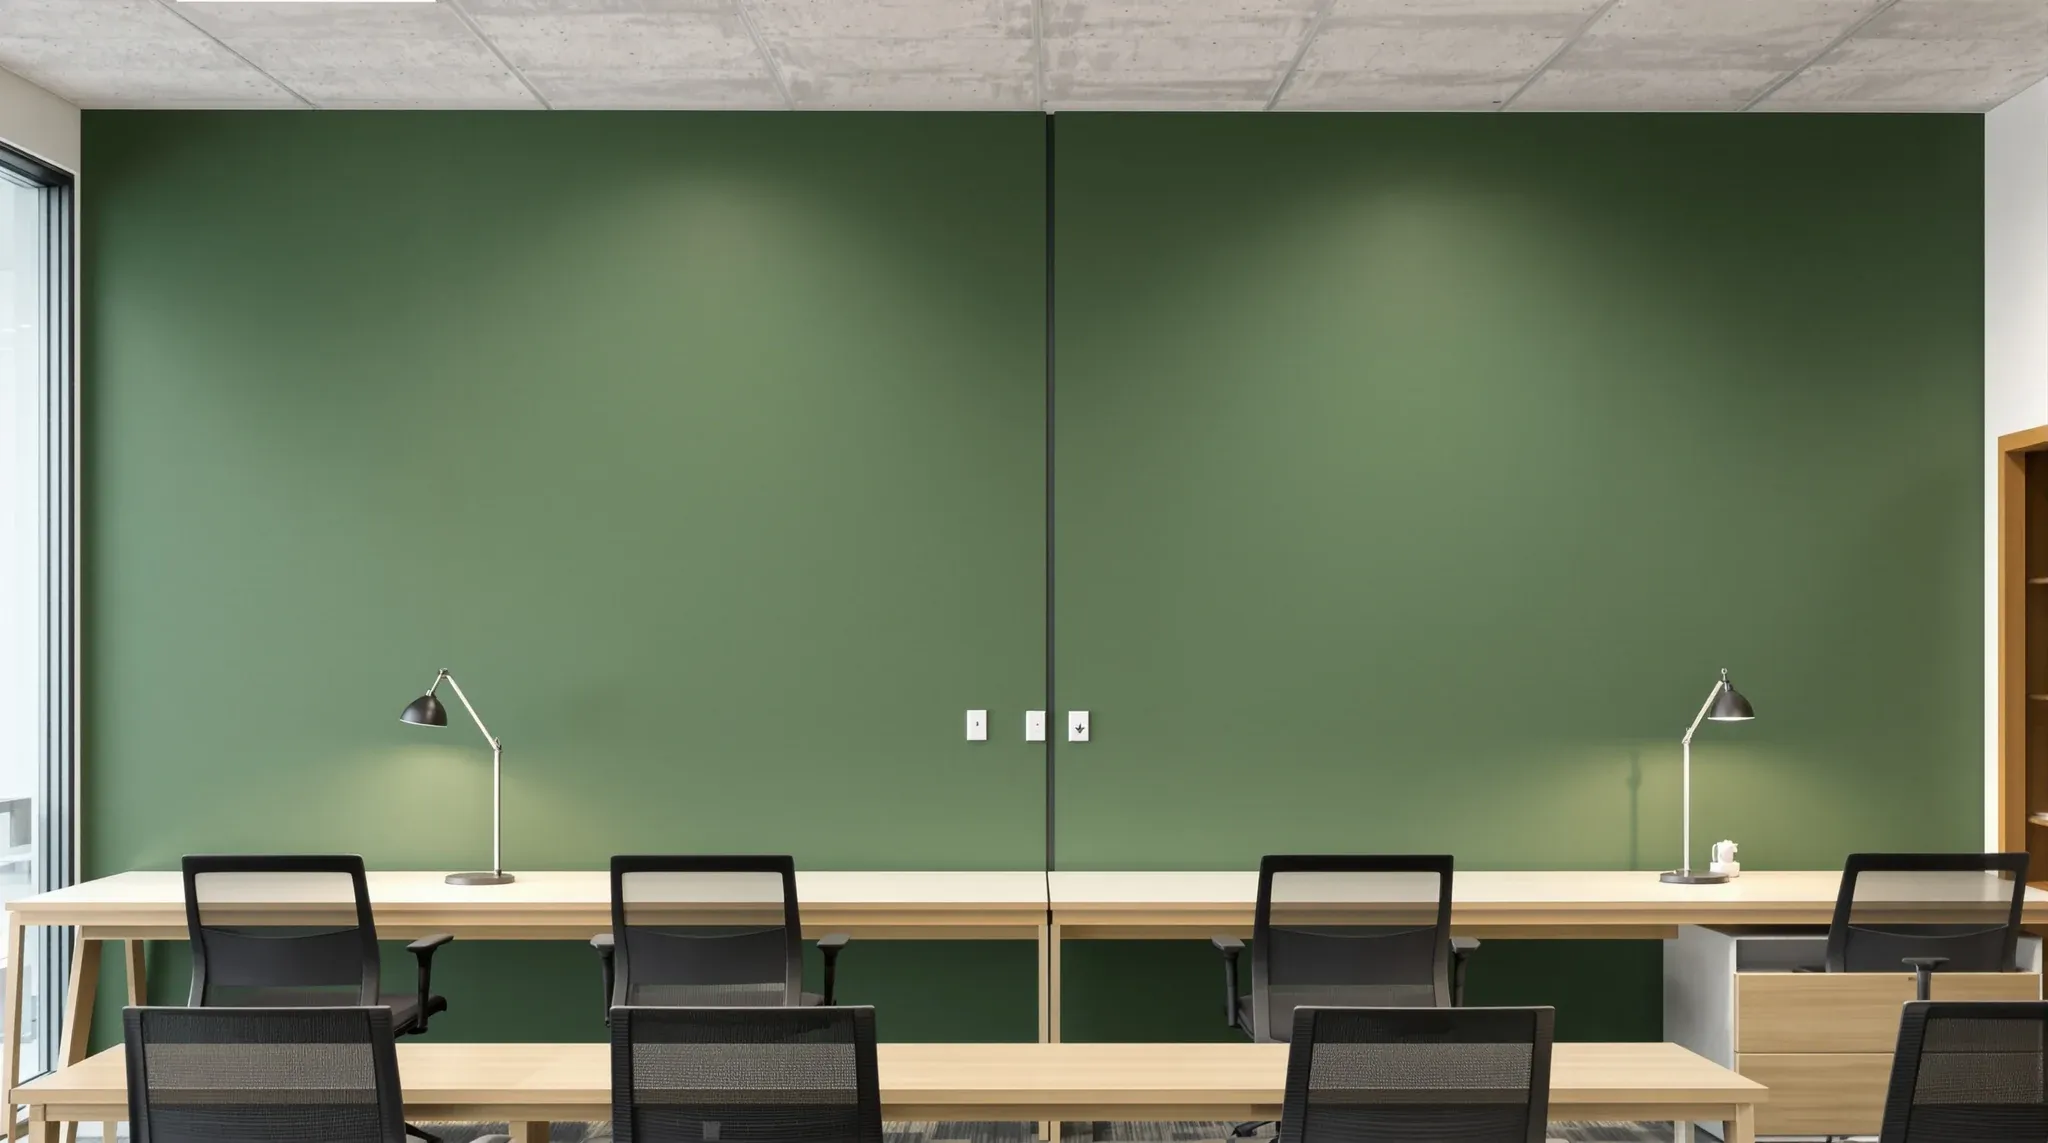
Commercial office slabs in Sydney are rarely perfectly flat. A floor plate that reads as level by eye will typically vary 10 to 25 mm in absolute height across a 600 square metre floor, and sometimes more in older buildings where movement over decades has added a few millimetres either way. The variation does not matter for carpet tiles, most floor finishes or furniture. It matters significantly for the partitions sitting on top of it, because the head detail at the top of the wall either absorbs that tolerance cleanly or shows it as a visible defect.
The right partition head detail for an out-of-level slab is not obvious from the drawings. The slab tolerance is almost never reflected on the construction documents in a way the wall system can respond to, and the standard head details that plasterboard and glass partition manufacturers publish assume a level base. Resolving that gap in the middle of an install is where partitions get built wrong and rework lands on the programme.
Causes Of Uneven Sydney Commercial Slabs
Concrete slabs are poured to a surveyor’s set-out, finished by hand or machine, and cure with some amount of differential shrinkage. AS 3610 and the Concrete Institute’s tolerances allow a surface finish variation that, for a typical post-tensioned or reinforced commercial slab, can legitimately sit around 10 to 15 mm under a 3 metre straight edge. That is the construction tolerance. Over thirty or forty years of building movement, long-span deflection under sustained loads, or local patch repairs, the absolute variation across a floor plate can grow to 25 mm without indicating anything structurally wrong.
Three patterns appear repeatedly in Sydney commercial stock. First, a dish in the centre of a large open floor plate where long-span beams have taken their elastic deflection and are no longer recovering fully. Second, a perimeter-to-core differential where the slab edge sits a fraction high or low of the core area, often reflecting the original pour sequence. Third, local high or low spots around former services penetrations that have been patched and ground flush, sometimes not quite flush.
None of this is unusual, and none of it is cause for alarm. What matters is that the partition system has to land on that slab without pretending the slab is level.
Base Plate And Shim Detail At Floor Level
The first place the tolerance is absorbed is at the base of the partition. In a standard plasterboard build, a steel top-and-bottom track is fixed to the slab with a shim pack at each fixing point, so the track sits on a level plane regardless of what the slab is doing. The partition then builds up from that level track, and the studs are all the same length within the fabrication tolerance.
Shim packing sounds minor until it is the difference between a flat wall and a waved one. On a level slab, no shim is needed. On a slab that dips 8 mm across a 10 metre run, the bottom track needs an 8 mm variable shim along that run, and the fixings need to be tightened against the shim without closing the gap. Two practical details make this work. The shims are non-compressible, typically plastic or steel packers rather than timber, which avoids slow settlement under the wall’s weight. And the fixings are torqued to a consistent value, not to “tight”, so the shim is held in compression rather than crushed.
Where the slab tolerance is larger than a shim pack can reasonably absorb – usually more than 10 to 12 mm across a short run – the floor itself is sometimes self-levelled with a screed before the partition lands. That is a more expensive approach because the screed has to cure, and the floor finish has to accommodate the raised reference, but it is the right answer where the alternative is visible distortion.
Managing Stud Length And Top Track Drift
Once the base track sits level, the studs cut to standard length stand vertically. The top track then has to meet whatever the ceiling plane or the soffit is doing, and that is where the second tolerance point lives.
If the ceiling grid above is itself level, which is usual because suspended ceilings are hung from the slab on adjustable wires and trimmed to a datum, the top track meets a flat plane and the studs all land cleanly. No additional stud-length variation is needed; the partition ends cleanly at the underside of the grid.
If the top track meets the slab soffit directly, which happens in slab-to-slab partitions or where there is no suspended ceiling, the slab underside carries its own tolerance. A soffit that rises and falls 15 mm across a 6 metre wall run makes every stud a slightly different length. Cutting studs to measure on site as the wall goes up is the honest way to handle this, rather than pre-cut packs that assume a constant head height.
The wall thickness also changes the problem. A 64 mm stud partition is more forgiving of stud-length variation than a 92 mm or 150 mm stud, because the visible face distortion of a slightly-too-long stud is proportionally smaller. On a thicker partition, the alignment tolerance at the head has to be tighter because the wall face shows any unevenness more clearly.
Head Details Against Level Ceiling Grids
Where the partition stops at the underside of a suspended ceiling grid, the head detail has three common solutions and they handle slab tolerance differently.
A slip-joint head detail uses a deep track at the top of the wall with the studs fitting loosely inside it, allowing the wall to move vertically as the slab flexes seasonally without cracking the sheet. Slip joints handle small amounts of slab tolerance incidentally, because the deep track accommodates minor stud-length variation inside it. The joint is sealed with an acoustic bead rather than mud-and-tape, preserving the movement capacity.
A hard-fixed head detail sets the partition tight against the grid and fixes the track to the grid suspension members above. This is cleaner visually and tends to appear in premium fitouts, but it offers no slab tolerance capacity at the head; the capacity has to come from the base. On a slab with significant variation, this is the head detail most likely to show face-unevenness on the wall.
A bulkhead head detail wraps the top of the partition in a plasterboard bulkhead that drops from the grid line to meet the wall. Bulkheads visually hide small variations in head alignment, and they also offer a useful location for services that need to run along the wall line. The trade-off is cost and floor-to-ceiling height reduction; a 200 mm bulkhead takes 200 mm off the perceived room height and consumes an additional two trades to build and finish.
The head detail choice is usually driven more by the ceiling type than by the slab tolerance, but the slab tolerance decides whether the choice has been made correctly. A hard-fixed head on a poorly prepared slab produces a worse outcome than a bulkhead on the same slab.
Head Details Against Sloping Exposed Soffits
Exposed-soffit partitions are the harder case. The slab above carries its pour tolerance, its service penetrations, its beams, its bulkhead drops and the occasional pipe or conduit running beneath it, and the partition has to meet that surface cleanly.
Two methods are used, often on the same project.
A scribe profile lets the top of the partition follow the actual slab contour. The last stud’s length is measured at each stud location, the top track is cut to match, and the plasterboard sheet’s top edge is scribed to the soffit with a scribe template. This produces a clean line at the head and hides slab variation entirely, at the cost of a slower install and more site-measured work. On an older warehouse conversion with exposed brick and steel trusses, scribing is almost always the right answer.
A packer approach uses a standard straight top track fixed to the slab at a single datum line, with timber or metal packers filling the gap between the top of the wall and the slab wherever the variation exceeds the track’s own depth. Packers are faster to install and cheaper, but they read clearly when painted and backlit. On a job where the head condition will be obvious – a meeting room with a feature light, a reception with a view to the soffit – packers usually look worse than the slab they were hiding.
Where the soffit variation is modest and the visual exposure is limited, packers are acceptable. Where either of those conditions fails, scribing pays back.
Responsibility for Tolerance Sign Off
Responsibility for slab tolerance sits across several trades and several contracts, and that diffusion is where disputes about rework originate.
The builder or the slab contractor signs off the slab against a pour tolerance at handover. That tolerance rarely references partition construction directly; it references AS 3610 or an equivalent finish class. The fitout contractor or office partition specialist signs off the partition’s finished appearance, which depends on how well the head and base details have absorbed whatever tolerance the slab is actually offering. The tenant or the tenant’s project manager signs off the final room at handover, judging the wall by eye and by standards that are not usually written.
The cleanest way to avoid a dispute is to survey the slab before the partition set-out is finalised. A simple laser-level survey across the floor plate, annotated against the partition layout, tells the contractor where the challenging head conditions sit and lets the head detail be specified accurately before pricing. Surveying mid-install, once a wall has gone up with the wrong head detail, is always more expensive than surveying before anything is built.
The surveyor’s report sits in the project file and becomes the reference point if the finished wall is queried at handover. It is cheap insurance against a discussion about whether the slab or the installer produced the visible face defect.
Our Technical Partitioning Expertise
Partition head details on out-of-level slabs are not in the standard manufacturer catalogue, and the right answer depends on the slab’s actual condition, the ceiling type above, and the visual exposure of the finished wall. We can help work through the details on a Sydney commercial fitout, from the slab survey through the head detail choice to the installed wall, so the partition finishes cleanly regardless of what the base is doing.
📞 Call us on 1300 60 93 93