
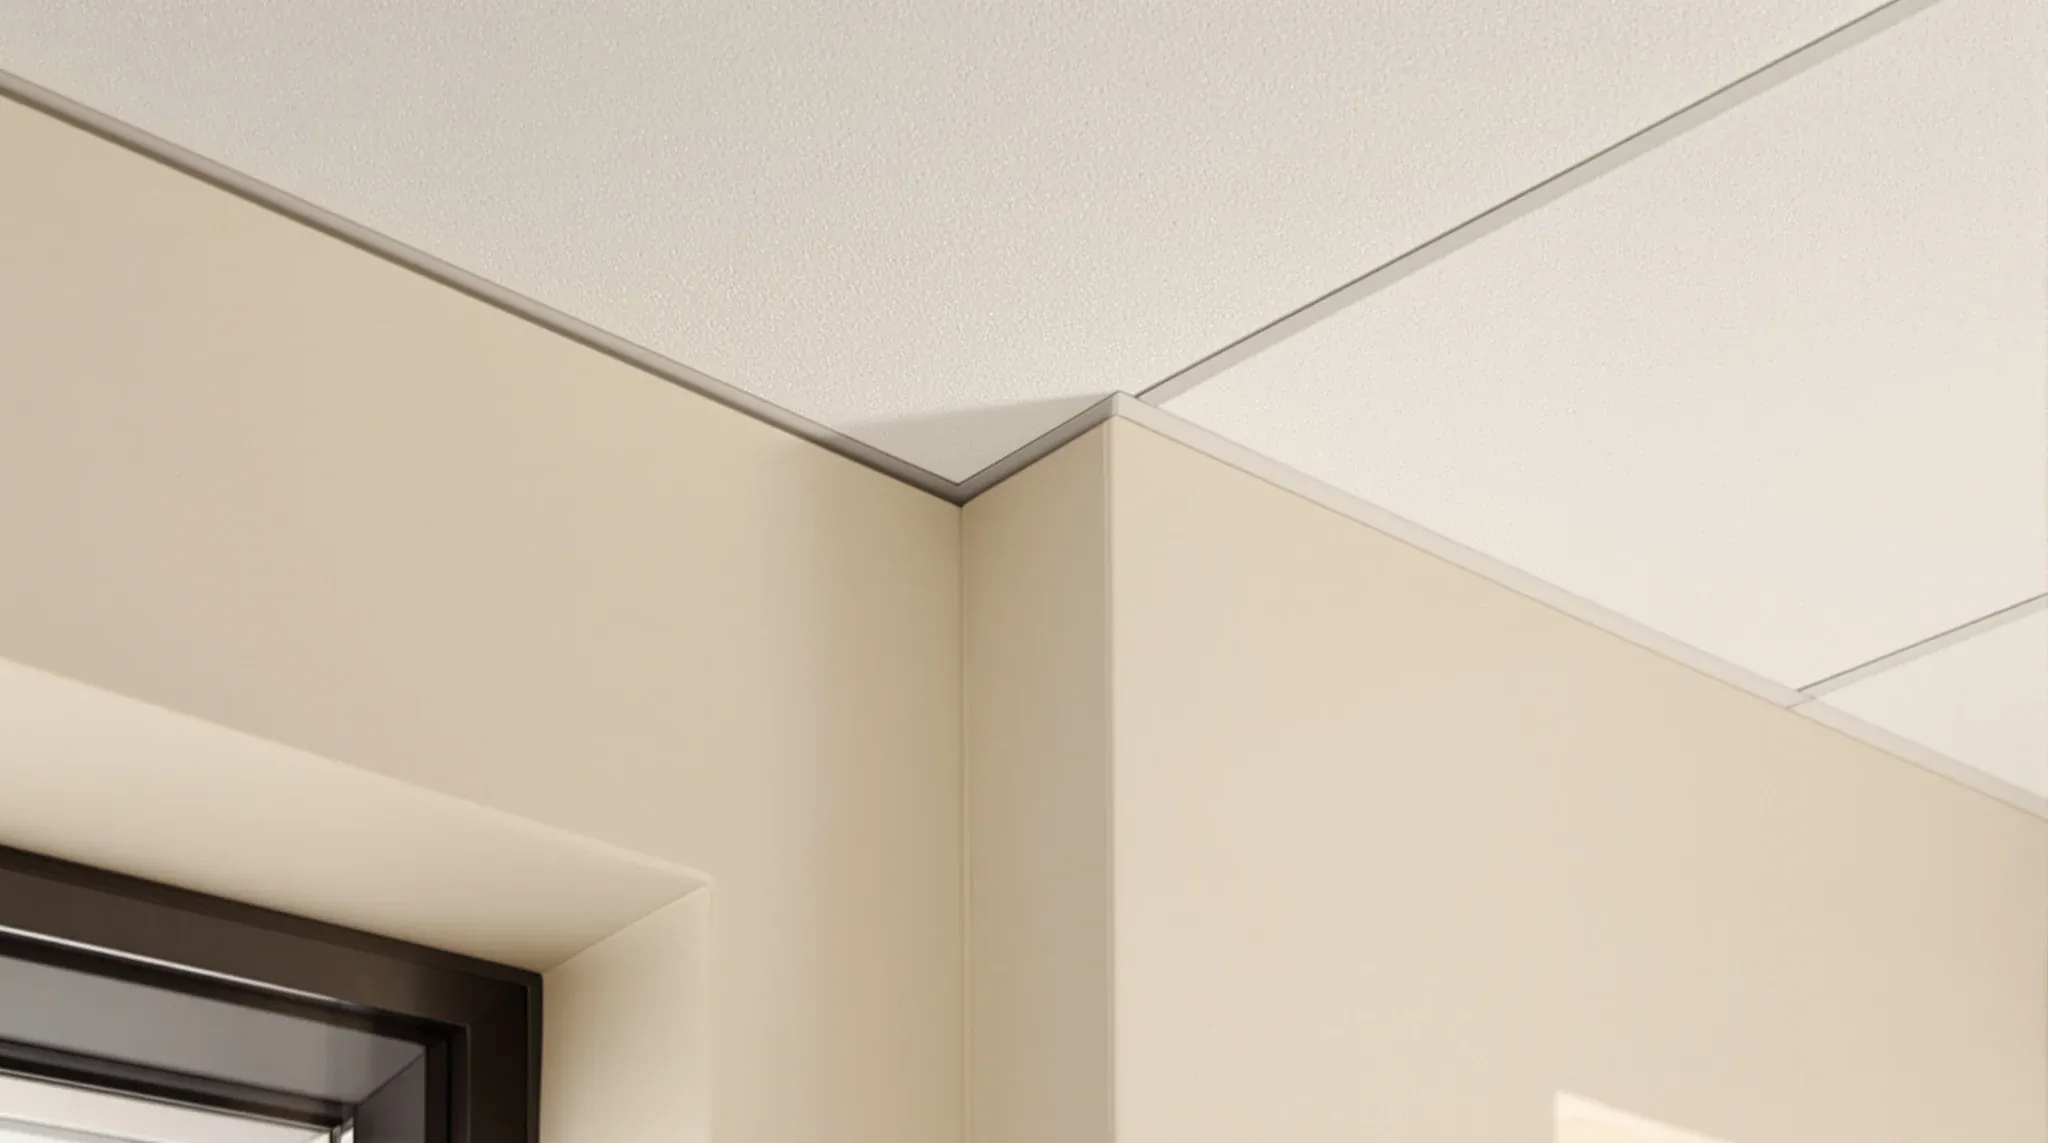
How a suspended ceiling meets the wall is one of the few details in a commercial office fitout that a visitor will actually notice without knowing why. A clean perimeter reads as finished. A ragged one makes the whole ceiling feel cheap, even when the tile and grid are mid-to-upper specification.
Three perimeter conditions carry most of the complication on a Sydney commercial tenancy: the ceiling meeting a new plasterboard partition, the ceiling dying into an existing masonry or concrete base-building wall, and the ceiling landing on top of a glass partition head channel. Each one wants a slightly different termination, and getting the choice wrong costs either money at install or visual quality at handover.
Aesthetic Challenges At The Ceiling Perimeter
Most ceiling specifications focus on the tile and the grid in the field, and pay very little attention to what happens at the wall. That is how you end up with a $140-per-square-metre ceiling sitting inside a perimeter trim that looks like it belongs in a $70 job. The tile field can be excellent and the room will still feel unfinished because the eye tracks along the wall line first.
The other common failure mode is a ceiling installed to the wrong set-out at the perimeter, forcing one-off narrow tile cuts along every wall. A trimmed-to-last-width sliver of tile runs the length of a meeting room is the strongest visual signal a reader gets that nobody planned the grid. It is also one of the easiest things to avoid at documentation stage.
Standard Angle Trim Defaults And Limitations
The default perimeter on a Sydney commercial ceiling is a standard L-shaped wall angle, usually 24 mm or 25 mm face, fixed horizontally to the wall at the intended ceiling height. The grid sits on top of the angle and the tile drops into the field from above. It is fast to install, cheap to supply, and entirely forgiving of small level variations in the wall or the grid.
Where it falls down is visual precision. The L-angle is thin, and any paint mismatch between the wall colour and the trim colour shows. Any minor undulation in a plasterboard wall reads as a wavy horizontal line at ceiling height, because the eye uses the trim as a straight-edge reference against the wall.
Standard angle is the right choice for most back-of-house areas and secondary circulation. It is the wrong choice for a reception, a boardroom, or any zone where someone is paying attention to the ceiling transition. Paying for a better tile and leaving the perimeter as bog-standard L-angle is one of the commoner cost allocation mistakes on mid-range fitouts.
Benefits Of Premium Shadowline Trim
A shadowline or reveal trim sits the ceiling back from the wall by 10 to 20 mm, creating a small shadow gap between the tile field and the plane of the wall. The visual effect is that the ceiling appears to float, and the eye stops tracking the exact horizontal line where the ceiling meets the wall.
The practical benefit is forgiveness. A wall that is not perfectly plumb, a ceiling set-out that is out by a few millimetres, a small level variation along a long run: all of these are hidden inside the shadow gap rather than shown against the wall. A shadowline detail is usually the cheapest way to make an average install look better.
The premium over standard angle is mostly in the trim profile itself, which is a more complex extrusion, and in the install labour, which runs slower because the reveal has to be consistent along every wall. A reasonable rule of thumb is that shadowline adds $12 to $25 per linear metre of perimeter over standard angle, applied only to the rooms where the detail earns its keep.
Set Out Issues For Concealed Grid Terminations
A concealed-grid ceiling, where the metal framework hides behind the tile line, needs its own style of perimeter termination because there is no exposed grid to land on a perimeter angle. The common approach is a specialty trim specific to the concealed system, usually a two-part extrusion where the tile-carrying element is fixed to the wall and a cover cap snaps over the top.
Concealed systems punish poor set-out in a way that exposed grids forgive. A tile field that is 5 mm out of alignment across a 4-metre run is invisible under an exposed T-bar and obvious under a concealed grid, because the tile edges are meant to read as clean continuous lines. The work to get the set-out right at the wall intersection is the reason concealed ceilings cost more to install, and the reason they look expensive when done properly.
The room types where concealed perimeters earn their cost are client-facing executive zones, premium meeting rooms, and reception or lobby ceilings. Running concealed grid across open-plan working space pays for precision that the users will never see and the budget will always miss later in the fitout.
Seamless Terminations Into Plasterboard Partitions
Ceiling terminations into plasterboard partitions are the most common situation and the most forgiving, because the installer controls both sides of the detail. The partition head is built to a consistent height, squared up, and either painted before the ceiling goes in or masked off during ceiling install. The ceiling trim fixes into a straight, plumb line.
The sequence matters. If the ceiling goes in before the partition, the partition has to meet the ceiling trim and the detail is clean only if the partition is genuinely plumb along its entire length. If the partition goes in first, the ceiling can be set out to work off the partition line, and small imperfections are absorbed by the trim rather than stacked onto it.
On Sydney commercial fitouts we usually install the partitions to the underside of the ceiling grid rather than to the structural slab above the void, unless there is a specific acoustic reason to take the wall full height. That keeps the set-out predictable and reduces the number of components that have to be trimmed around each other at the head.
Managing Connections To Masonry And Facades
Terminating a new suspended ceiling into an existing concrete, brick or rendered wall is where the detailing most often gets ugly. The wall was not built with a ceiling termination in mind. The surface is rarely dead straight, the paint is often an older finish that does not match the new ceiling trim, and fixing into masonry needs different anchors than fixing into framed walls.
The safest default in heritage and converted Sydney stock, of which there is a lot, is a shadowline detail that deliberately sits the ceiling off the masonry rather than trying to meet it flush. The reveal gap absorbs the waviness of the wall, the trim fixes into a packer strip that can be adjusted for level, and the detail reads as intentional rather than patched-in.
Where a flush detail is genuinely required, the honest answer is that more preparatory work is needed: the wall has to be dressed straight with a packing strip, the trim has to be scribed to any remaining variation, and the paint-back at the junction has to be done after the ceiling is in. It costs more. It looks better. The middle path of installing a standard L-angle against a rough masonry wall and hoping paint will cover the discrepancy almost always produces a perimeter that is visibly imperfect from the first day.
Terminations Against Glass Partition Head Tracks
Glass partitions with a head track sitting against the ceiling line are a specific case that needs to be drawn before the ceiling is installed, not resolved on the day. The glass head channel wants a flat, level plane to seal against. The ceiling grid wants enough edge support to carry the tile. Those two requirements collide at the exact line where the glass meets the ceiling.
The usual solution is a ceiling bulkhead that drops down slightly below the field ceiling, giving the glass head channel a dedicated plane to sit against while keeping the ceiling grid set out to work in the main field. The bulkhead can be as small as 100 to 150 mm of drop and still solve the problem cleanly. Trying to run the glass head directly into the field ceiling grid produces a detail where the tile has to be cut around the channel, the acoustic seal is compromised, and the visual line is unreliable.
If the glazed system is a framed partition with an aluminium head, the detail is easier because the frame gives the ceiling something predictable to land against. A frameless glass run with a top channel is the case that benefits most from the dedicated bulkhead approach, because the tolerances are tightest and the seal matters most.
Selecting Details Before Ordering Materials
The single most useful thing a tenant can do to protect perimeter quality is to have the termination detail settled on drawings before the ceiling is ordered. That means identifying every wall condition the ceiling meets, naming the trim type for each, and making sure the grid set-out is dimensioned from the perimeter rather than from the centre of the room.
It also means being selective about where the upgraded detail goes. Shadowline or concealed perimeters in the reception, the boardroom and executive suites almost always earn their cost. The same detail in back-of-house, secondary circulation and utility spaces rarely does. A ceiling that mixes a premium perimeter in front-of-house zones with a standard L-angle in back-of-house, documented clearly on the reflected ceiling plan, produces a better overall result than a uniform upgrade applied across every room.
If you want us to look at the perimeter details on a ceiling scope and suggest where the upgraded trim earns its cost and where standard angle is the honest answer, we can work through the reflected ceiling plan with you. Both on a full fitout and on a standalone ceilings scope, the perimeter is usually where the small money makes the biggest visual difference.
📞 Call us on 1300 60 93 93