
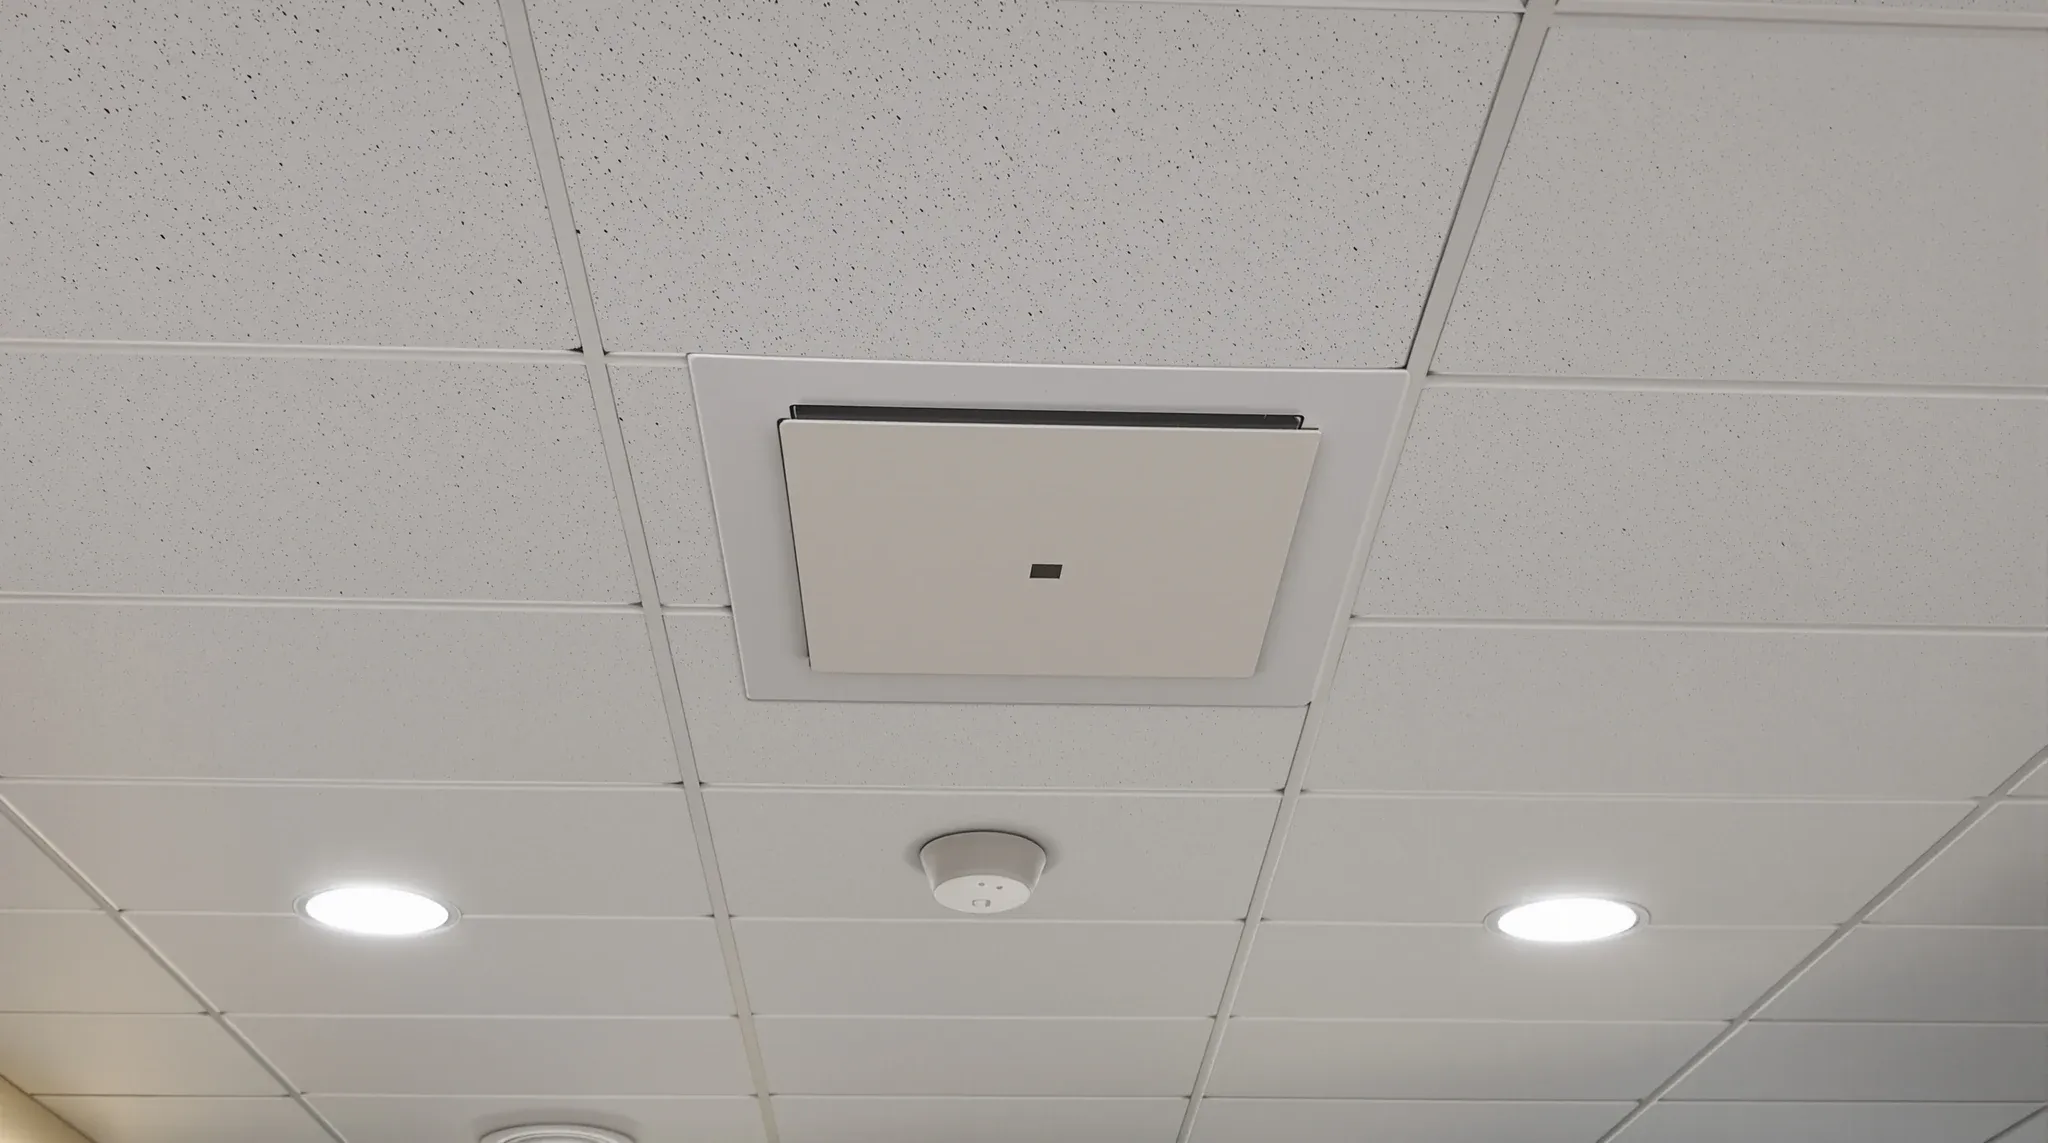
In a commercial office fitout the ceiling is never just a ceiling. It is the plane that holds the building’s services in place: air-conditioning, lighting, sprinklers, smoke detection, data cabling, audio-visual connections, and in most tenancies a few other specialist systems. Access panels are the quiet openings that let a trade reach those services without pulling the whole ceiling apart. Getting their position right at design stage is one of the small decisions that keeps the building running cleanly through years of occupation.
Tenants rarely see access panels until something needs to be fixed. Then the difference between a well-placed panel and a missing one becomes obvious in a single phone call: “we need to come back next week to cut a new opening” is the sound of access planning that did not happen.
What an access panel actually does
A ceiling access panel is a removable opening, usually square or rectangular, built into a plasterboard or suspended ceiling so that a specific service or valve can be reached without cutting the ceiling open. In a grid ceiling, an access panel is often simply a nominated tile fitted with clips or lifting aids. In a plasterboard ceiling, it is a purpose-made frame with a hinged or drop-in cover, sized and rated for the service behind it.
The panel itself is low-cost. The decision about where it sits, how big it is, and what it is rated for is the part that matters. Access panels in fire-rated ceilings need to maintain the fire separation. Access panels above wet areas need to allow drainage inspection. Access panels under HVAC diffusers need enough clearance to reach valves and actuators, not just the duct.
The services an occupied tenancy typically needs to reach
There is a predictable list of services that require ongoing access in most commercial offices. HVAC variable-air-volume boxes, reheat coils, and isolating dampers sit above ceilings and need seasonal adjustment, condensation checks, and occasional rebalancing. Sprinkler head flexible connections are inspected during landlord or insurer checks. Electrical isolators and local distribution boards mounted above ceilings need maintenance access. Data patch points at floor boxes and ceiling-mounted access points need reconfiguration as the team moves around the floor.
Lighting drivers are the category tenants most often underestimate. Modern LED drivers sit above the luminaire and fail more often than the light itself. Without an access panel nearby, what should be a ten-minute replacement turns into a ceiling-tile removal, fall-protection set-up, and re-paint of adjoining grid. Multiply that across a floor of one hundred luminaires and the operational cost of missing panels becomes visible.
Audio-visual systems mounted above ceilings, including projector cables, ceiling microphones, and wireless access points, sit in the same category. Replacing or re-aiming any of these needs access, and a meeting room with no planned opening is a meeting room that will lose a session every time the trade comes on site.
Where access panels belong on the plan
The position of an access panel is a design decision, not a trade one. Trades will install panels where they are told to, and in the absence of clear direction they will install them where it is easiest for them, which is not always where the next tenant or the next service visit will want them.
The useful rule is that every serviceable component above the ceiling needs a defined access route. On the design drawings, access panels should be marked in the same coordination drawing that shows luminaires, diffusers, sprinkler heads, and any above-ceiling equipment. That single drawing is where the tradeoffs get resolved: aesthetic priorities, ceiling type, access rights, and service frequency.
Panels in public-facing rooms are usually placed at the edge of the room or in a back corner to minimise visual impact. Panels in back-of-house zones can sit directly under the service they reach. Panels over corridors should avoid the direct line of sight from the adjoining office entries. Fire-rated panels in separating ceilings are placed with the fire strategy in mind and require specific products, not generic white covers.
Sizes that match the service behind them
Access panel size is not a default specification. The common sizes in commercial fitout are 450 by 450mm and 600 by 600mm, but those are starting points rather than answers. A 450 by 450mm panel is enough for a visual inspection or a small valve. A 600 by 600mm panel is usually required where a trade needs to get an arm and a tool above the ceiling to manipulate a component. Larger panels, 900 by 600mm or bigger, are needed where a unit has to be removed and reinstalled, such as an HVAC damper actuator or a ceiling-mounted pump.
Getting the size wrong undermines the panel even when it is correctly positioned. A 450mm panel over a VAV box condemns any service visit to a half-job; the trade reaches the valve but cannot manoeuvre the actuator out. The next visit is a ceiling cut-in. The same problem plays out above suspended ceilings where the grid itself limits the effective opening, not just the panel.
The service behind the panel should drive the size of the opening. Where the component and its access need are unknown at design stage, a slightly larger panel is cheaper than a rework. This is the opposite of most design tradeoffs, where smaller and neater is the instinct. Access panels earn their keep by being slightly oversized.
Grid ceilings versus plasterboard ceilings
The underlying ceiling type changes the character of the access decision. In a grid ceiling, every tile is theoretically removable, so “access” is less constrained; the question is which tiles are identified, clipped, and labelled for use as access. In a plasterboard ceiling, access only exists where a panel has been installed, and adding one later means cutting the plaster, re-framing the opening, and re-painting the surrounding area.
For tenants planning a mixed ceiling treatment, this distinction is important at brief stage. Areas with visible plasterboard ceilings, typically reception, boardroom, and premium meeting rooms, need access panels designed into the plan because retrofit is painful. Suspended ceilings and exposed ceilings behave differently again, with exposed ceilings typically offering direct access to services but limited ability to hide the openings aesthetically.
Where a grid ceiling is used, the access decision shifts from “where are the panels” to “where are the tiles labelled for service use, and who holds the drawing that says so”. Without that record, access in a grid ceiling becomes a process of trial removal, and tiles removed too many times start to show grid damage and dust lines around the edges.
Aesthetics versus operations: the usual tension
Access panels are visually disruptive. A flush-painted cover on a plasterboard ceiling is still visible in certain light, and a grid-mounted access tile reads differently from the surrounding tiles once the clips have been used a few times. Designers aiming for a clean ceiling plane often want to minimise the count and move them out of direct sight. Operations teams want them near the services.
This is a tension that is resolved, not eliminated. The resolution is usually a two-level plan: a public-facing ceiling specification that hides panels where possible, and a back-of-house and service-corridor specification that accepts the visual cost in exchange for operational accessibility. Some tenancies use recessed, paint-matched products in premium zones and standard white covers elsewhere to keep cost controlled without ignoring the brief.
Where the budget allows, specialist concealed-access products have narrowed the visible footprint significantly. They are not invisible, and they are more expensive than standard panels, but in a boardroom ceiling with a year or two of daily use ahead of it, the difference usually pays back in avoided rework.
What tenants miss and end up paying for later
The most common access-panel gap at handover is the missing record. The panels are installed, often well-placed, but the drawing that says “this panel is here, and reaches this valve” does not find its way into the operation and maintenance manual. Two years later, a trade searching for an HVAC isolator takes thirty minutes to find the panel that services it, if they find it at all.
The second common gap is panels installed in the wrong plane. In tenancies where a plasterboard bulkhead has been added over a section of grid ceiling, access panels originally fitted to the grid are now buried above the plasterboard. This is a specific case of broader ceiling coordination with services going awry and is worth checking at bulkhead design stage.
The third is size-fit-for-purpose. Where a panel has been called up at a default size without reference to the service it reaches, the first maintenance visit is often the one that discovers the problem. At that point the choice is a new panel, usually adjacent to the existing one and leaving a visible patch, or continuing to work around the too-small opening for the life of the tenancy.
Coordination at design stage is the only cheap version
The cheap version of access panel planning is the one that happens before the ceiling is installed. Adding a panel to an existing ceiling is a carpentry and painting job, and in a plasterboard ceiling that has already been painted, the evidence is usually visible no matter how well it is done. Adding a panel at the right moment during construction costs the panel and a small framing allowance.
The principle applies across most hidden building services. What is cheap in the build becomes expensive in the occupation, and the coordination that looks like an extra design meeting saves a year of small service-call frustrations.
If you are planning a fitout and the ceiling coordination drawings have not called up access panels, or you have inherited a floor where access to services is a running problem, we can walk the ceiling plan with you and specify ceiling access that matches the services behind it.
📞 Call us on 1300 60 93 93