
Most office fitout problems are not caused by bad materials or poor workmanship. They are caused by building things in the wrong order. When the construction sequence is incorrect, trades clash, work gets undone, compliance issues emerge late in the programme, and timelines stretch far beyond what was planned. The frustrating part is that nearly all of these problems are preventable. They do not require better products or bigger budgets. They require a clear understanding of what needs to happen when, and why.
For tenants managing a fitout for the first time, the construction sequence can seem arbitrary. Things happen on site that do not obviously connect to each other, and it is not clear why the ceiling must go in before the partitions, or why the electrician needs access before the plasterer closes the walls. But the sequence exists for specific technical and practical reasons, and when those reasons are ignored, the consequences compound through the rest of the programme in ways that are expensive and difficult to reverse.
This article sets out the correct order to build a commercial office fitout, explains why each stage depends on the one before it, and identifies where the sequence most commonly breaks down.
Stage One: Site Survey and Base Building Verification
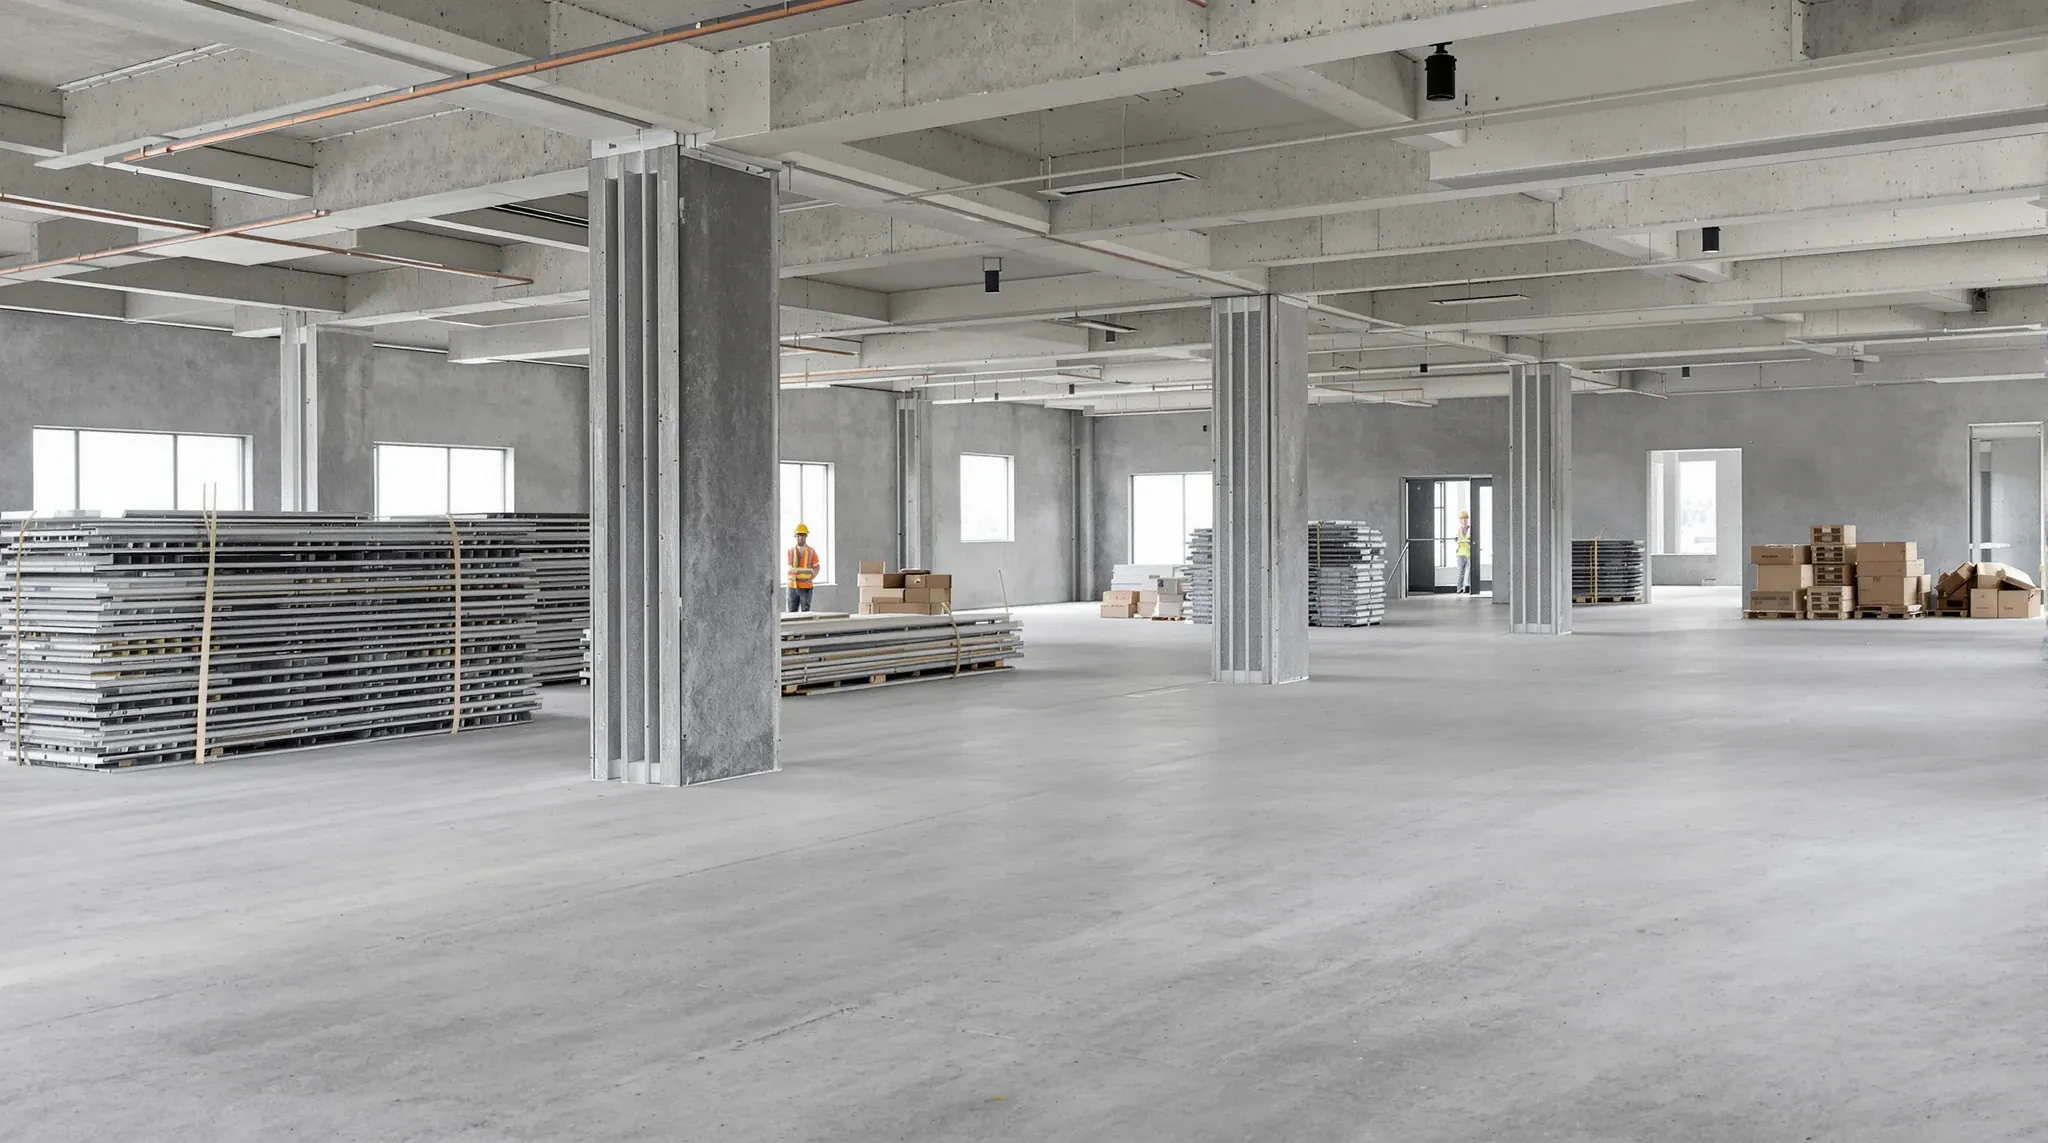
Before any construction begins, the base building must be surveyed and its actual conditions confirmed against the design drawings. This includes verifying slab levels, column positions, existing services routes, ceiling void depths, and the condition of the base building fire services, mechanical plant, and electrical supply.
This stage is skipped or rushed on a significant number of projects, and the consequences appear repeatedly throughout the build. A slab that is 20mm higher than the drawings assumed will affect the ceiling height, the partition framing, and the door head clearances. An existing fire sprinkler line running through the zone where a new wall is planned will require relocation before framing can start. A mechanical duct that is larger or lower than expected will change the ceiling layout and potentially the partition heights.
Every discrepancy found at this stage can be designed around. The same discrepancies found during construction create programme delays, cost variations, and coordination problems that ripple through every subsequent trade. The survey is the cheapest thing on the programme. Skipping it is the most expensive decision on the project.
Stage Two: Demolition and Strip-Out
If the tenancy has an existing fitout, the strip-out typically happens before new construction begins. This involves removing the previous tenant’s partitions, ceilings, floor coverings, and tenant-installed services to expose the base building structure and bring the space back to a condition where new work can proceed.
The strip-out needs to be done carefully and completely. Partial strip-outs, where some existing elements are left in place because they appear to be in good condition, frequently cause problems later when the new fitout does not align with the retained elements. An existing ceiling grid that looks acceptable may not be level enough for new partition framing. Existing plasterboard walls that are being retained may not meet the fire or acoustic requirements of the new layout.
The defit and strip-out phase also provides the last clear opportunity to inspect the base building before new work covers it. Any issues with the slab, the structural frame, or the base building services that were concealed by the previous fitout become visible during strip-out and must be documented and addressed before new construction proceeds.
Stage Three: Services Rough-In
Once the space is stripped and the base building conditions are confirmed, the mechanical and electrical services rough-in begins. This is the stage where air-conditioning ductwork is modified or extended, electrical circuits are run to new positions, data cabling is routed, fire services are relocated or supplemented, and hydraulic services are installed if the fitout includes a kitchen or bathroom.
Services rough-in must happen before partition framing because many services need to run through the ceiling void and through or above wall cavities. If the partitions are framed before the services are routed, the service installers must work around the framing, which is slower, more expensive, and more likely to result in clashes that require rework. In fire-rated partitions, any service penetration that was not planned before the wall was built must be fire-stopped after the fact, which is both more difficult and more costly than designing the penetration into the wall from the start.
The rough-in stage also establishes the air-conditioning zones that will serve the new partition layout. Diffuser positions and return air paths need to be set during this stage so that every enclosed room has adequate air supply and return. Adjusting the mechanical system after the ceiling and partitions are installed is significantly more expensive and disruptive than getting it right during rough-in.
Stage Four: Ceiling Grid Installation
The ceiling grid goes in after services rough-in but before partition construction. This sequence is critical because the ceiling grid establishes the datum level that all partition framing references. If the ceiling is not installed before the partitions, the partition contractors must frame to an assumed ceiling height, and any discrepancy between the assumed and actual ceiling position will create problems at the junction between the two.
The ceiling grid also provides the structure to which glass partition head channels and plasterboard wall top tracks are typically fixed or sealed. If the grid is not level, straight, and secure, the partition systems that reference it will not perform as designed. Acoustic seals between partitions and ceilings depend on consistent contact pressure, and a grid that sags or shifts will compromise those seals regardless of how well the partition itself is built.
Ceiling tiles are usually left out at this stage to allow continued access to the services above for connection and testing. The grid goes in, the tiles go in later after all above-ceiling work is complete.
Stage Five: Partition Construction
With the ceiling grid in place and the services roughed in, partition construction can begin. The sequence within the partition programme matters as well. Plasterboard partitions go in first because they take longer to complete, requiring framing, sheeting, setting, sanding, and painting. Each of these stages involves drying time, and the total cycle from framing to finished paint on a plasterboard wall can be several weeks.
Glass partitions go in after plasterboard because they are precision-fitted to the adjacent surfaces and cannot be installed until those surfaces are finished. The glass contractor takes final measurements from the completed plasterboard walls, the level ceiling grid, and the finished floor surface. The glass panels are then fabricated to those measurements and installed as one of the last partition activities on the programme.
Door frames and hardware are typically installed during the partition construction stage, with doors themselves often the last element to be hung after the adjacent walls and ceilings are finished. Sequencing the interface between glass and plasterboard correctly at this stage prevents the junction problems that are common in mixed-system fitouts.
Stage Six: Second-Fix Services and Fit-Off
Once the partitions are in and the walls are painted, the second-fix electrical and mechanical work begins. This includes installing power points, data outlets, light fittings, switches, air-conditioning grilles, and fire detection devices. All of these are surface-mounted or face-mounted, meaning they are fitted to the finished surfaces created by the partitions and ceilings.
Second-fix work must wait for partitions and painting to be complete because the devices are fitted flush to finished surfaces. Installing a power point before the plasterboard is painted means the painters must work around the device, which is slower and more likely to result in a poor finish. Installing an air-conditioning grille before the ceiling tiles are in means the grille must be removed and refitted, adding time and creating the risk of damage.
This stage also includes the connection and commissioning of the electrical and data systems. Cabling that was roughed in during Stage Three is now terminated, tested, and labelled. Mechanical systems are balanced to deliver the correct air volumes to each room. Fire systems are commissioned and tested. This stage converts the roughed-in services into operational building systems.
Stage Seven: Floor Finishes
Floor coverings are typically one of the last construction elements installed, after all wall and ceiling work is complete. This protects the floor finish from damage during the construction process. Carpet tiles, vinyl, timber, and polished concrete surfaces are all vulnerable to foot traffic, dropped tools, paint drips, and construction debris, and replacing or repairing damaged floor finishes adds cost and delay to the programme.
The exception is where the floor finish needs to be in place before glass partitions are installed. Some glass partition systems sit on the finished floor rather than on the slab, and the floor finish must be down before the glass framing is positioned. This creates a coordination requirement between the flooring and glass trades that must be planned into the programme, with appropriate protection of the finished floor surface during glass installation.
Stage Eight: Furniture, Joinery, and Signage
Furniture delivery and installation happens after all construction, painting, flooring, and services fit-off is complete. This ensures the furniture is not damaged during the build and that the space is clean and ready for occupation once the furniture is in place. Joinery items like reception desks, kitchen fitouts, and built-in storage are typically installed during this stage, along with signage and wayfinding elements.
The furniture delivery schedule must be coordinated with the fitout completion date, and delays to any of the earlier construction stages will push furniture delivery back. Because furniture is often ordered months in advance and may involve international shipping, the programme must allow enough time between the fitout start and the expected delivery date to absorb reasonable construction delays without creating a situation where furniture arrives before the site is ready to receive it.
Why the Sequence Breaks Down
The sequence described above is not complicated, and it is well understood by experienced fitout teams. It breaks down for three main reasons. The first is programme pressure: someone decides to start a later trade before the preceding trade is finished, in an attempt to compress the timeline. This creates clashes, rework, and ultimately takes longer than following the sequence correctly.
The second is poor coordination between trades. When each trade is managed independently with separate scopes and separate programmes, the interfaces between them become nobody’s clear responsibility. The ceiling contractor finishes their grid and leaves, the partition contractor arrives and discovers the grid is 10mm low in one section, and the programme absorbs the delay while the issue is resolved.
The third is late changes. A tenant changes the meeting room layout after the services rough-in is complete, and the mechanical services now need to be relocated to serve the new room positions. A single change mid-build can force multiple trades to revisit completed work, and every revision introduces risk that the new work will not integrate cleanly with the work that was already in place.
If you are planning a fitout and want to make sure it is built in the right order from the start, we can help. We manage the full construction sequence so every trade arrives at the right time and every system connects to the one before it.