
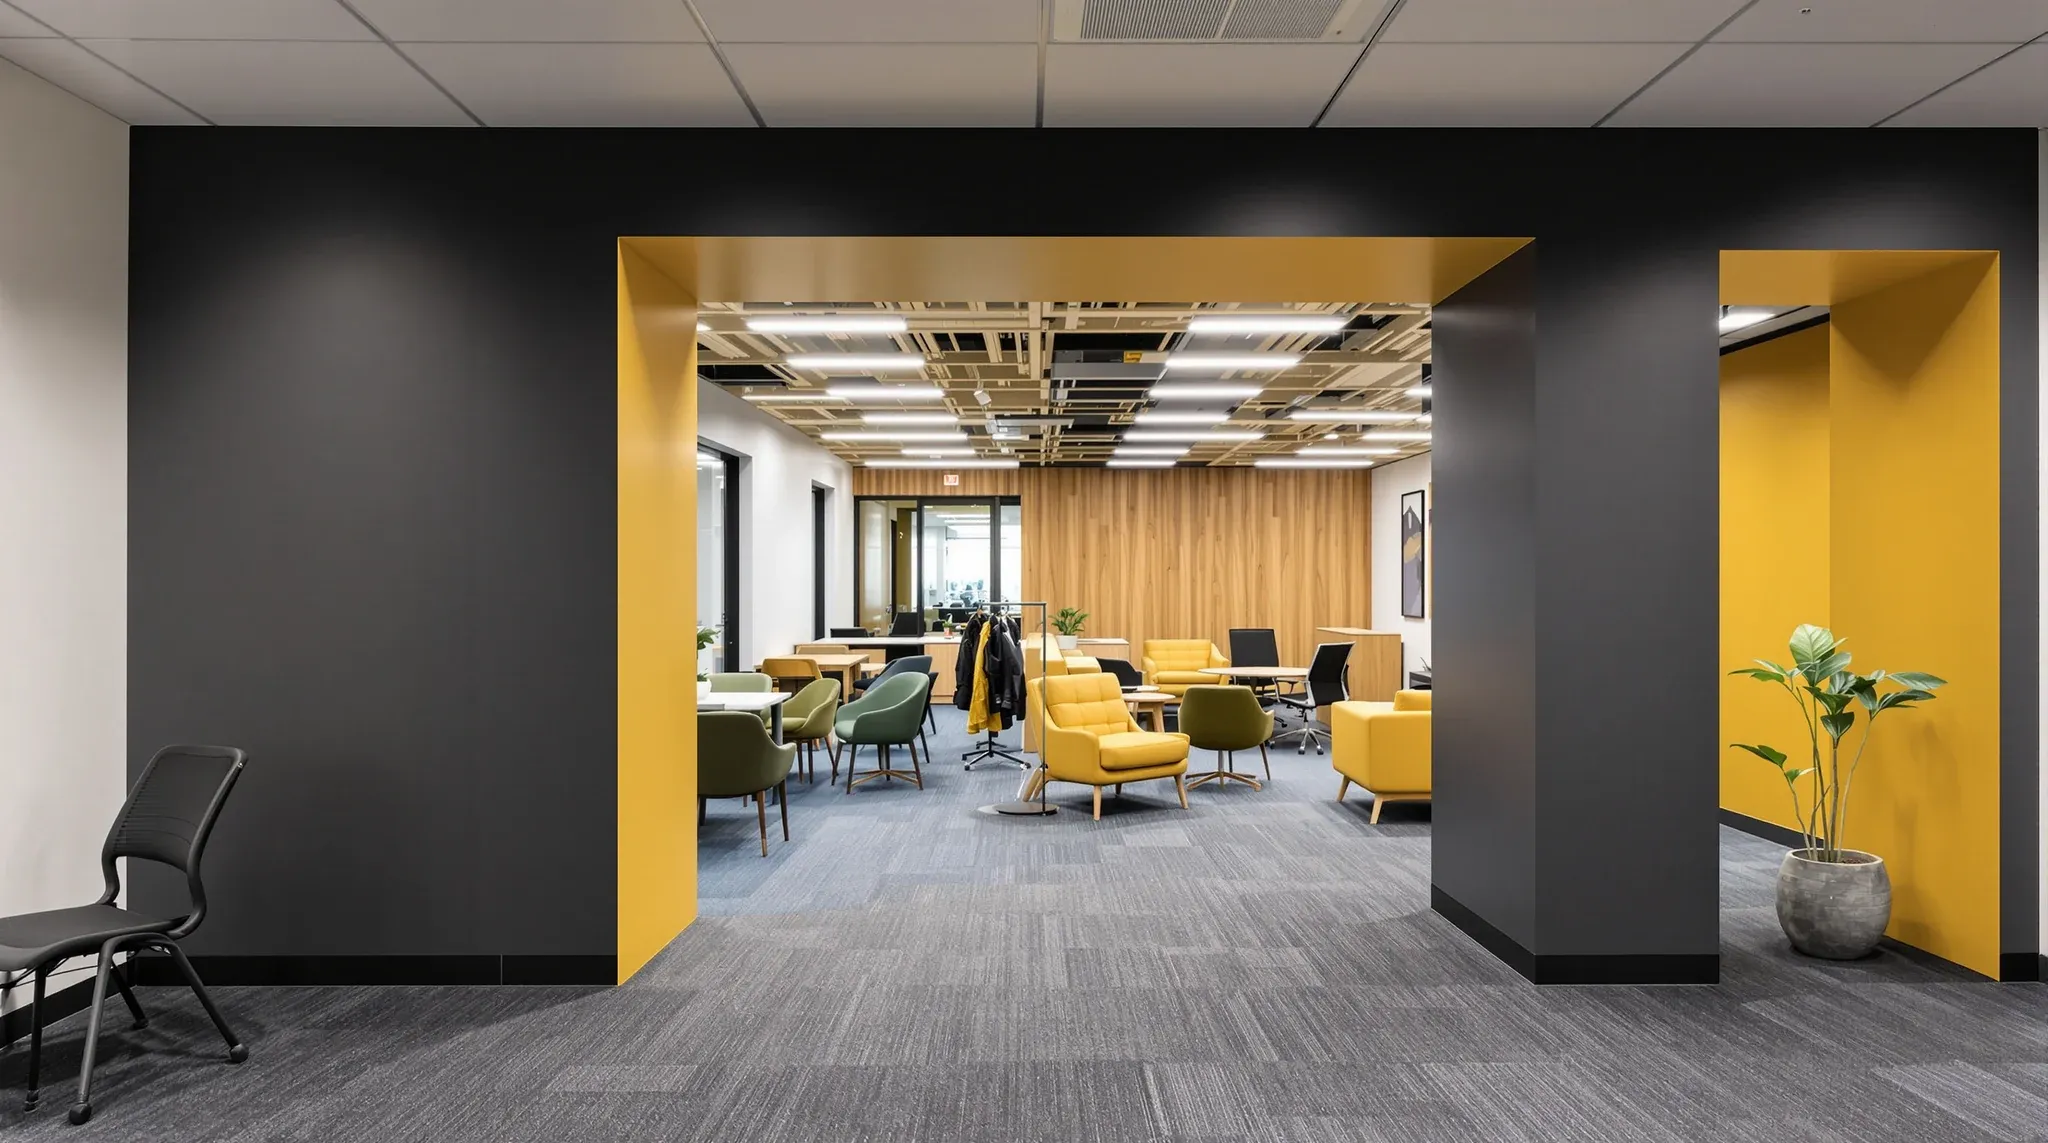
When two tenancies on the same floor are being combined into a single occupancy, the partition wall between them is usually the most visible piece of work. The wall is what physically separates the two tenant areas, and pulling it out is the moment the merged floor first reads as one. What looks like a single trade decision on the plan is, in practice, three trades arriving in sequence and a coordination job that runs from the day the lease consolidation is signed to the day the joined floor reads as continuous.
The wall itself is the simple part. What sits inside it, what runs through it, and what has to be tied back together at the ceiling and floor lines around it is where the scope actually lives. The rest of this piece is what we typically run when we come in to take that wall out and stitch the two tenancies into one.
The single wall is the simple part
A typical inter-tenancy partition is a full-height plasterboard wall on steel studs, sometimes with acoustic insulation in the cavity and sometimes with one face skinned in plywood for added rigidity. Removing the visible material is a straightforward demolition: top sheet first, then bottom sheet on the opposite face, then the studs, then the head and base channels.
The complication starts before any of that. We check whether the wall is fire-rated. Many inter-tenancy walls on commercial floors are rated for a specific period (typically 60 or 90 minutes) because they form the boundary between two distinct tenancy zones for the building’s fire compartmentation. If the wall is rated, removing it changes the fire compartmentation of the floor, and that change has to be designed by the building’s fire engineer and signed off before we open the wall. The fire engineering call belongs to that engineer, and the sequencing on our side has to wait for the sign-off.
We also check whether any base building services run along the wall line that we cannot interrupt. Risers rarely sit inside non-load-bearing partition walls, but data and power cabling often runs in conduit fixed to one face of the wall, particularly where the wall has been there for some years. The wall comes down only after the cabling has been pulled back into the ceiling void or rerouted along the new combined floor plan.
What is in the wall versus what runs through it
Once the fire compartmentation question is resolved and the services along the wall line have been mapped, the actual cavity of the wall is the simple bit. Modern plasterboard walls rarely have anything significant inside them apart from acoustic insulation and the occasional run of vertical conduit. The bulk of the cabling and services on a commercial office floor sits in the ceiling void or under a raised access floor, not inside the partition itself.
The services that do run through the wall are usually power outlets and data points on one or both faces. These come out before the wall does, with the cabling pulled back to the nearest accessible junction point in the ceiling void. The new combined floor plan usually re-establishes those outlets in different positions, so they are not reinstated where they were; they are decommissioned at the wall and re-run in the new layout.
The exception is comms cabling that crosses through the wall horizontally to serve a workstation on the other side. That cabling is either pulled and re-run via the ceiling, or in some cases dropped from the ceiling on either side of the wall line so the workstations on each side can be served independently. The choice depends on which is cheaper for the new layout, not on which is simpler at the wall.
Tying the ceiling and floor across the line where the wall was
This is where most of the make-good cost on a merged floor sits.
The ceiling on either side of the demolished wall is rarely a perfect continuous grid. In most floors, the grid has been suspended in two separate runs that meet at the wall line with a closing tile or a small reveal. Once the wall comes out, that meeting point has to be opened up and the grid reworked so the tiles run continuously across the join.
The cleanest outcome is a continuous grid across the join with new tiles installed in the made-good section. The match between new and aged tiles is the variable. If the existing tiles are recent and the supplier still stocks the same product, the match is close enough that the join does not read once the room is lit. If the tiles are older or discontinued, the call is usually either to accept the visible transition or to replace tiles across a wider zone so the boundary disappears into the broader ceiling pattern.
The floor is the same problem in different material. Carpet tiles either side of the removed wall are rarely the same age, and the match across the join is rarely clean. Either the affected zone is re-tiled with new product matched as closely as possible, or a broader zone is replaced to push the transition out to a natural boundary. Vinyl flooring behaves the same way; timber flooring is the most forgiving because plank joints absorb the transition more naturally than a tile grid does.
Sequencing the demolition on a working floor
Most merged-tenancy works happen while at least one of the two tenancies is still trading. The lease consolidation usually completes some weeks before the merged occupancy goes live, but the team is often still working from the existing seats during that period. The demolition has to be sequenced so the noise, dust, and access disruption do not put either team off the floor, which is the same constraint that shapes any works run while the remaining floor stays operating.
The standard sequence is to isolate the wall line with temporary plastic sheeting or solid hoarding, run the noisy demolition after-hours, and clear debris through agreed routes before the next working morning. We coordinate dock access and lift bookings with the building manager well before the demolition starts because the rubble from a 10 to 20 metre wall fills a skip and the skip has to leave the building through whatever dock window the building allows.
The grid and floor reworks usually run in the days following the demolition, with the joining ceiling section and floor tile installation timed to land before the merged floor first opens for combined occupancy. Paint touch-ups, edge sealing, and final cleaning come last. The whole sequence usually takes one to three weeks depending on the wall length, the services to be rerouted, and the lead time on matched tiles or paint.
Where the matching finishes get hard
The merged floor reads cleanly when the join across the old wall line is visually continuous. That is harder than it sounds, because the two original tenancies were usually finished at different times to different specifications.
Paint colours are the most common mismatch. Even when the two tenancies were originally specified with the same paint, age and wear shift the colour over a few years and a fresh patch in the original paint never quite matches the surrounding aged paint. The practical fix is to paint a wider zone on either side of the join so the fresh paint runs to a natural corner or door reveal where the eye expects a transition.
Ceiling tile colour shifts the same way. New tiles installed against five-year-old tiles read as cleaner and whiter, and the difference is more visible under fluorescent or LED lighting than it is in natural light. The cleanest outcome is either replacing tiles across a wider zone or accepting the boundary as a deliberate design line.
Carpet tile dye lot variation is the third one. Even when the original carpet product is still in production, a new batch installed against old tiles often shows a colour shift under raking light. The fix is the same: replace a wider zone, or accept the boundary.
The new combined layout: what the wall removal sets up
Removing the partition wall is rarely the whole job. The reason the wall is coming out is that the combined floor needs to function as one tenancy, and that usually means the layout on either side needs to be revised to match the new combined plan.
What that involves varies by floor. Some combined occupancies keep the existing layouts in each former tenancy and just add the wall removal as a circulation connection between them. Others rework one or both sides extensively, with new meeting rooms, reconfigured workstation runs, and a single reception that serves the whole floor. The wall removal sits in the middle of that broader scope.
We usually scope the partition removal and immediate make-good as a discrete piece of work, with the broader layout reconfiguration scoped separately so the two are not held hostage to each other on timing. That treatment is the same one we apply to other standalone partition changes without a full fitout. The wall can come out and the join can be made good while the broader partition reconfiguration work is still being finalised, which gives the merged floor a workable interim state from the day the lease consolidates.
What the building manager needs before the wall opens up
Most commercial floors require the building manager to be in the loop on works that affect inter-tenancy walls, fire compartmentation, or the ceiling void. The paperwork varies by building but usually includes a method statement for the demolition, evidence that any fire-engineering changes have been resolved, and a programme that lists the after-hours work windows and the building services that will be affected.
We prepare that paperwork before the demolition is scheduled, not after. Building managers usually expect to see the fire engineer’s response on rated walls, a contractor’s safety brief on the demolition method, and an outline of where the rubble will be removed. The paperwork is usually accepted in one or two rounds; trying to demolish without it almost always halts the works once the building manager sees activity in the void.
Once the works are complete, the building manager re-inspects the floor and confirms the wall line has been restored to a state consistent with the floor’s overall finish. That sign-off closes the works on the building side; the tenant’s own acceptance of the merged floor sits separately and the merged occupancy moves into its first weeks of operating as one tenant. The combined floor reads as one only after the join across the old wall line has stopped being noticeable, which usually takes a few weeks for paint and tiles to settle into the surrounding finishes.
When two adjacent Sydney tenancies are being combined into one, we can take out the dividing wall and tie the ceiling across the join so the merged floor reads as continuous.
📞 Call us on 1300 60 93 93