
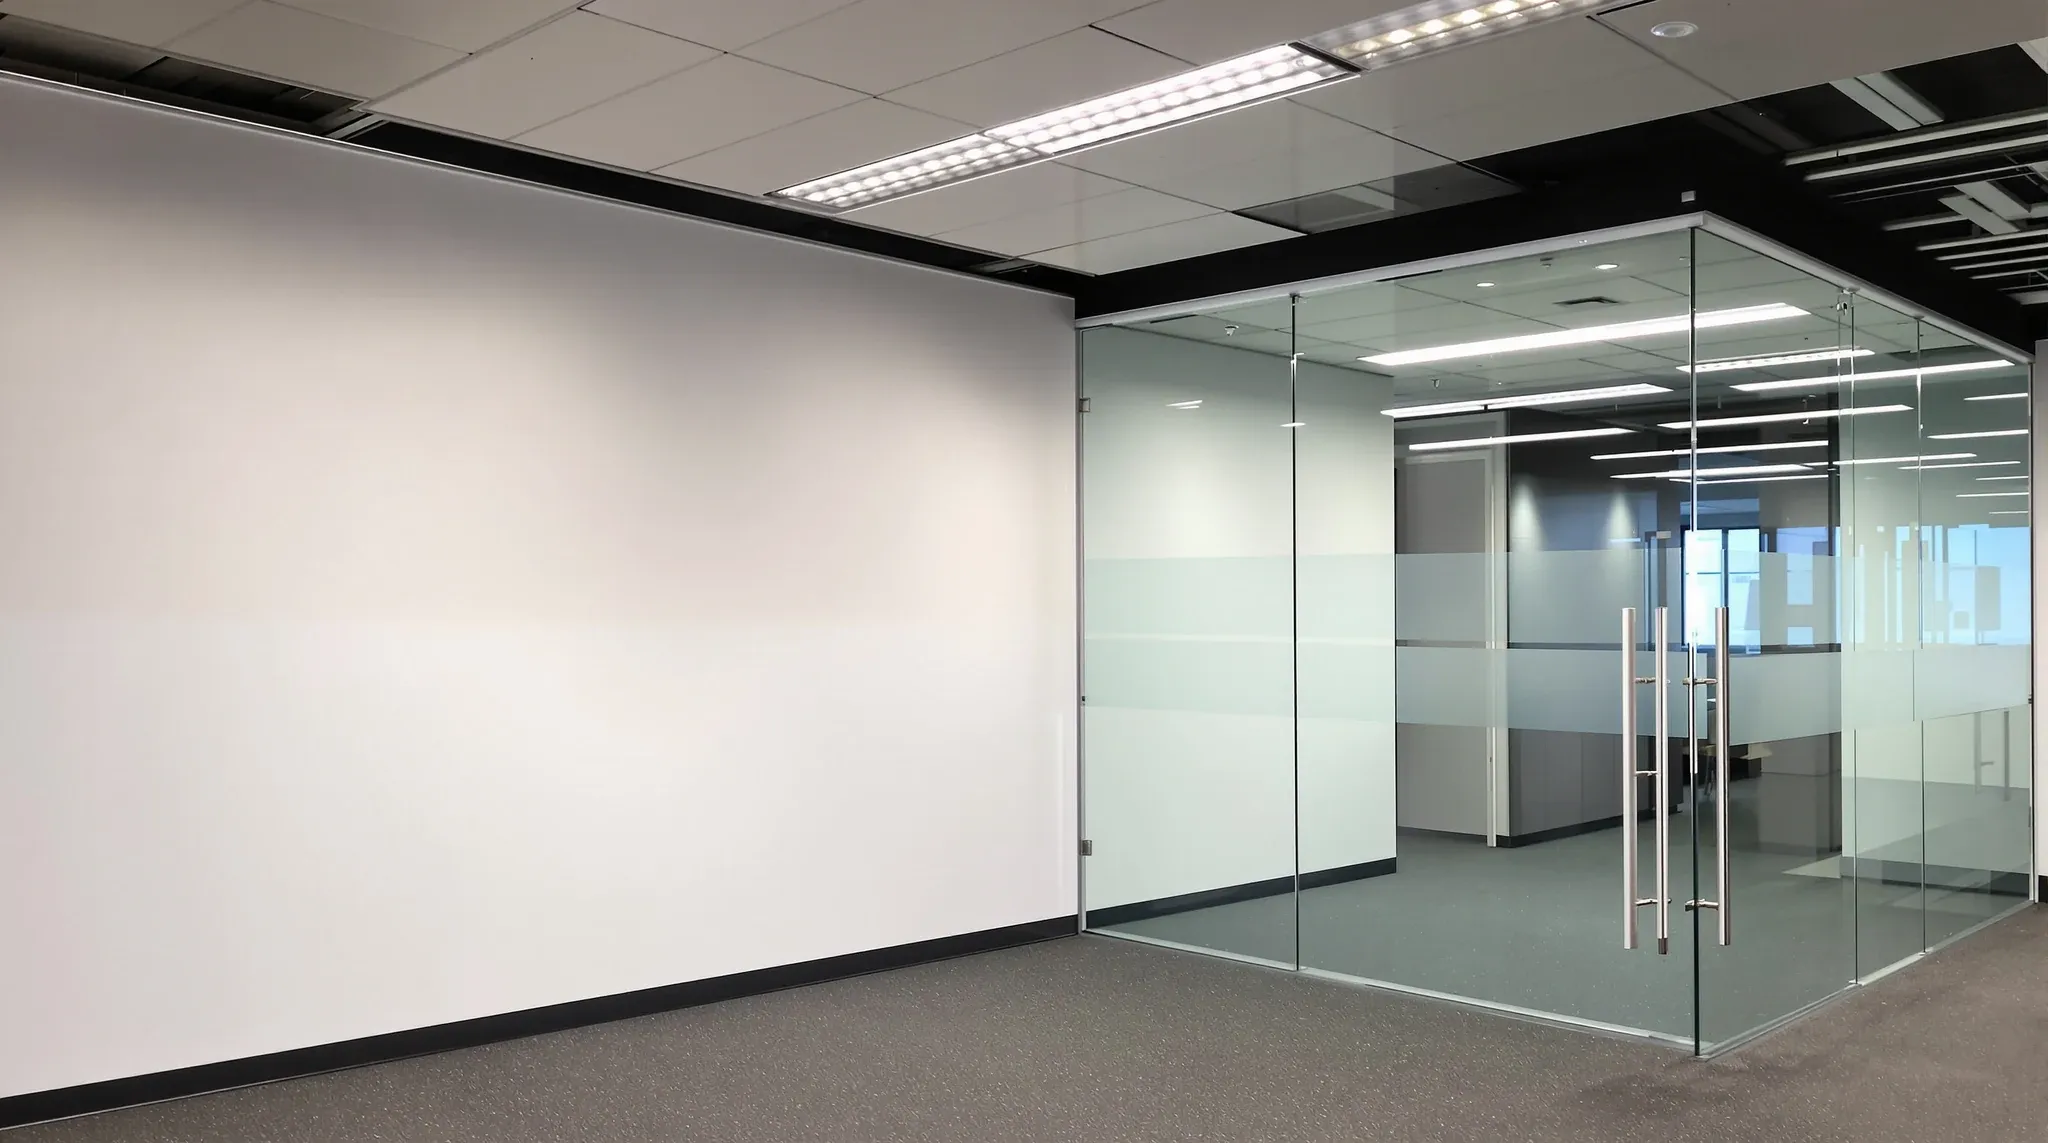
Every office partition stops somewhere, and where it stops decides most of what it does. A screen that finishes below head height, a wall that finishes at the ceiling and a wall that carries on through the ceiling to the slab can all be built from the same stud and board, yet they behave as three different products: one shapes the floor, one encloses a room, and one seals it.
When we price a partition layout the height is the first thing we settle, before the finish and before the doors, because the height sets what happens above the wall. Below head height there is nothing to deal with. At the ceiling there is a grid to meet. At the slab there is every service in the ceiling void to pass through or around, and a structure that moves.
Screen Height: A Wall That Never Reaches the Ceiling
The lowest of the three heights is a partition that stops well short of the ceiling, usually somewhere between waist height and just above a standing person's head. Floor-standing screens of this kind are commonly built at around 1200 mm where the floor needs to keep its sight lines, around 1500 mm where seated staff need to be screened from each other, and 1800 mm or more where the aim is to hide a standing person as well. Those are supplier conventions rather than fixed sizes, and we build to whatever the drawings call for.
What this height gives is visual separation and a sense of edge. It does nothing measurable for sound between the two sides, because the ceiling void is not even involved: the sound simply passes over the top of the panel. On the question of workstation screens versus partition walls, this height sits on the screen side of the line whatever it is built from.
The build is the lightest of the three. A framed screen fixes to the floor through a base channel or a foot, and the ceiling, lighting, sprinklers and air conditioning are untouched. That is why it is the height chosen for team pods, reception edges, print bays and any zone the tenant expects to move within the lease, and it comes out leaving only a line of fixings in the floor finish.
To the Ceiling: The Standard Enclosed Room
Most enclosed rooms in an office are built to the suspended ceiling. The stud frame runs from a floor track to a head track screwed to the grid or to a set plasterboard ceiling, the board is fixed to both faces and the wall finishes with a shadow line or a flush junction at the ceiling. Glass systems follow the same logic with an aluminium head channel screwed to the grid or to a timber or steel dropper above it.
This height encloses the room and gives it a door, so the door head height becomes the next decision, with a standard head or a tall one sitting under the same ceiling line. Everything above the ceiling stays as it was. The ceiling void remains one open space across the whole floor, the return air keeps drawing back through the tiles, and the sprinkler, lighting and duct layouts are not disturbed.
That open void is also the limitation. Sound from the room rises through the ceiling tile, crosses the void above the wall and comes down through the tile next door, so a wall built to the ceiling only ever performs as well as the ceiling above it. A glass room is no different, because the ceiling system above the glass decides how much of that sound crosses the void. For a plasterboard room the usual answer is an acoustic blanket or a board barrier laid or hung in the void above the head, which is a cheaper and lighter measure than taking the wall itself to the slab.
Building to the ceiling is where the partition and ceiling trades meet, and the sequence depends on which is already in place. In an existing office the wall is built up to the existing grid and the cut tiles either side are replaced with new ones. In a new fitout the wall can go in first with the grid finishing to it on both sides, which gives a cleaner junction and no cut tile at the head. We set that sequence when we plan the office partitions, because it changes how many tiles are lost and how the head is detailed.
Through the Ceiling to the Slab: A Wall That Seals
The third height carries the stud frame past the ceiling to the soffit or the beam above. Below the ceiling it looks like any other wall; the work is all in the void. The frame continues past the grid, the board continues with it on both faces, and the ceiling is cut and finished against each side of the wall rather than passing over it.
The head detail at the slab is a deflection head. Rondo's standard steel stud deflection head tracks have 50 mm legs, and their long-leg version has 85 mm legs for structures that move more, such as the underside of roof purlins. The track is fixed to the slab and the studs sit inside it without being screwed to it, so that when the slab above deflects under load, or the roof lifts in wind, the wall is not crushed or pulled apart. Rondo also makes a slotted version for seismic design, where the slotted fixings let the wall move so that it does not crack at the junctions.
The reason for building this way is that the wall now closes the void. Sound has no path over the top, the air on one side stays on that side, and smoke and fire are held at the wall rather than passing across the ceiling. That depends on the junction being continuous: the board is sealed to the slab at the head, the perimeter is caulked, and every duct, tray, pipe and conduit crossing the wall line passes through a framed and sealed opening. On an existing floor those services were never laid out with a wall in mind.
The ceiling on either side is a consequence. Because the wall now interrupts the grid, the ceiling has to be re-supported at the wall on both sides, and where the ceiling is a set plasterboard ceiling rather than a tile grid the cut, patch and repaint is a bigger job than the wall itself. We usually build slab-height plasterboard partitions before the ceiling in a new fitout for that reason, and in an existing office we price the ceiling cutting and reinstatement as its own line.
What Each Height Does for Air
In many Sydney office buildings the ceiling void is the return air path: supply air comes out of the diffusers, and the return is drawn back through grilles or tiles into the void and along it to the air handling unit. A screen-height partition and a ceiling-height partition both leave that path intact. A slab-height wall cuts it, and the room on the far side either gets its own return or gets none, which shows up as a room that is stuffy, over-pressurised or whistling at the door.
The mechanical fix is sized to the room. A door undercut is the smallest measure: as one mechanical engineering design memo sets out, a 25 mm undercut under an 820 mm door moves about 30 L/s at 3 Pa or less, it only works over a hard floor, and it costs the door around 5 to 10 STC points of acoustic performance. Rooms that need more air than that are given a transfer grille through the wall or above the door, and rooms with a larger supply or a tight noise criterion are given a ducted transfer through the wall with an attenuator on it. The memo puts the change from an undercut to a grille at roughly 40 L/s of room supply and the change to a duct at about 80 L/s, and those figures are the mechanical engineer's to confirm for the building.
Every one of those openings is also a hole in the wall that was built to seal, so an acoustic slab-height wall and a return air transfer have to be designed together. A lined transfer duct with a bend in it keeps most of the acoustic value; a bare grille above the door gives most of it away. When we build to the slab we frame the transfer opening at the same time as the services penetrations, so the mechanical contractor is not cutting a finished wall.
Fire and Smoke: Where the Height Is Chosen for You
Some walls are built to the slab because the building needs them there rather than because the tenant wants them. A wall that forms part of a fire compartment, closes off a fire-isolated corridor or separates a plant area typically needs to reach the underside of the floor above and hold its rating at every penetration, and where the ceiling void is a return air plenum the same design memo notes that ducts crossing a fire-rated wall usually need fire dampers and that the materials in the plenum have their own fire hazard requirements. Which walls on a floor fall into that group depends on the building and is confirmed with the fire engineer and the certifier before we set a single stud.
For the tenant this changes the cost of the layout in ways the plan does not show. A fire-rated slab-height wall carries fire-rated board, fire-stopped penetrations for every service that crosses it, dampers in the ducts and a deflection head that keeps the rating while it moves, and the room it encloses inherits all of that whether or not the room needed it for privacy. The layout stage is where we look for that overlap, so that a rated wall the building requires can also be the wall that gives the meeting room its acoustic separation, rather than building two.
What Drives Cost and Removal at Each Height
The cost of a partition rises with its height, though not in a straight line. Screen height is framing, facing and floor fixings. Ceiling height adds a head track, the cut tiles or ceiling patching, a door and its hardware, and the board and finishing to a full wall. Slab height adds the framing and board above the ceiling that nobody sees, the deflection head, the services penetrations, the head and perimeter seals, the return air transfer and the ceiling reinstatement on both sides. The penetrations and the ceiling work move the price most, and both are set by what is already in the void rather than by the wall.
Removal follows the same order in reverse. A screen leaves fixings in the floor. A ceiling-height wall leaves a line of replaced tiles or a patched ceiling and a run of floor finish to make good. A slab-height wall leaves a slot through the ceiling on both sides, sealed penetrations to be re-sealed once the wall is gone, and a return air path to be restored. Among the partition choices that reduce make-good costs, height is the biggest single lever.
Glass follows the same pattern. A framed glass wall to the ceiling comes out as panels and a head channel, and a glass wall taken to the slab is glass to the ceiling with a board barrier above it, so its removal includes a plasterboard wall in the void.
Choosing the Height Room by Room
Which rooms need each height is decided by what has to stay inside them, and that is a room-by-room call between full-height and partial-height partitions. What we add is the view from above the ceiling. Before we price a floor we survey the void along every proposed wall line: where the ducts and trays run, where the sprinkler mains cross, how deep the beams sit, whether the return is ducted or drawn through the void, and which walls the building already treats as rated. That survey is what sets the height each wall can reach.
It usually redraws a few walls. A slab-height wall that would cross a main duct moves a metre to cross a smaller branch. A meeting room that wanted the slab gets the ceiling with a barrier above it, because the void along that line is full. A wall that was going to stop at the ceiling is taken to the slab because the building's fire strategy already has a rated line there.
The result on most floors is all three heights in one tenancy: screens through the open plan, ceiling-height walls with barriers over them for the ordinary meeting rooms and offices, and slab-height walls for the rooms that have to hold sound, air or a fire rating. Building all three in one programme means the void is opened once and the trades above the ceiling work to one set of wall lines.
We build partitions at all three heights, and we survey the ceiling void along every wall line before we price a floor, so the walls that need to reach the slab are sequenced around the services already up there.
📞 Call us on 1300 60 93 93