
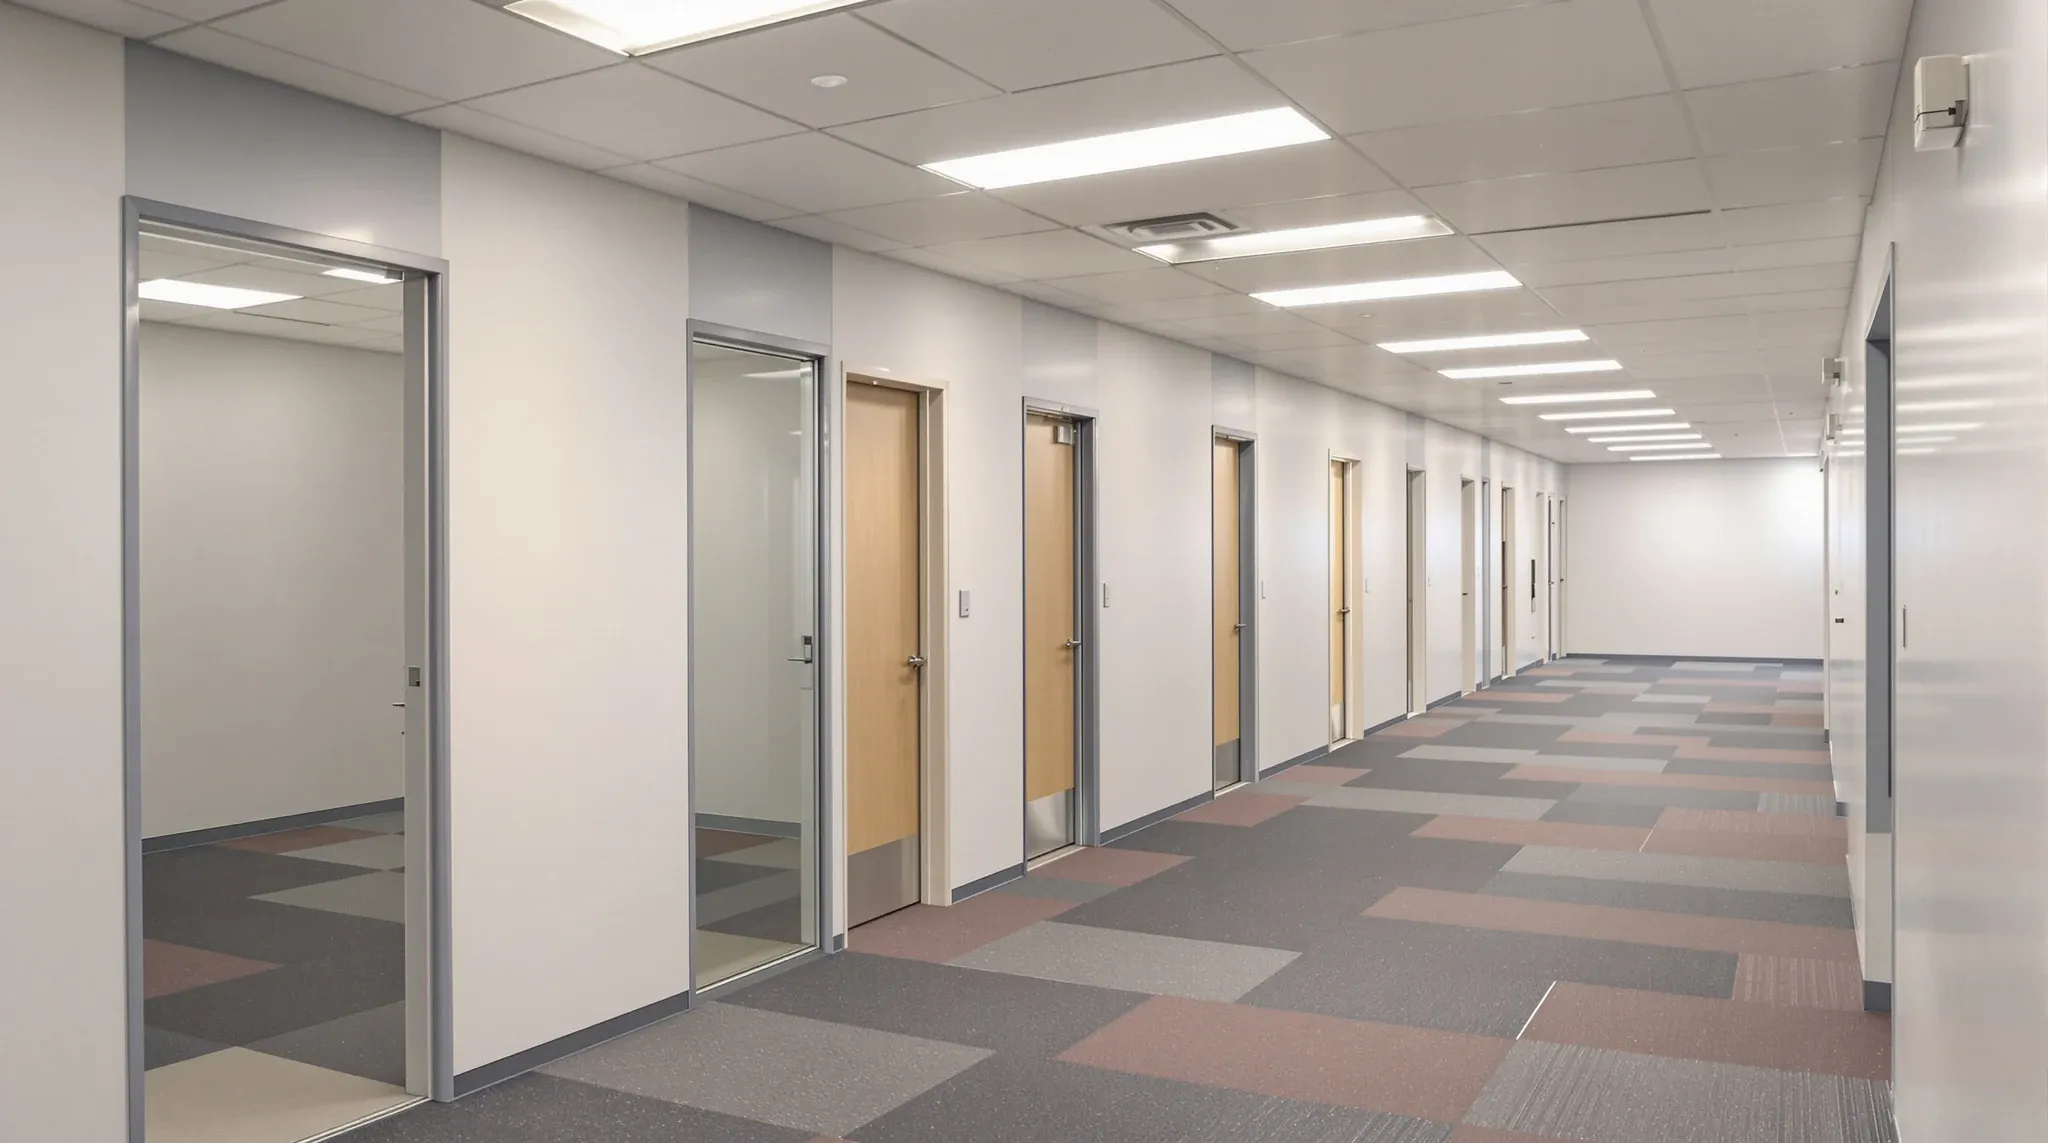
A multi-doctor medical centre is a floor of rooms that depend on each other. Reception has to see the door and the waiting area, the consulting rooms have to sit close to waiting and to treatment, the pathology room needs a toilet that patients cannot see from their seats, and the dirty utility and staff areas have to be out of the patient's path altogether. Each room on its own is a small job; what makes a medical centre design work is the plan that puts them in the right order on a floorplate that was never drawn for it.
What drives the build is the base building. The cores, risers, plumbing points, window mullions and slab set where wet rooms can go and where walls can land, and the patient and staff flows are threaded through what is left. When we price a medical centre, that whole-floor logic is settled first, because every basin, door and duct position follows from it.
Reading the Base Building Before the Plan
Most medical centres we build are in ordinary commercial tenancies: a floor or part floor of an office building, a converted retail box, or a suite in a medical hub. None of these come with the services a clinic needs, so we start with what the building offers: the wet stack or riser where waste can connect, whether the slab allows core holes or waste has to run in a raised floor, the hydraulic and electrical capacity, and the columns, beams and mullion module.
The wet rooms go first on the plan because they have the least freedom. A medical centre carries far more plumbing than an office: basins in every consulting and treatment room, a pathology room, a dirty utility, patient, staff and accessible toilets, a cleaner's sink and a staff kitchen. Wherever waste has to fall to a fixed point, the rooms that need it pull toward that point, and the plan is built out from there.
The mullion module then sets the width of rooms on the facade, and the column grid sets where a wall can run without stepping around structure. We overlay those before drawing a single room, so the consulting row lands on mullions and no column ends up inside a treatment room. The result is a compromise between the ideal adjacencies and what the building can serve, and it is far cheaper to make that compromise on paper than on site.
Entry, Reception and the Waiting Zone
The front of the centre is one zone with three parts: the entry, the reception counter and the waiting area. The RACGP practice design toolkit puts reception near the patient entrance so staff can see people arrive and pick up an emergency quickly, and close enough to the waiting area to monitor patients. The Australasian Health Facility Guidelines add that reception staff should be able to control access to the treatment areas behind them.
On a commercial floorplate that usually means the counter sits just inside the tenancy door, angled so one person covers both the door and the seats. The administration workroom sits directly behind it, since the toolkit suggests roughly 10 square metres per staff member for administration space and that area is easiest to find behind reception. The counter carries the power, data and duress wiring reception needs, so we set its position before the floor is trenched or cored.
The size and shape of a medical waiting room is a subject of its own. At floor level what matters is position: waiting sits between reception and the consulting row, it does not open straight onto a treatment room, and a small side room can hold an unwell or distressed patient out of the main seating. The toolkit also asks for at least one accessible bathroom, so we place the accessible toilet off the waiting area, reachable without passing through the clinical corridor.
The Consulting Room Row
The consulting rooms are the repeating unit of the plan, and both the RACGP toolkit and the AusHFG guidance want them clustered around the waiting area and close to the treatment room to keep walk times short. In a rectangular tenancy that produces the familiar arrangement: a corridor off waiting, consulting rooms along one or both sides, and the treatment room at the end nearest the waiting area.
Which side of the corridor the rooms sit on is set by the building. Rooms on the facade get natural light and their width is fixed by the mullion module, while rooms on the core side are darker but easier to plumb if the wet stack is in the core. A common answer on a deep floor is consulting rooms on the window side, with the treatment room, pathology and utilities on the core side. How each room is set out around the desk, couch and basin is covered in the GP consulting room layout, so at floor level we are only deciding the row: how many rooms fit the module, which pairs share a basin wall, and where a second door for staff egress can go.
That second door is a floor-level decision. The AusHFG ambulatory guidance wants consult rooms arranged so staff can leave easily if they feel unsafe, and rear doors need a staff corridor behind the row that takes floor area from somewhere. In a suite shared by doctors and allied health providers, the partition strategy for multi-practitioner suites also affects how the row is grouped.
Treatment Room, Clean Utility and Nurse Station
The treatment room is the heaviest room on the floor and anchors the clinical core. The RACGP toolkit describes a minimum of 7 square metres for basic treatment and around 16 square metres where minor procedures are performed; the AusHFG standard treatment room is briefed at 14 square metres. It carries a wall-mounted services panel, a scrub-type handwash basin, a ceiling-mounted examination light, a curtain track, colour-corrected lighting and, in the AusHFG sheet, outlets for oxygen, medical air and suction. Piped gas, cylinder gas or none is a brief decision that changes the ceiling and wall build, so we ask before the layout is fixed.
The door is the tell-tale. The AusHFG treatment room sheet specifies a 1400 millimetre clear opening with a leaf-and-a-half door, wide enough for a bed or trolley, and lists an optional second door through to a clean utility. That wide door and the trolley path from the entry decide where the treatment room can sit: it needs a straight run without tight turns, which is why it usually sits close to reception rather than deep in the plan. The same guidance notes that a 910 millimetre clear opening suits most doors but 1400 millimetres is needed for large wheelchairs, trolleys and beds, so the corridor to the treatment room is planned around the wider figure.
The clean utility and the nurse station sit beside the treatment room. AusHFG briefs the sub clean utility at 8 square metres and places most staff work areas in the staff zone with a few workstations in the clinical zone; the nurse station is that clinical workstation, positioned to see the treatment room door and the consulting corridor. The AusHFG staff station sheet warns that any room entered from behind the station needs extra area for door circulation, which catches tight plans.
Pathology Collection, Dirty Utility and Back of House
A pathology collection room is common in a multi-doctor centre and needs a handwash basin and a toilet. The AusHFG schedule collocates the patient toilet with the specimen collection bay, and the RACGP toolkit asks that bathrooms used for specimen collection are not visible from the waiting area, including the route to and from them. The pathology provider that will operate the room normally issues its own fitout brief, so we plan the room and its toilet together on the plumbing side of the floor and confirm that brief before the walls are set out.
The dirty utility is the room first-time clinic tenants most often forget. AusHFG briefs the small version at 8 square metres for cleaning and holding used equipment, disposing of clinical waste and soiled linen, and testing and disposing of patient specimens; the data sheet lists a stainless bench, a sink, a handwash basin, a floor waste and exhaust. The exhaust and the floor waste decide where it can go, since both need a route to the outside or to a riser.
Where the centre reprocesses its own instruments, the RACGP infection prevention guidelines ask for a designated reprocessing area physically separated from treatment and administration areas, in a low-traffic part of the practice, with a dirty-to-clean workflow and two sinks that are never a hand basin. On a small floor that is often a room next to the dirty utility with its own bench run. Clinical waste containers are kept where unauthorised access is prevented, so we agree a route from the dirty utility to the bin room with the building manager early. A cleaner's room and a general store belong on the same side, and we hold a store on the plan from the first sketch because a clinic without one fills its corridors with boxes.
The Staff Zone and Where It Sits
A medical centre has a staff zone in a way that a small clinic does not. The AusHFG guidance places staff work areas in a staff-only zone that can be secured while the rest of the centre is open, separated from treatment areas so staff conversations are not overheard, and lists staff toilets, lockers, showers and a staff room among the amenities. On a floorplate this usually means the staff zone at the back or on the core side, entered through a controlled door from the clinical corridor, with its own toilets. The kitchen and any showers add plumbing and exhaust, so the staff zone also pulls toward the wet stack, which often lines it up behind the dirty utility and the pathology room. Access control at the staff door and at the door from waiting into the clinical corridor lets reception lock down the floor when it needs to.
Patient Flow and Staff Flow on One Floor
With the rooms placed, the test of the plan is whether two flows can run at once without crossing. The patient flow is a loop: entry, reception, waiting, consulting room, then either back to reception or on to treatment or pathology and out. The AusHFG guidance asks that the entry, reception and waiting area let patients move easily to and from the treatment areas.
The staff flow is a second loop that touches the first at the consulting room doors and the nurse station but should not pass through waiting. Staff arrive through the staff zone, work between the nurse station, treatment room, clean utility and consulting rooms, and take used equipment, specimens and waste to the dirty utility without walking through the waiting room.
Acoustic planning also happens at this scale. The AusHFG guidance asks for noisy areas such as waiting to be isolated from quiet areas with sound-isolating construction between them. Setting the consulting row back from waiting by a corridor, grouping the staff room and dirty utility at the rear, and running full-height walls at the zone boundaries does more for confidentiality than any single partition specification. Glass has a place in reception and corridors but little deeper in the plan, which is why many centres use glass only in circulation areas.
Sequencing the Build Across the Floor
A medical centre is one of the more involved complete fitouts we build, because so many trades share a small floor. The order we plan to is fixed by dependencies:
- Set out every wall and wet point on the slab, with the reception counter, treatment room door and each basin marked.
- Cut core holes and run the in-slab or below-slab plumbing for the wet rooms, dirty utility and toilets before any framing goes up.
- Frame the full-height walls at zone boundaries and between consulting rooms, with backing for basins, panels, rails and curtain tracks.
- Rough in electrical, data, nurse call and duress, plus any medical gas, then insulate and seal.
- Install the ceiling grid and the services above it, with the dirty utility exhaust and the examination light positioned before the grid closes.
- Line and finish the walls, lay coved vinyl in the wet and clinical rooms, then hang doors and fit hardware and seals.
- Fit off basins, tapware, lighting, curtain tracks, panels and outlets, and test room by room.
Two things break this sequence more than any other. The first is a late change to a wet room position, because it reopens the slab work after the walls are up. The second is a services brief that arrives after the ceiling is planned, since piped gas, extra exhaust and a body-protected electrical area all change what runs through the void, and the ceiling service zones in a medical suite have to be coordinated across the whole corridor. Settling the wet rooms and the services brief on the first drawings avoids both, and it is the discipline we bring to all of our medical fitouts, from a single suite to a full floor.
We price and sequence a medical centre floor from the plumbing points outward, so the wet rooms, the corridor widths and the two flows are fixed before the first wall is framed.
📞 Call us on 1300 60 93 93