
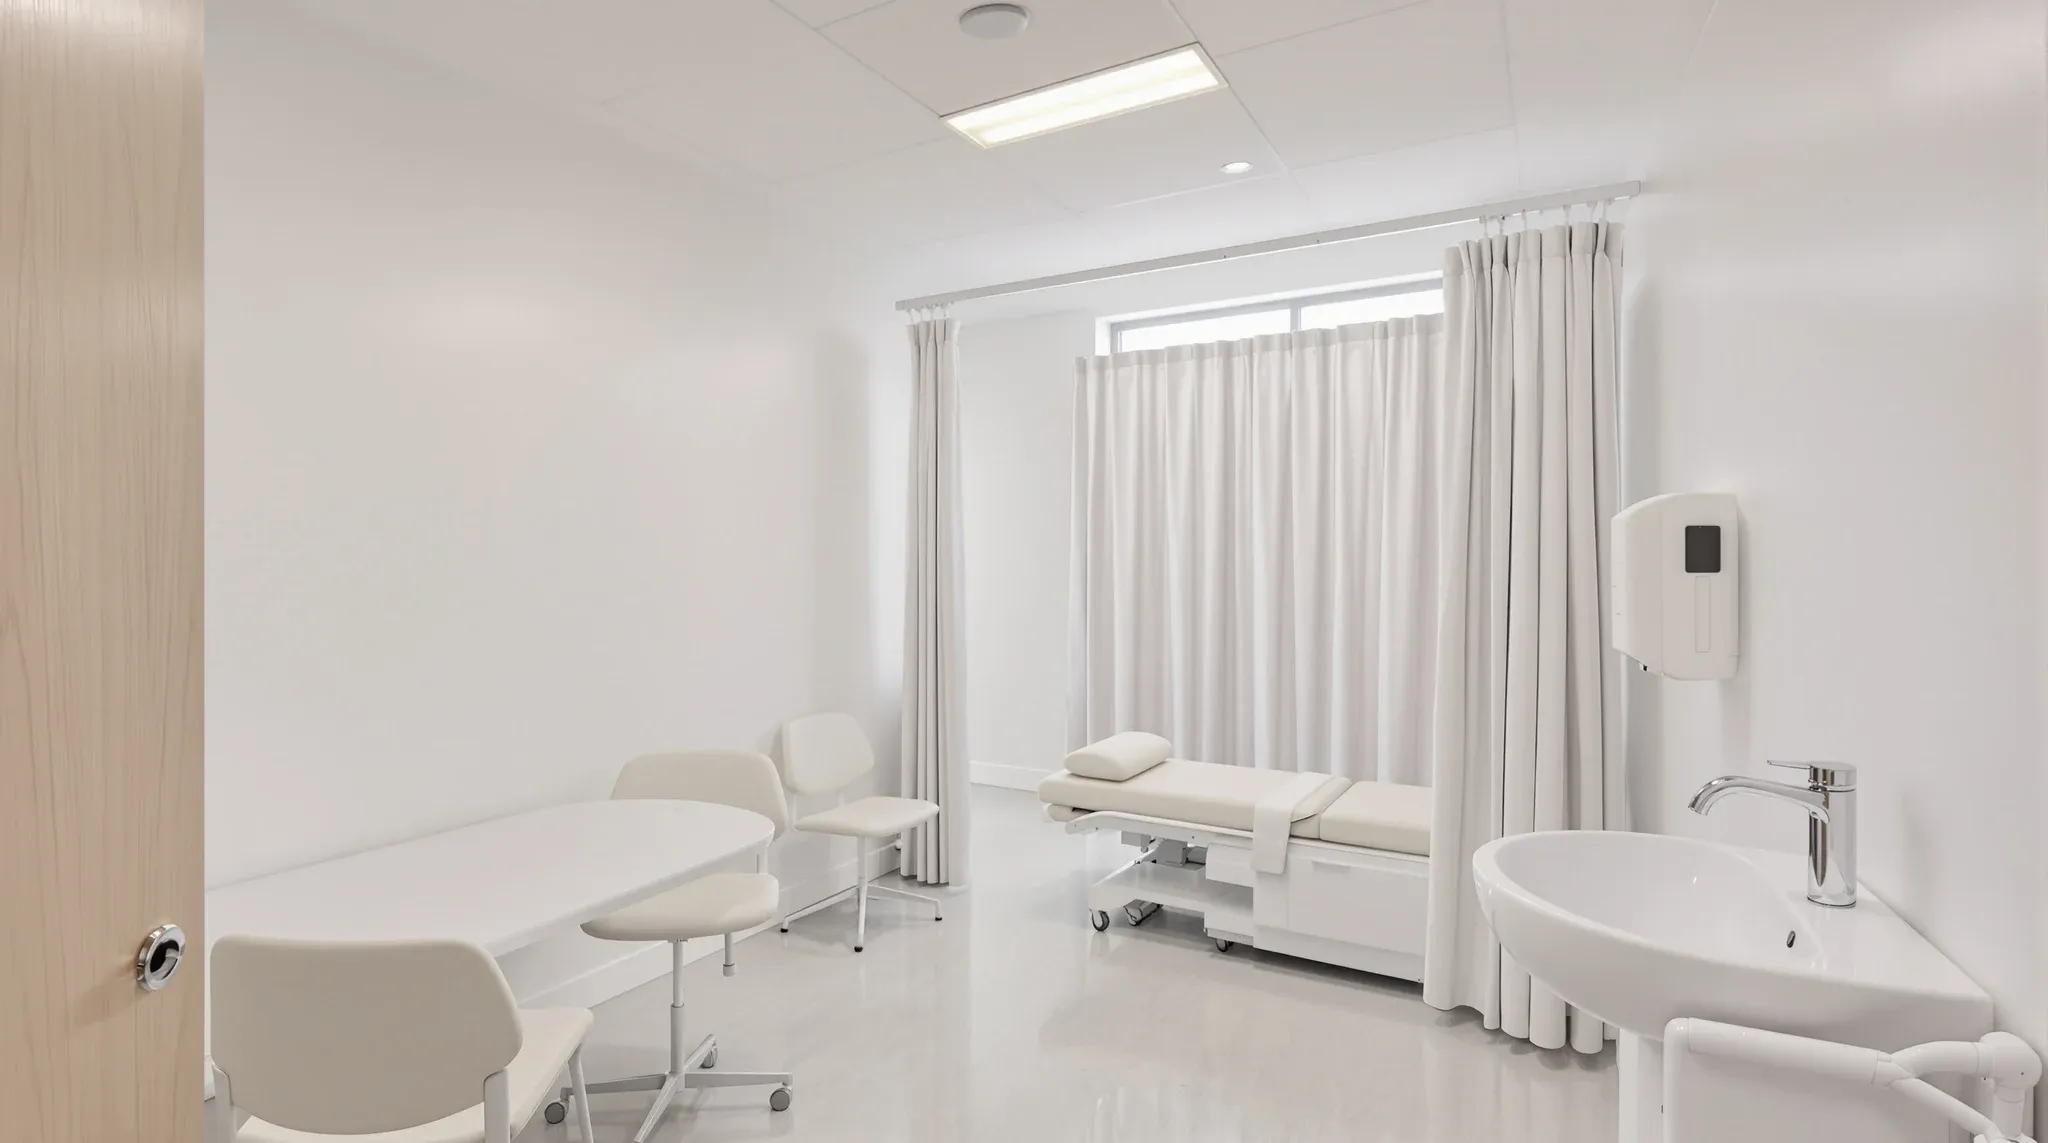
A GP consulting room is a small room that a clinic repeats many times over, and it leaves little margin for error. It holds a desk, a height adjustable examination couch with a privacy curtain, a hand basin and seating for the patient and a support person, and all of it has to work inside roughly the footprint of a small office. The RACGP's practice design guidance suggests allowing approximately 12 to 16 square metres per consulting room, and the Australasian Health Facility Guidelines consult room data sheet is briefed at 12 square metres.
What drives the build is the fixed relationship between the parts. Once the door, the couch, the basin and the desk are placed, the plumbing run, the power and data positions, the lighting and the wall build all follow. When that relationship is settled on one room and repeated down a corridor, the job prices cleanly and runs in a predictable order. When each room is planned separately, services move, walls get opened and the programme slips.
Room Size and Proportions
The floor area matters less than the shape. A room close to square, or slightly longer than it is wide, lets the desk sit on one side and the couch on the other with clear floor between them. A long, narrow room of the same area forces the couch and desk into a line, and the doctor ends up working in a corridor between furniture.
When we set out a floor of consulting rooms, we look at the column grid, the window mullions and the core first. The width of each room is usually set by a mullion module so that every partition lands on a mullion rather than across glass. The depth is then set by what is left between the facade and the corridor. If the base building grid produces rooms that are too narrow, it is better to lose one room from the row than to build a set of rooms that do not fit a couch properly.
A few proportion points we check on the drawings before pricing:
- The couch can sit with clear floor on its long side and at one end for the doctor to stand and work.
- The door swing does not cross the couch zone or the path from the door to the patient chair.
- The desk leaves room for the doctor's chair to move back without hitting the wall or the basin.
- A second door, where the practice wants one for staff access or safety, has a place in the wall that does not take the couch position.
Placing the Desk, Couch, Curtain and Basin
Most GP consulting room layouts follow the same logic. The door opens into the consulting half of the room, where the desk and patient chairs are. The examination couch sits in the far half, away from the door, so a patient on the couch is not in the line of sight when the door opens. The curtain track wraps the couch zone so the patient can undress and be covered while the doctor stays at the desk.
The AusHFG consult room data sheet lists an L shaped bed screen curtain track to the examination couch. On site this means the track is fixed to the ceiling grid or a timber or steel backing above the ceiling, and its position has to be set out before the ceiling goes in. If the couch position changes after the ceiling is finished, the track, the examination light and sometimes a sprinkler head or a diffuser all move with it.
The hand basin usually sits near the door on the consulting side of the room, so the doctor can wash between patients without crossing the couch zone. RACGP infection control guidance calls for hand hygiene facilities in all examination and treatment areas, with paper towel dispensers at sinks, and suggests considering hands free or elbow operated taps in new work. The AusHFG data sheet lists a handwash basin with elbow action levers, a splashback and soap and towel dispensers to the basin. We set out the basin, the splashback and the dispenser positions together, because all of them need wall backing.
The desk itself sits outside our build scope in most GP jobs, but its position drives where we put the power and data. Placing the desk so the doctor can see the patient and the screen without turning away is a design call made by the practice and its designer. Our job is to lock that position in before the wall framing starts.
Plumbing Runs to Every Basin
In a commercial office building, the hand basin is usually the item that decides whether a consulting room layout works. Every basin needs a hot and cold supply and a waste, and the waste needs enough fall back to a riser or a connection point. In a building with no in slab plumbing, that fall is found either in the floor void, in a raised section of floor, or by running the waste below the slab through the tenancy below, which needs the landlord's agreement.
For a row of consulting rooms, we try to pair the basins back to back across a shared wall, or line them up along the corridor wall so one waste run picks up several rooms. This keeps the number of floor penetrations down and makes the plumbing rough in simpler to sequence. A layout that puts each basin in a different corner of each room is harder to plumb and more costly, even though it looks fine on a furniture plan.
Hot water also needs a source. Depending on the building, this might be a small instantaneous unit under each basin, a local unit serving a group of rooms, or a connection to an existing supply. Each option affects the power layout and the space under the basin, so it is settled at the same time as the basin position. Basin count and hot water source both move the number when a practice manager scopes a medical fitout for pricing, so we ask for both on the first set of drawings.
Power, Data and Lighting at the Couch
Power and data in a consulting room follow the desk, the couch and the wall mounted equipment. The desk position needs general power and data for the computer, phone and printer. The couch position needs power for an electric height adjustable couch, and the AusHFG data sheet lists wall mounted diagnostic equipment, which usually needs an outlet near the couch. Some practices also want a duress button, which the data sheet places in a discreet location easily reached by staff.
Lighting is where a consulting room differs most from an office. The AusHFG data sheet calls for colour corrected lighting and lists an examination light, wall mounted by default or ceiling mounted, at the couch. General lighting that is comfortable at the desk is often not enough for examination, so we usually give the examination light its own switch close to the couch. We confirm the light type early, because a ceiling mounted examination light needs support above the ceiling and a position that clears the curtain track.
The ceiling above a row of consulting rooms carries lights, curtain tracks, supply and return air, sprinklers and cabling, so the ceiling service zones in a medical suite are coordinated across the whole corridor before any one room is detailed. At room level, the rule we work to is simple: the reflected ceiling plan for one consulting room is drawn with the couch, curtain and light shown, and then copied down the row.
Acoustic Separation Between Adjoining Rooms
Auditory privacy is one of the plainest requirements for a consulting room. The RACGP standards expect consultations to have both auditory and visual privacy, and the practice facilities criterion suggests adequate soundproofing between internal walls, solid doors instead of paper core doors, and draught proofing around door frames. The AusHFG data sheet lists acoustic privacy as essential.
At build level, that privacy depends on details that are easy to miss:
- Walls between consulting rooms run full height to the underside of the slab, rather than stopping at the ceiling, so sound cannot travel over the top through the ceiling void.
- The wall cavity is filled with insulation and the lining is set out to suit the acoustic target, often with more than one layer of board.
- Penetrations for pipes, cables and back boxes are sealed, and power outlets are offset rather than placed back to back.
- Doors are solid core, with seals to the frame and a seal or drop seal at the bottom.
Our plasterboard partitions work for GP clinics is mostly this detail. Where the acoustic target calls for double layer plasterboard partitions, the extra wall thickness is allowed for in the door frames and the set out. Sequencing matters as much as the wall build. Walls going to the slab have to be built before the ceiling grid, and the fire and acoustic sealing at the top of the wall has to be done while it can still be reached. Where the slab is crossed by beams or ductwork, we allow for the extra work of sealing around them.
The door is the weak point in most consulting room walls. A solid core door with good seals performs far better than a hollow door, and the gap under it matters. The corridor side of the door also needs thought: a waiting patient standing outside a door is closer to the conversation than the doctor in the next room.
How a Row of Consulting Rooms Repeats
Most GP clinics we see have several consulting rooms in a row along one corridor, often with a treatment room and a nurse's station nearby. The RACGP design guidance suggests clustering consulting rooms around the waiting area and close to treatment rooms to reduce walk times. On a commercial floorplate, that usually means a corridor off reception, with rooms on one or both sides.
Repeating the rooms has real benefits for the build. When every room is the same, the set out, the wall framing, the services rough in and the ceiling details are the same, and each trade gets faster as it moves along the row. Mirroring rooms in pairs works well: two rooms share a basin wall and a plumbing run, and their doors sit side by side on the corridor.
The things that break the pattern are usually the base building: a column that lands in a room, a riser that takes a corner, or a window module that does not match the room width. We resolve those on the drawings so the odd room still fits a couch, a desk and a basin in the right order. In a suite shared by several doctors or allied health providers, the partition strategy for a shared suite also has to account for rooms with different uses sitting side by side.
Sequencing the Consulting Rooms in the Fitout
The order of work for a row of consulting rooms is fairly fixed, and most programme problems come from decisions made out of order. The sequence we plan to is:
- Set out the rooms on the slab, with the door, couch, basin and desk positions marked for every room.
- Complete plumbing in the floor or below the slab, and any core holes, before the walls go up.
- Build the full height walls between rooms, with backing for the basin, splashback, dispensers, wall mounted equipment and any grab rails.
- Rough in power, data, duress and plumbing inside the walls, then insulate and seal.
- Install the ceiling grid with the curtain track backing and examination light supports already in place.
- Line and finish the walls, then fit doors, seals and hardware.
- Fit off the basins, tapware, lights, curtain tracks and outlets, then test.
The two points that most often cause rework are the couch position and the basin position. If either moves after the walls are lined, the fix involves cutting the wall, moving services and patching. We ask for both to be confirmed room by room before the set out is marked, and we keep a single marked up plan on site that every trade works from. The same room by room discipline carries through the rest of our medical fitouts, from treatment rooms to reception.
We price and build GP consulting rooms as a repeating set, with the basin, couch and door positions fixed before the first wall goes up, so every room in the row is built the same way.
📞 Call us on 1300 60 93 93