
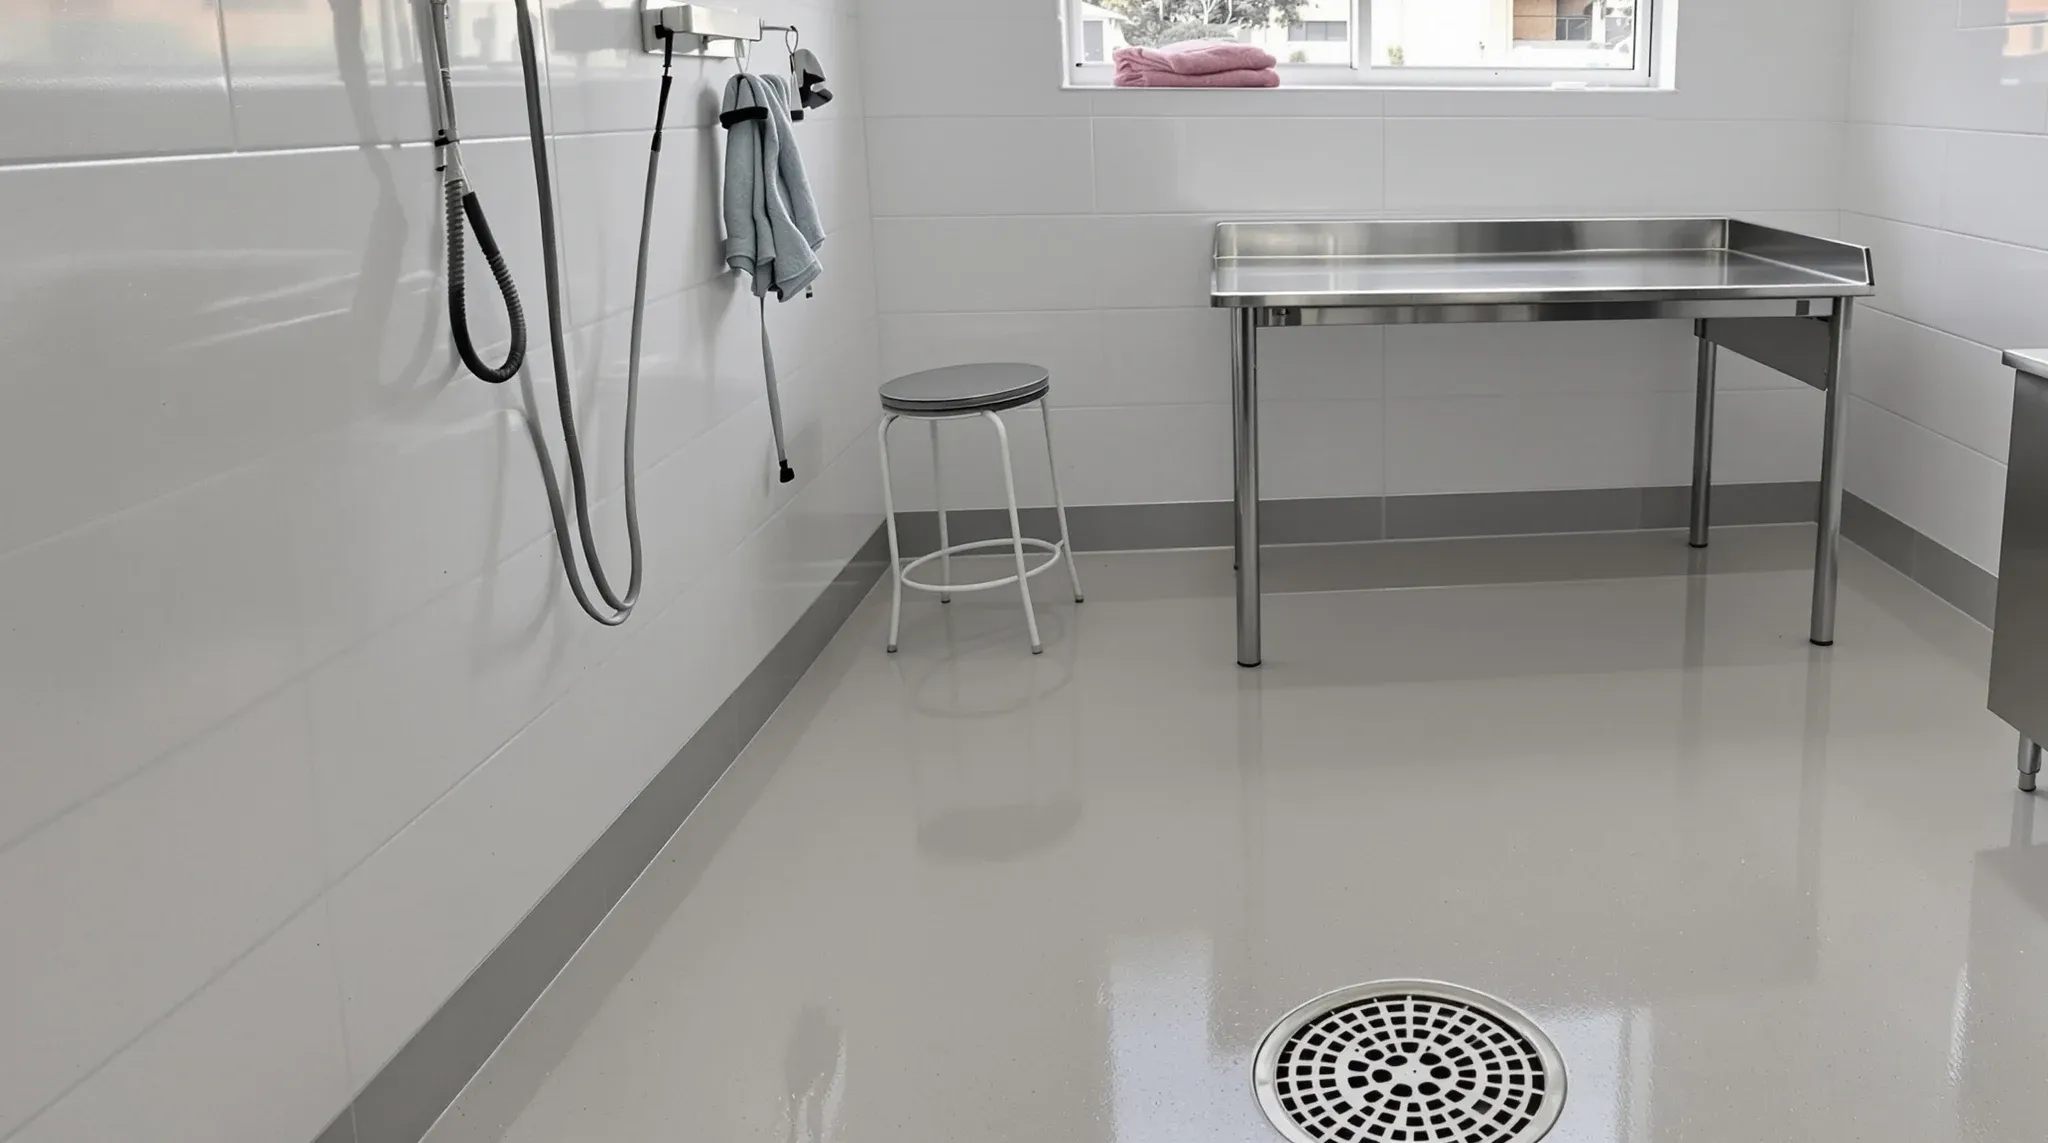
A vet clinic sits in the same kind of retail or commercial tenancy as a physio or a dentist, but the building work behind it is closer to a wet area with a kennel attached. Animals bring noise, odour, hair and bodily fluids, and the staff clean with water rather than wipes, so the floor has to drain, the walls have to take a hose and a claw, and the air from the wards has to leave the building without reaching the tenant next door.
What drives vet clinic design is a short list of physical things: keeping dogs and cats apart from the front door onwards, getting waste pipes and floor wastes where the treatment and ward areas need them, exhausting the rooms that smell, holding barking inside the tenancy and building an X-ray room to a shielding design. Whether the job is a complete fitout of an empty shell or the conversion of an existing shop, each of those is decided by the tenancy before it is decided by the drawings.
Check the Tenancy for Drainage and Exhaust Before Leasing
The most expensive surprises on a vet fitout are found in the slab and the ceiling void, so they are worth finding before the lease is signed. When we walk a prospective tenancy for a veterinary practice, the first question is where the sewer connection is and how far below the floor it runs. A ground floor shop on a slab over natural ground can usually take new floor wastes by cutting and trenching the slab, while an upper floor tenancy means drainage pipes run through the ceiling of the space below, which needs access to someone else's tenancy and the landlord's approval.
The second question is where exhaust air can go. Ward and isolation exhaust generally needs its own route to outside, either up a riser to the roof or out through a wall to a discharge point away from windows, air intakes and footpaths. A tenancy with no riser, residential apartments above or a food business sharing the rear lane can make that route hard to get approved.
Coring slabs and adding risers usually needs sign-off from the building's structural and services engineers, and early coordination with the base building engineer avoids a layout that depends on a penetration the building will not allow. Having the drainage and exhaust routes confirmed on site before the floor plan is drawn around them keeps the layout buildable.
Separate Waiting for Dogs and Cats
Front of house in a vet clinic is planned around species as much as around people. International Cat Care's Cat Friendly Clinic criteria ask for either a cat-only waiting room or a cat-only area with sight barriers that stop cats and dogs seeing each other, and they note that covering a carrier is not an adequate barrier. Western Australia's veterinary board guidelines also encourage separate dog and cat waiting areas where practical.
For us that becomes built elements: a solid screen wall or a full-height partition dividing the waiting area, seating on each side that cannot be seen across, and a route from the cat side to at least one consult room that does not pass through the dog side. Where the tenancy is narrow, a second consult room door opening directly off the cat area often solves the route better than a longer corridor.
The entry itself needs thought. Animals slip leads, so self-closing doors, a vestibule or second door where the entry opens straight onto a footpath, and a reception counter with a hard-wearing base all belong in the scope. Retail display shelving usually sits outside the build, but the blocking in the walls that holds it does not.
Consult Rooms That Can Be Washed Down
A vet consult room is small, busy and messy. Those Western Australian premises guidelines expect a sink with fixed plumbing in each examination room and an impervious, cleanable surface on the examination table, which means every consult room carries a water supply and a waste, not just the treatment area.
The finishes follow the cleaning. We run sheet vinyl with welded seams and a coved skirting turned up the wall, so urine and cleaning water cannot sit in a joint or wick behind the skirting. Wall surfaces around the table and sink get a washable, impact-resistant finish, and walls that will carry a wall-mounted lift table or a hoist need structural backing installed before the plasterboard goes on.
Door hardware and door edges take a beating from trolleys, crates and large dogs. Kick plates, protection to the door frames and doors that close quietly behind an anxious animal are small line items that make a large difference to how the rooms hold up.
Treatment, Surgery and Recovery Zones
Behind the consult rooms, most small animal practices are organised around a central treatment and prep area, with surgery, recovery, the wards and imaging opening off it. The treatment area is where the wet table, the dental unit, the autoclave and most of the equipment power sit, so it carries a dense concentration of plumbing, power and data in a small footprint.
The surgery is the most tightly specified room. The same guidelines describe it as a dedicated room that is not a thoroughfare, with a solid closable door, a surgical light in addition to the room lighting, and a scrub sink close to but outside the theatre. For the build that means a sealed room with an easily cleaned ceiling, fixing points in the slab or ceiling structure for a surgical light, and a scrub bay planned into the corridor. A hygienic ceiling system usually suits the surgery and treatment area better than a standard office grid.
Anaesthetic gas scavenging also shapes the services. The Western Australian guidelines no longer accept passive scavenging and expect an active system that expels or captures excess gas. An active system needs an exhaust route and power, so we coordinate its position with the mechanical design early. Recovery sits beside surgery where staff can watch patients, and it needs the same cleanable finishes plus heating and power for monitoring equipment.
In NSW, premises where major surgery is performed are licensed as veterinary hospitals by the Veterinary Practitioners Board, so the practice should confirm what the Board expects of the surgical rooms before the layout is locked.
Floor Wastes, Falls and a Heavy Plumbing Load
Wards, kennels and isolation rooms are hosed or mopped with a lot of water. The Western Australian guidelines recommend floor drainage for kennels and isolation areas, and the construction question is how to get the floor to fall to those wastes inside an existing tenancy.
There are three usual methods, and the tenancy decides which one applies:
- A screed laid to falls on top of the existing slab, which raises the floor and creates a step or ramp at the door that has to be managed for access
- Cutting and trenching the slab to set the floor waste and pipework lower, which suits a ground floor slab
- A set-down in the slab left by the base building, which is rare in retail tenancies but useful where it exists
Wet areas around floor wastes need a waterproofing membrane turned up the walls before the floor finish goes down, and the membrane is usually tested before anything covers it.
The fixture count is also higher than most tenants expect. Consult sinks, a scrub sink, a wet treatment table, a dog bath, an autoclave, a laundry that washes bedding all day and staff amenities all drain to the same connection. That plumbing load puts a vet clinic closer to a dental practice fitout than a GP clinic in terms of services. Hot water demand is high and constant, so the heater size and location need confirming early. Whether the practice needs a trade wastewater arrangement or any pre-treatment on its discharge is confirmed with the water authority by the hydraulic consultant during design.
Wards, Noise and Odour Next to the Neighbours
Barking is the complaint that follows a vet clinic into a shared building. Sound travels over a partition that stops at the ceiling grid, so the ward and kennel walls need to run to the underside of the slab, with insulation in the cavity and every penetration sealed. On shared tenancy walls we usually build a second independent stud wall or add board layers, and double-layer plasterboard partitions are a common part of that detail. Doors into the wards get acoustic seals, and the ward itself is best placed against the building core or a car park wall rather than against the next tenant.
Odour is handled with air movement. The wards, isolation room and bin store are usually kept at lower pressure than the rest of the clinic, with dedicated exhaust drawing air out of them and discharging to outside, so ward air is not recirculated through the base building air conditioning. The Western Australian guidelines describe isolation as a room with a physical and air space separation from the rest of the practice, and access to isolation should not be through the kennel room.
The cat ward adds another layer. Cat Friendly Clinic criteria at Gold level call for a cat-only ward physically separated from any dog ward, and a complete solid wall where the two adjoin. We plan that wall at the same time as the neighbour walls, because both are acoustic walls built to the slab.
Walls and Floors That Take Claws, Hoses and Trolleys
A vet clinic takes daily abuse that an office floor never sees. Claws scratch soft vinyl, large dogs push against lower walls, crates and trolleys hit corners, and cleaning water reaches the base of every wall. We look for flooring rated for heavy commercial wet use in the back of house, with resin or seamless systems considered for wards and wash areas where hosing is daily.
Walls in the treatment and ward areas get impact-resistant board and a tough, washable finish, with protection rails or sheet protection at trolley height along the corridors. The detail behind plasterboard partitions for medical clinics applies, but a vet clinic takes more impact lower on the wall, so the heavier board and wall protection extend further than in a human clinic.
Kennel banks are usually supplied by a specialist, but the build provides the drained floor under them, the wall backing that anchors them and the power for any heated cages. Having those three in place before the kennels arrive keeps the kennel install short.
Building the X-Ray Room to the Shielding Design
Radiography rooms are the one part of a vet fitout where we build strictly to a specialist's design. The NSW EPA's Radiation Standard 6 for veterinary science (opens in a new tab) says shielding and room design details should be determined under its shielding guideline and documented by an appropriately qualified person before building works start. It also calls for a radiation warning sign on the entry doors to a fixed X-ray room, a warning light at the entry doors in most cases, and a fixed operator shield of not less than 2,100 millimetres where one is provided.
On site that design becomes lead-lined plasterboard to the heights it specifies, lead in the door leaves and frames, overlaps at every board joint and lead backing behind power outlets and other penetrations. For new installations the standard asks for shielded walls and doors to be durably marked with their lead thickness or equivalent, so we plan the marking before the paint goes on. Whether the floor or ceiling needs shielding depends on who occupies the space above and below, and the design tells us.
The warning light needs wiring from the X-ray unit to the door, and the room needs the power supply the equipment supplier specifies. Once the room is built, the equipment is tested and certified by an EPA accredited consulting radiation expert.
When we price a vet clinic, we set out the floor wastes, falls and ward exhaust route against the real slab and ceiling void first, so the drainage and air are fixed before a single wall goes up.
📞 Call us on 1300 60 93 93