
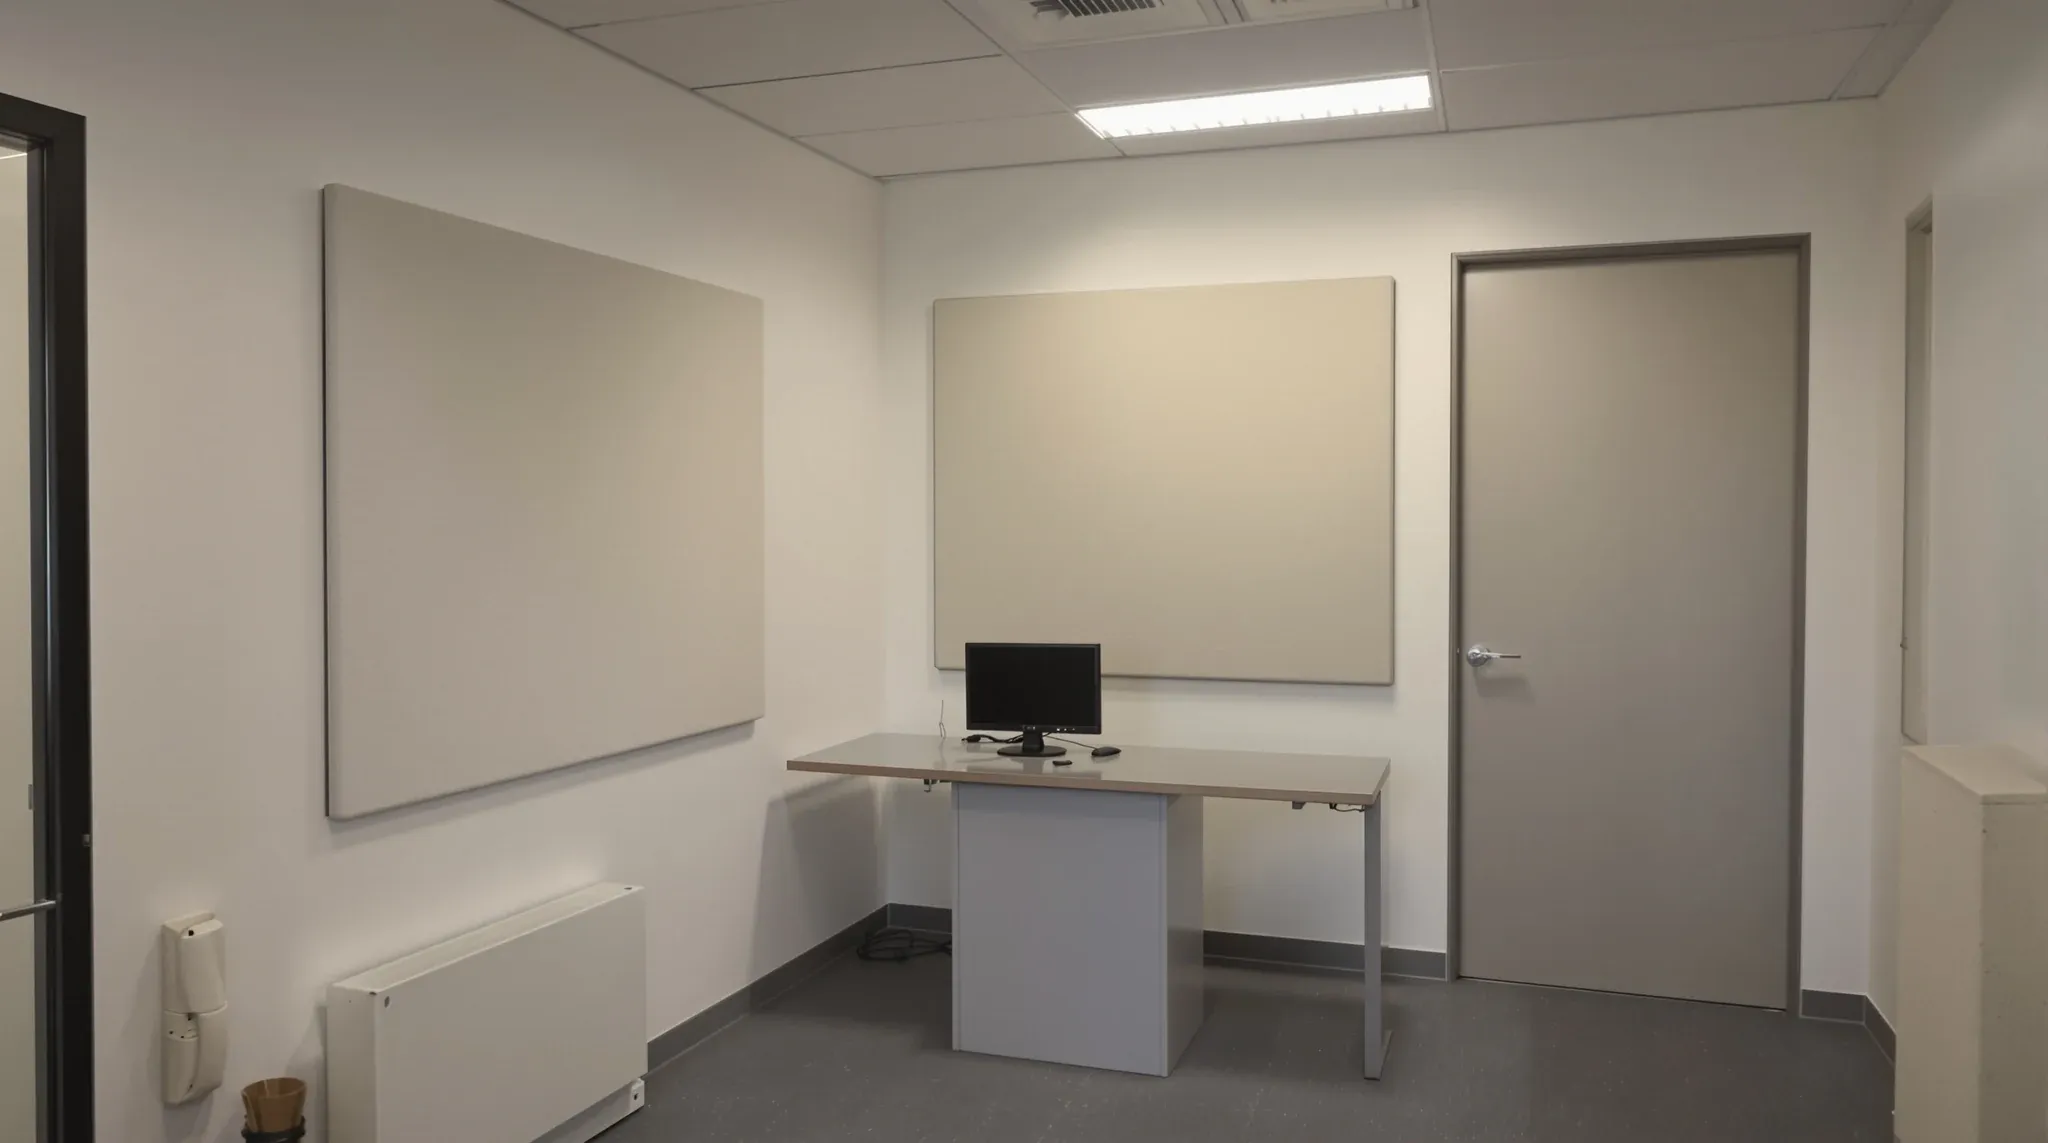
A telehealth room has one job: a private conversation carried through a camera and a microphone. It holds a desk, a screen, a practitioner's chair and usually one patient chair, and nothing else has to fit. That makes it smaller than a consulting room but less forgiving, because a camera picks up a bright window behind a face and a microphone picks up the corridor in a way a person in the room does not notice.
What drives the build is that the room is sealed and lit for the equipment rather than for the people in it. The walls run to the slab, the door carries seals, the light comes from the front, the wall behind the chair is plain, and the data point is wired. The same room turns up in general practices, specialist suites and, increasingly, corporate offices as a staff wellbeing room.
Where the Room Sits on the Floor
The best position for a telehealth room is an internal one. The RACGP telehealth video consultations guide asks for a space that is quiet and has good lighting without high intensity light, such as a window, behind the person being viewed. An internal room with no window solves both at once.
When we look at a plan for this room, we check what is on the other side of each wall. A wall shared with reception, a waiting area or a staff kitchen works against the acoustic build however well the wall is made, while a store or a records room is a better neighbour, and lift shafts and plant rooms carry low frequency noise through the structure that no partition stops.
The door position matters as much as the walls. A door opening directly off the waiting room means every patient walking past hears the gap around it, and a door off a staff corridor, set back from the main flow, gives the sign on the outside a chance to work. The room also wants to be reachable from the consulting rooms, because a GP may bring a patient in for a specialist video consultation and walk them back afterwards. We settle that relationship between rooms early on our medical fitouts, before any wall is set out. A short run to the communications cabinet helps too: the RACGP guide notes that video quality can drop in rooms far from the router, and although we cable the room regardless, a shorter run is cheaper.
Sizing the Room for a Desk and One Patient Chair
There is no dedicated telehealth room data sheet in the Australasian Health Facility Guidelines. The nearest standard component is the single person office, listed at 9 square metres for one staff member doing computer based work, with a note that small meetings or interviews with visitors, including patients, may be held in it. That is a fair reference, because a telehealth room is a small office with a second chair rather than a consulting room with a couch.
The shape matters more than the area. The camera needs distance from the faces it frames, so a room slightly longer than it is wide, with the desk across the narrow end and the chairs facing it, gives the camera that depth and leaves a clear path from the door to the chairs.
A few points we check on the drawing before pricing:
- The door swing clears both chairs and does not open into the camera's frame.
- The backdrop wall behind the chairs is a full wall with no door, window or services panel in it.
- The screen wall has room for a monitor and a camera at seated eye height, plus a second screen for notes.
- A practitioner can reach the door without asking the patient to move.
If the practice wants patients examined on camera, the brief changes. The RACGP guide describes a screen in the room or a separate private area for a patient to change before the consultation, which pushes the room towards a consulting room with a curtain and a couch, so we ask that question before pricing.
Walls to the Slab, and a Door That Seals
Acoustic privacy is the point of the room, and it fails at the top of the wall before anywhere else. A partition that stops at the suspended ceiling leaves an open path over the wall, across the ceiling void and down into the next room. On this room we build the walls full height to the underside of the slab, with the cavity insulated and the head track sealed around every beam and duct that crosses the wall line.
The wall is a stud wall with plasterboard on both faces, usually two layers each side rather than one. Our plasterboard partitions are built to the acoustic target the practice sets, and the second layer, the insulation and the sealing of every penetration and skirting are what reach that target on site. We steer this room away from glazing altogether, for the same reasons that solid walls outperform glass in the private rooms of most healthcare practices.
The door is the weak point once the walls are right. A hollow core door with a gap under it undoes a full height wall. The door here is solid core, hung in a frame with a perimeter seal in the stop, and fitted with an automatic drop seal that closes the gap at the floor when the door shuts; seal manufacturers such as Lorient describe the perimeter seal and the drop seal as a pair for acoustic containment. The seals only work if the frame is plumb and the leaf is planed to a consistent gap, so we set the frame with the seal in mind rather than fitting the seal to whatever gap is left. A closer with a soft final action stops the door slamming, and the in use sign the RACGP guide suggests needs a power point if it is a lit sign rather than a slider.
Lighting and the Backdrop Wall
A telehealth room is lit from the front. The light that matters falls on the faces facing the camera, from above and slightly in front of them. A ceiling light directly over the chairs puts shadows under eyes and brows, and a light behind the chairs silhouettes the person on screen, so we set the luminaire between the screen wall and the chairs. A diffused panel spreads the light across both faces without a hot spot and keeps the camera's exposure steady from one call to the next, where a single small downlight gives it a bright patch and dark corners.
Where the room has to be on an external wall, the window goes to the side of the frame or behind the camera, never behind the chairs, and it gets a blind that closes fully, because even a window behind the camera fights the ceiling light as the sun moves through the day.
The RACGP guide asks for plain decor that will not distract from the image on screen, and the backdrop wall is where that applies. A mid tone matte paint in a muted colour reads well on camera and does not throw a cast onto faces, where white overexposes, dark colours swallow the light, and gloss or strong pattern catches the camera's focus. We keep the backdrop free of artwork, whiteboards and pinned paper, because anything with text on it ends up legible on screen.
A small hard room echoes, and the microphone hears it before the people do. A fabric faced acoustic panel on the backdrop wall takes the reverberation out and gives the camera a plain background, and a second panel opposite stops the flutter between two parallel plasterboard faces; their positions are marked before lining so backing goes in where a heavier panel needs it. An absorptive mineral fibre ceiling tile softens the room further, and that tile choice sits alongside the rest of the ceiling service zones in a medical suite, where the same ceiling carries lights, diffusers, a sprinkler head and sometimes a ceiling microphone.
Power, Data and Where the Cables Run
The room runs on a wired connection. A data outlet at the desk, cabled back to the comms cabinet, takes the video call off the practice wireless network, and we run two outlets rather than one so a second screen, a desk phone or a dedicated video codec can be added later without opening the wall.
Power sits at desk height on the screen wall, with enough outlets for the computer, monitor, camera and second screen, and a separate outlet at the door for the sign. If the monitor is wall mounted, the wall needs a timber or steel backing at the bracket position and a recessed cable box behind the screen, all of which goes in before lining, which is why the desk and screen positions are confirmed before framing.
The RACGP guide lists a webcam with a built in microphone as a minimum, with ceiling microphones and echo cancelling speakers as options for a practice with higher volume. A ceiling microphone changes the ceiling build: it needs a data run to the tile position, a backing plate in the grid and a spot that is not under a diffuser, and while the microphone itself sits outside our scope, the cable path and backing are in it. The guide also asks for a phone as backup, so a desk phone gets its own outlet or a spare data point.
Fresh Air in a Sealed Room
A room with walls to the slab, a solid door and a drop seal is airtight in a way most offices are not. A typical office door lets return air escape under it to the ceiling return grille; a sealed telehealth door does not, and if the mechanical design is not adjusted the room becomes stuffy within an hour of two people and a monitor running inside it.
The usual answer is a supply diffuser and a return in the room's own ceiling, with the return connected back to the plenum through a length of acoustically lined duct or a transfer attenuator, so air moves but sound does not; a bare transfer grille in the wall would undo the acoustic work. The diffuser goes away from the microphone so its airflow noise does not sit on the call, and where it does not blow directly onto the patient chair.
Temperature is a small room problem too, because a sealed room heats faster than the open floor around it and a single room on a large zone follows the zone rather than its own needs, so a local thermostat is usually worth asking for, depending on the building's system. We coordinate the supply, the return and the lined duct with the mechanical contractor before the ceiling grid goes in, because moving a diffuser afterwards means a new tile and a new duct run.
The Same Room in a Corporate Office
A staff wellbeing room, a telehealth room or a private call room in an office is the same build with a different brief. It usually has no patient chair, so it is smaller, and it sits among other enclosed rooms on an open floor, where the case for it is the one that applies to teams on calls all day: a sealed room with a plain backdrop and a wired connection that the open floor cannot give.
The choice on an office floor is between a built room and a freestanding pod. A pod is faster to place and easier to move, but the services around it still have to be run, and adding phone booths to an existing open plan office touches the floor, the power and the mechanical layout in ways that are easy to miss. A built room takes longer, but it can be sealed to the slab, ducted and lit from the front in a way a pod cannot.
The Sequence That Avoids Rework
The room builds in a fixed order, and most of the rework we see comes from a position changed after the step that depended on it.
- Confirm the desk, screen, camera and chair positions, and which wall is the backdrop.
- Set out the walls to suit the camera depth, with the door off a corridor rather than the waiting room.
- Frame the walls to the slab, with backing at the screen bracket and panel positions.
- Rough in the data, power, sign circuit and any ceiling microphone run, and the mechanical supply, return and lined duct.
- Insulate the cavity, seal the head track, penetrations and skirting, and line with two layers.
- Install the ceiling, the luminaire between screen and chairs, and the diffuser away from the microphone.
- Hang the solid core door, set the perimeter and drop seals, and fit the closer and sign.
- Paint the backdrop, fix the acoustic panels, fit off the outlets, and make a test call with the door closed and someone talking in the corridor.
The test call is the handover check: it shows whether the corridor is audible, whether the face is lit evenly and whether the wired connection holds, and a diffuser hum is far easier to fix on that day than after the first week of consultations.
We build telehealth rooms as sealed, front lit, wired rooms, with the walls to the slab and the door seals set before the first call is made, in clinics and corporate offices alike.
📞 Call us on 1300 60 93 93