
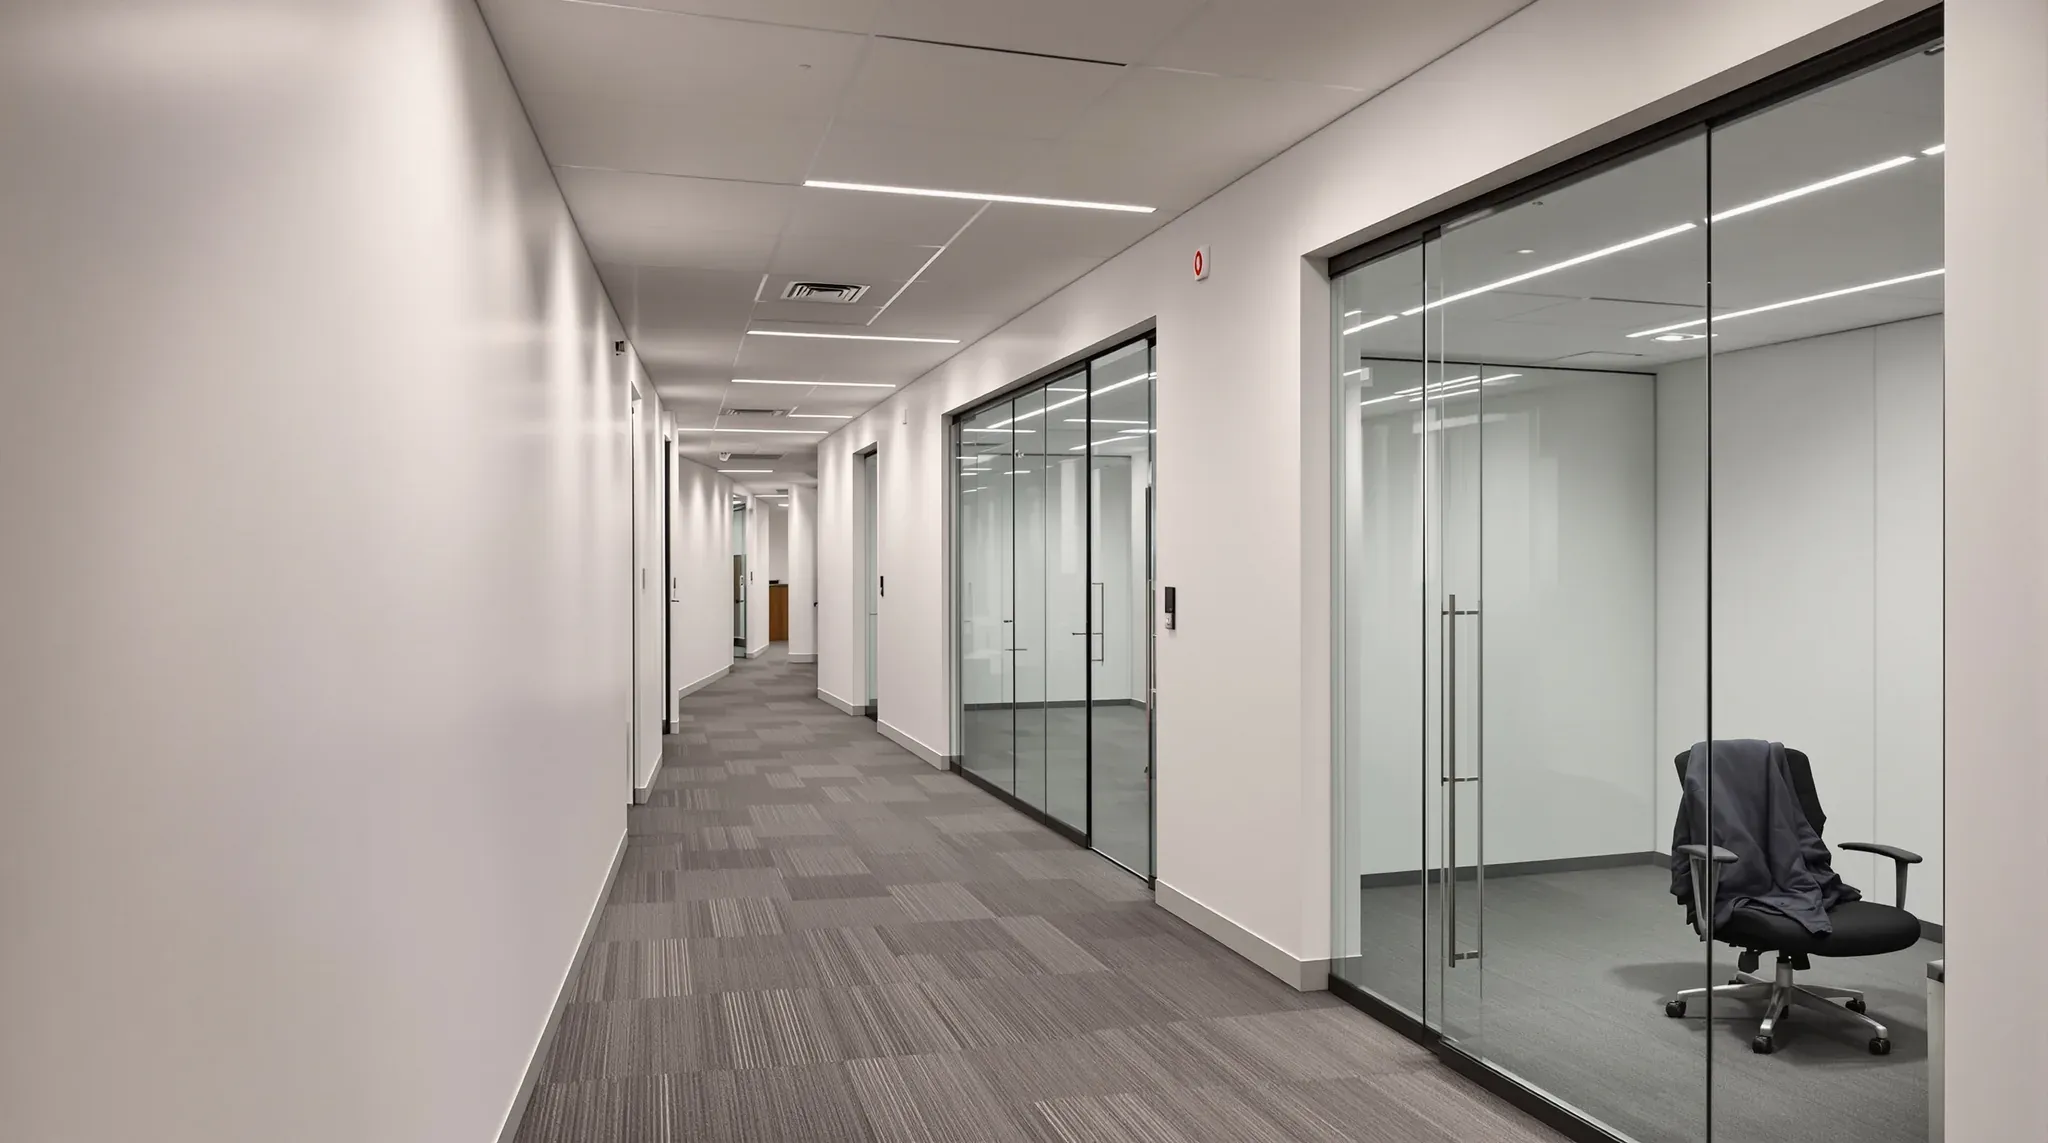
Value engineering means cutting the cost of a fitout by changing its specification, usually after tender prices come back above the budget. Ceilings are a common place to look, because most ceiling details can be swapped for a cheaper version without changing the floor plan. When we price a ceiling against a reduced budget, we judge each swap on what the detail does in the finished room and what it would take to put back once the ceiling is closed.
On the suspended ceilings we price and install, the details that come up in that conversation are the grid, the tiles, the areas of set plasterboard, the bulkheads, the acoustic items above the tiles, the access panels and the lighting layout. Some swaps remove labour and material the room does not need. Others remove something that only shows after handover, such as a meeting room that can be heard from next door.
Keeping the Existing Grid and Changing the Tiles
Many office tenancies already have an exposed grid in place from the base building or an earlier fitout. Keeping that grid and fitting new tiles removes the strip-out of the old ceiling and the labour of hanging a new one from the slab. The ceiling stays at its current height, and the room keeps the module the grid was built on, either 600 x 600 or 1200 x 600.
The swap works where the grid is level, its tees are straight and the new layout suits its lines. New walls are set out to land on a grid line where they can. Where a wall falls partway across a cell, the tiles either side of it are cut to fit against it.
The new tiles also have to suit the grid they sit in. A flat-edged tile sits in either a 24 mm or a 15 mm grid. A tile with a stepped edge, which hangs slightly below the grid, is made for one particular face width. We check the face width, the module and the condition of the grid on site before the tiles are priced, so the saving still holds when the order is placed.
Tile Choices Room by Room
Ceiling tiles are rated for absorbing sound within the room, which cuts echo (the noise reduction coefficient, or NRC), and for blocking sound that travels between two closed rooms through the void they share (the ceiling attenuation class, or CAC). As one rating goes up the other tends to come down, and tiles rated well on both are usually composite boards that cost more.
A single premium tile specified across the whole floor is a common place to save. We can price a standard tile for corridors, storerooms, print areas and the kitchen, keep a high-absorption tile over the open plan where most people sit, and keep a high-CAC tile over meeting rooms and offices whose walls stop at the ceiling. Keeping the same tile size, edge and colour in every zone makes the change from one zone to the next less noticeable from the floor.
The tile edge is the other saving. A stepped-edge tile sits below the grid with a shadow around each tile, costs more per tile and takes more care to fit. A flat-edged tile drops straight in, sits level with the grid and leaves the grid face showing as a flat line.
Plasterboard Areas, Finish Levels and Grid Swaps
A set plasterboard ceiling is built on steel top rails hung from the slab, with lighter furring channels clipped beneath them to take the board. The ceiling is then sheeted, jointed, sanded and painted, and every valve, damper or air-conditioning unit above it needs its own access panel.
A tile-and-grid ceiling is hung on wires or rods and its tiles drop in with no jointing or paint. Cutting plasterboard areas back to tile and grid removes most of the finishing labour and most of the panels with it, and the room gets a visible grid with access to the void through any tile.
Where plasterboard stays, the finish level is a second saving. A Level 4 finish is three coats of compound over the joints and screw heads. A Level 5 finish adds a thin skim coat over the whole surface, and it is used where light rakes across the ceiling from windows, skylights or spotlights. We can price Level 4 across most of the plasterboard and keep Level 5 only in the zones lit that way, because a Level 4 ceiling under raking light can show its joints.
Swapping a concealed grid for exposed T-bar removes slower, more exact set-out and tile fitting. A concealed grid hides its tees behind the tiles, and those tiles come out in a set sequence, so reaching the void takes longer than lifting a tile in an exposed grid. With an exposed grid the ceiling reads as a pattern of thin metal lines.
The ceiling trim at the walls often changes at the same time, from a shadowline with a small recessed gap to a standard angle trim. It is a small saving that stays visible along every wall of the room.
Bulkheads Deleted or Reduced to a Tile Drop
A bulkhead in an office ceiling is a boxed section built lower than the rest, framed from the slab and lined in plasterboard. Deleting one removes the framing, the sheeting, the jointing and painting on each face, and any access panels in it. A bulkhead is usually drawn to hide a duct, a cable tray or a pipe that sits below the main ceiling level, or to give a wall, a glass front or a line of lights a lower edge to meet.
With the bulkhead gone, whatever it covered either shows or sets the height of the ceiling around it. Dropping the whole tile ceiling in that room to pass under the duct costs ceiling height across the room.
A step in the tile ceiling keeps the height everywhere else, with the grid hung lower over the duct and a short vertical face at the change of level, formed in grid and tile or in a strip of plasterboard. Where a box is still wanted, a plain one with square corners and no lighting recess takes less framing and setting.
Walls and glass partitions drawn to stop at the underside of a bulkhead need re-detailing when it goes. The glass gets taller to reach the ceiling, its head track moves, and plasterboard walls need a new head detail. We measure glass on site after the ceiling is set, so a bulkhead change made before then is picked up in the measure. The fire services contractor usually checks the sprinkler heads near any change of level too, because a new step or a removed box changes what sits in each head's spray.
Acoustic Items Above the Tiles
Three acoustic items over a meeting room whose walls stop at the ceiling make little or no visible difference to the room. One is a higher-CAC tile in place of a standard one. Another is a layer of insulation laid over the tiles. The third is a barrier in the void above the wall, rising from the wall head to the underside of the slab, built from plasterboard or a dense foil-faced insulation board. Because the room looks much the same without them, they are easy items to cut.
Without them, speech in the meeting room passes up through the tiles, across the open void and down into the room next door. Lights and air grilles in the tile face let sound through as well, so the tile rating alone rarely closes the path. The acoustic ceiling performance a room needs decides which of the three it gets, and taking the wall itself up to the slab is the other way to block the same path.
Adding them after handover means lifting tiles along every wall involved and fitting the barrier around ducts, cables and sprinkler pipes that are now live. In a plasterboard ceiling it means cutting openings and patching them. Built during the fitout, the barrier only needs to pass the duct and return air opening serving that room, and we seal around each one before the tiles go in.
Access Panels and Lighting Matched to the Grid
In a plasterboard ceiling, a flush access panel has a plasterboard door in a recessed frame that is jointed and painted with the ceiling, so it sits level with the surface around it. A framed panel sits in a metal frame that shows around its edge and is quicker to fit. Swapping flush panels for framed ones changes only how the ceiling looks, and the swap can be made room by room, with flush panels kept in the reception and boardroom.
Reducing the number of panels is a different kind of cut. Fire dampers, valves, air-conditioning units and their filters are serviced through the ceiling for as long as the office is in use, and fire dampers are inspected on a routine cycle. Each one needs a panel within reach and large enough to work through. Where a panel is missing, the ceiling is cut open later at the spot the technician needs, then patched and repainted.
In a grid ceiling, a light fitting sized to one cell lays in where a tile would sit, with no cutting. A continuous recessed line of light across the grid needs grid parts made to its length and tiles cut along both sides. Changing those lines to fittings that each fill one cell, set out on the grid lines, removes that work.
In plasterboard, a recessed line of light sits in an aluminium channel fixed into the board and jointed in before painting. Changing it to a surface-mounted fitting removes the channel and the setting around it, and the fitting then sits below the ceiling face.
What Is Cheap to Add Back Later and What Is Not
Some of these cuts can be reversed later in the lease with little disruption. Others mean opening up the ceiling of an office that is working below it.
| Detail cut at tender | What putting it back involves |
|---|---|
| Shadowline trim swapped for angle trim | Edge tiles and trim removed and refitted room by room, with the rest of the ceiling untouched |
| Standard tiles in place of acoustic tiles | New tiles dropped into the same grid, tile for tile, where they suit its face width and edge |
| Framed access panels in place of flush | Each panel cut out, a flush panel fitted, and the ceiling around it patched and repainted |
| Fewer access panels | New openings cut into a finished ceiling, then patched and repainted |
| Level 4 finish in place of Level 5 | A skim coat over the whole ceiling and a full repaint, with the room cleared below |
| Insulation and barriers above meeting rooms | Tiles lifted along each wall and the barrier fitted around live ducts, cables and pipes |
| Bulkhead around a duct deleted | New framing hung around live services, sprinkler heads checked, then sheeting, jointing and paint |
Adding back costs least where the work sits on the face of the ceiling and one room can be done at a time. Anything in the void means lifting tiles or cutting plasterboard in an occupied office, around services that were finished and tested at handover.
When a ceiling budget has to come down, we can price each of these swaps as its own line, so anything in the void that is hard to add back is only cut where the room can do without it.
📞 Call us on 1300 60 93 93