
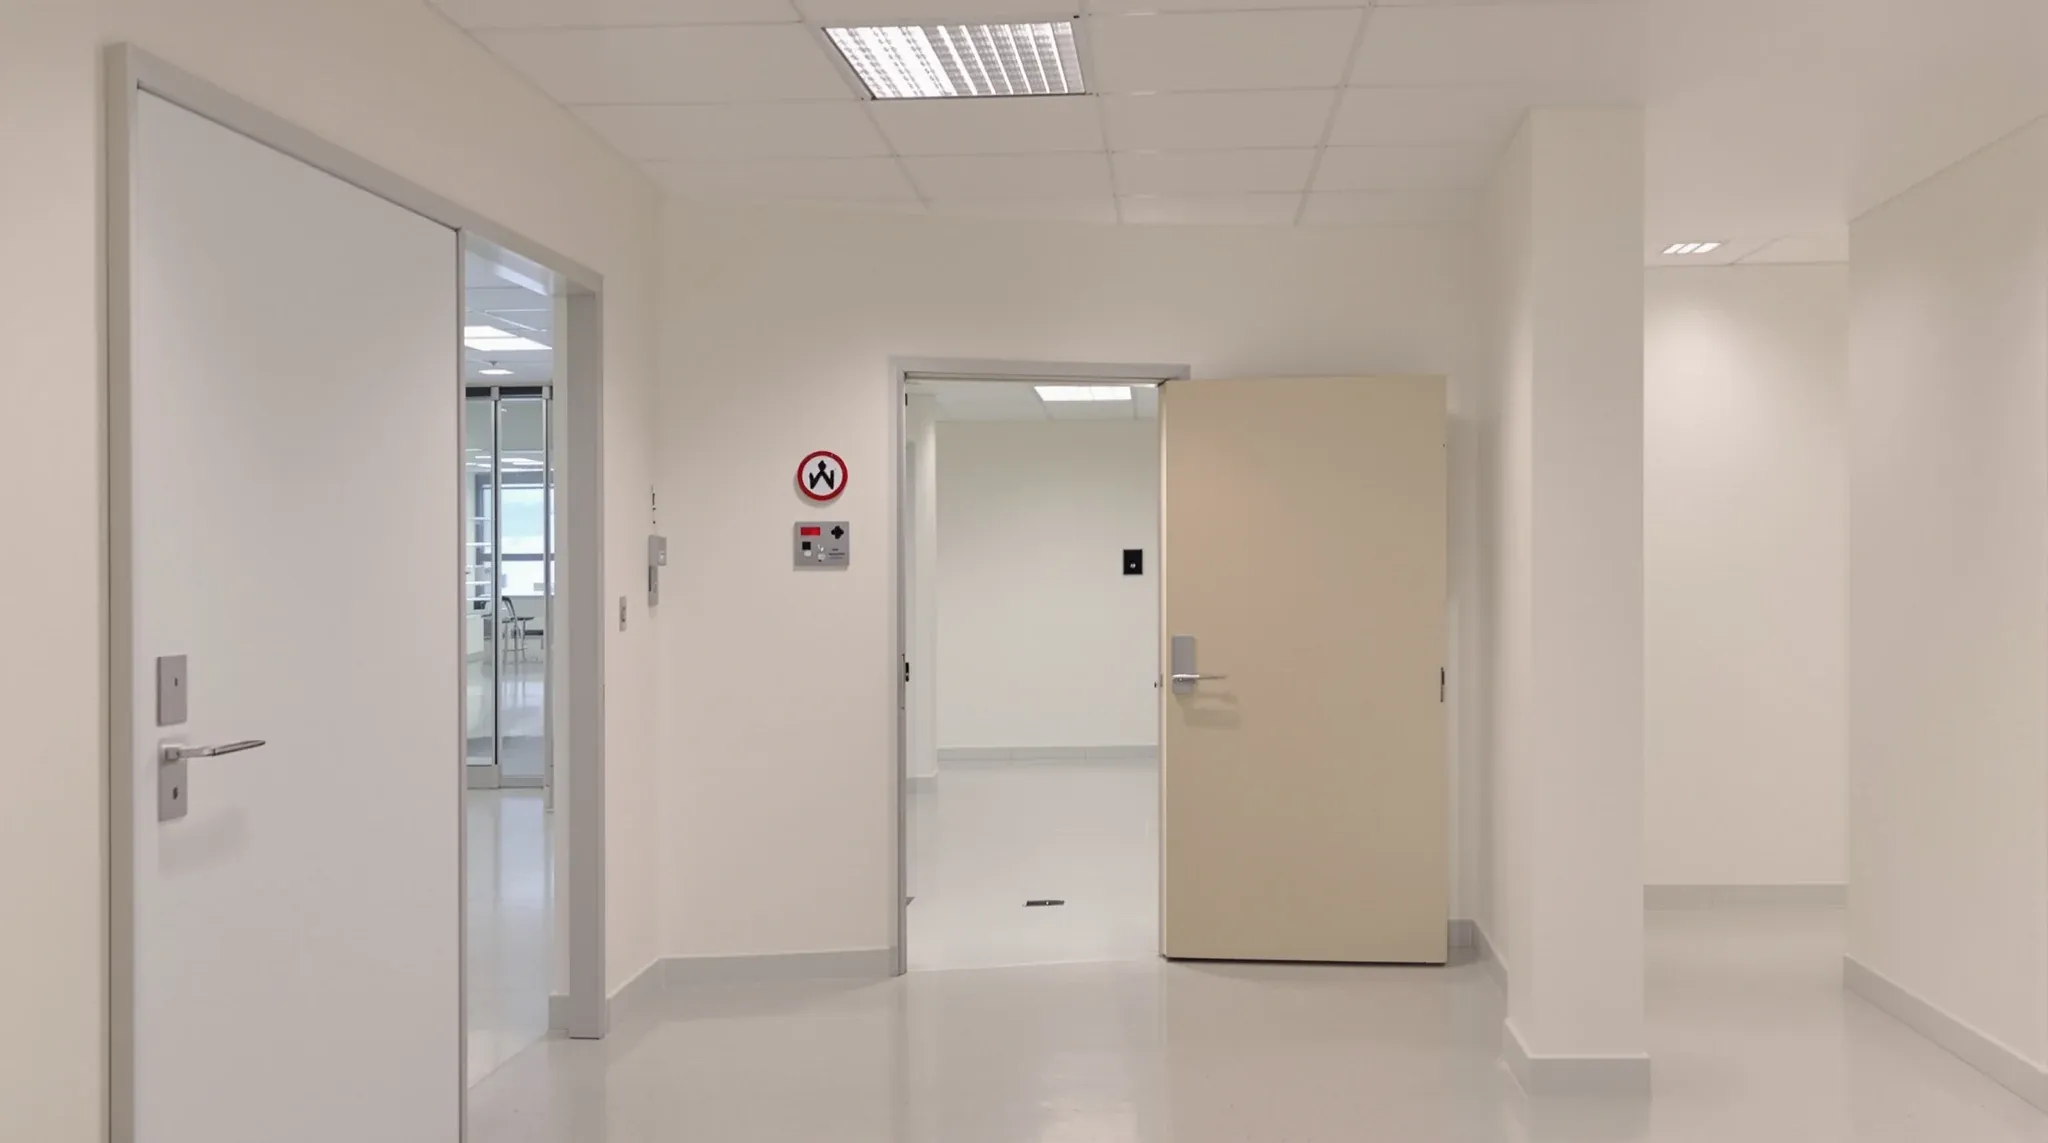
A radiology fitout is built around equipment that has not arrived yet. A CT gantry, an X-ray tube and table or an MRI magnet each fixes the size of its room, the load on the slab, the lead in the walls, the power, the cooling and the width of every door between the loading dock and the final position. Most of the decisions that shape the build are made before a frame goes up, many of them by people other than the contractor.
What we build to is a set of documents that sit on top of the ordinary fitout drawings: the vendor's site planning document, the structural engineer's assessment and the consulting radiation expert's shielding plan. Our job is to price, build and sequence the rooms so every one of those documents is satisfied and the equipment can be wheeled in and switched on without a wall being opened again.
Who Designs the Shielding and What We Build To
The radiation shielding for an imaging room is not something a wall contractor designs. In NSW, the Environment Protection Authority's Radiation Guideline 7 sets out how shielding is assessed, and for the medium and high risk premises a CT or general X-ray room usually falls into, a consulting radiation expert prepares a shielding plan that specifies the lead equivalence of every wall, door and window and the height the shielding runs to.
Two points in that guideline shape our work. Any change to an approved shielding plan goes back to the consulting radiation expert, so a door moved 300 mm during the build is a design change and not a site adjustment. And after the walls are built, the expert verifies that what was installed matches the plan, which can involve inspecting the lead as it goes in, testing the walls or taking core samples. We build so that inspection is easy: the lead stays exposed until the expert has seen it, and nothing is jointed or painted until the sign off is in hand.
Where a basin wants to sit on a shielded wall, the Australasian Health Facility Guidelines recommend a separate stud or service wall for the plumbing rough in so the pipework never cuts into the shielding. We draw those service walls, and the rest of the medical fitouts work around the room, before the shielding plan is finalised, because moving them afterwards is a reassessment.
Floor Loading for the Gantry, the Magnet and the Lead
An office slab was designed for desks and people, and an imaging room asks it to carry a concentrated machine plus the lead in the walls around it. Equipment site planning guides put a CT gantry in the order of a couple of tonnes and a 1.5 tesla MRI magnet at several tonnes, and the AusHFG notes that a 3 tesla MRI with its related equipment can weigh over 10 tonnes. Lead lined plasterboard adds to that: Australian board products carry about 5 to 30 kilograms per square metre of lead alone, so a shielded wall can weigh several times what an ordinary partition does.
We treat the slab as the first hold point on the job. A structural engineer assesses the equipment position, the wall lines carrying lead and the delivery route from the dock to the room, because a magnet rolled across a suspended floor loads every span it crosses. The questions are the same as any office floor loading question, but the answer here often comes with a condition: a spreader plate under the gantry, a strengthened zone, or a different room in the tenancy.
Where the vendor calls for a plinth or a cable trench, the concrete work is done before any wall is set out, and conduits are kept away from the expected core hole positions because some equipment is vibration sensitive.
Lead Lined Plasterboard: How the Wall Goes Together
Once the plan is issued, the shielding is built by the wall contractor as part of the plasterboard partitions package, and the detail decides whether the wall passes verification. Lead lined board is plasterboard, usually a 13 mm impact grade, with sheet lead bonded to the back. Australian suppliers produce it with a lead overlap on one long edge, typically 20 mm, so each sheet laps the next. Sheet sizes are limited, commonly to 1200 by 3000 mm, and the board is heavy enough that the steel stud gauge, stud centres and track fixings are checked against the sheet weight before framing starts.
The continuity of the lead is the whole point. Where two sheets meet on a stud, a lead batten strip is fixed to the face of the stud before the boards go on, so the joint is backed by lead as well as lapped. The EPA guideline lists the places that need particular attention, and they are the places we check on site: door jambs, the overlap of lead sheets, behind switches, locks and conduits, the control panel, behind the erect bucky, and the overlap of double doors.
Every penetration through a shielded wall is a hole in the lead. Back boxes for power and data are set in with lead behind them, and wherever the plan allows, outlets are kept off the primary barrier walls altogether. The discipline we apply to plasterboard partitions and penetrations for acoustic reasons applies here with a harder consequence, because a missed penetration shows up on the verification survey. Fixings are treated as the plan specifies: some plans call for lead discs over screw heads, others accept steel screws once the wall detail has been assessed.
A dental OPG room is a smaller version of the same wall, and lead shielding in a dental clinic fitout follows the same logic of a physicist's plan, lapped sheets and a checked wall.
Doors, Frames and the Viewing Window
Doors and windows protect to the same standard as the wall they sit in, and the AusHFG expects each to be tagged with its lead equivalence. The door leaf is a lead lined door, supplied in the same lead ratings as the board, and heavy enough that the AusHFG lists shielded door weight as a construction consideration. The frame is a pressed metal frame with lead in it, fixed back to framing that can take the load, with the closer and hinges selected for the leaf weight.
The room's main door is usually wide. The AusHFG general X-ray room data sheet lists a two leaf hinged door with an 1800 mm clear opening, solid and shielded to the imaging area, with a 900 mm single door to the control area. Double doors bring the overlap at the meeting stiles onto the shielding plan.
The viewing window between the control area and the room is lead glass, fixed and internal. Australian suppliers stock standard panels up to about 900 by 300 mm, with larger sizes made to order, and the X-ray room data sheet places the sill at 1050 mm. The frame is detailed so the lead in the wall laps onto the glass without a gap, and the window position is agreed with the vendor so the operator can see the patient from the console. The console bench sits outside our scope, but the cable ducts between the table, the wall stand and the console are ours to form before the floor finish goes down.
Power, Cooling and the Ceiling Above the Room
Imaging equipment draws dedicated power. A CT and an MRI each need their own supply from the switchboard, sized by the vendor, with the vendor's earthing and cable route into the room and the equipment room. The AusHFG places the MRI equipment room immediately adjacent to the scan room, with cable lengths setting how far apart they can be, so we plan the equipment room and its cooling on the same drawing as the scan room.
Heat is the service most often under allowed for. The AusHFG describes CT and MRI as heat and humidity sensitive and states that chillers are required for MRI and in some cases CT, ideally on separate plant so a shutdown of the main system does not stop the service. In a commercial building this usually means a supplementary unit for the imaging and equipment rooms, running outside base building hours, and an agreed route for its pipework. The coordination that goes into the ceiling service zones in a medical suite has to leave room for that pipework alongside the ductwork, the sprinklers and the equipment cabling.
The ceiling itself is different in an X-ray room. Ceiling mounted tube rails need a rigid support structure above the finished ceiling, usually a unistrut type frame fixed to the slab, and the AusHFG calls for a minimum ceiling height of 3000 mm for ceiling tube mount installations. In a commercial floor with a 2.7 m ceiling and a shallow void, that height is often the first thing that rules a room in or out.
MRI Adds RF Shielding, a Quench Pipe and a No Go Zone
An MRI room carries a second shielding system, and it is a different trade. The radio frequency shield is a continuous conductive enclosure around the room, designed and supplied by a specialist, with waveguide ports for every pipe and cable and an RF rated door and window. Our walls, ceiling and floor build up around that enclosure, and nothing gets fixed through it without the specialist's detail.
The room is built from non ferrous materials wherever it can be. The MRI room data sheet calls for all fittings in the room to be MRI compatible and non ferrous, and it does not permit fluorescent light fittings, so framing, fixings, ceiling grid, door hardware and even the skirting screws are checked for magnetic material before they are ordered.
Three more items shape where an MRI can go. The magnet's fringe field, the 0.5 millitesla or 5 gauss line, is usually confined to the scan room, which sets the wall positions and sometimes calls for magnetic shielding in the walls. The magnet is sensitive to moving steel, so the guidance places it away from lifts and warns about hydraulics in the floor above. And the cryogen quench pipe has to run from the magnet to open air by a route the vendor and the building owner accept, with the room designed to relieve pressure so the door can still be opened. In a multi storey commercial building, the quench route and the fringe field usually decide whether an MRI is possible on that floor at all.
Change Cubicles, Sub Waiting and the Patient Route
Around the imaging rooms sits a small set of patient spaces that keep the rooms productive. The AusHFG schedule allows a 2 square metre change cubicle and a 4 square metre accessible cubicle per CT room, two cubicles per MRI room including one accessible, and a sub waiting area for changed patients that can be shared between modalities. Ultrasound rooms, briefed at 16 square metres, are placed with close access to a toilet. These are simple rooms to build, but a changed patient should be able to wait out of sight of reception and reach the scan room without crossing it.
We set the patient route out from the entry door: reception, waiting, change, sub wait, scan room, and back out. The MRI suite adds controlled access, because the scan room entrance has to be visible from the control room. The partition work for these rooms is ordinary, but the door swings, the sightlines from the control window and the accessible cubicle all get drawn before the shielded walls are set out, because the shielded walls are the ones that cannot move later.
Sequencing the Build Around Equipment Delivery
The programme for an imaging fitout runs backwards from the equipment delivery date. The vendor issues a site readiness list and the room has to meet it in full on the day, so we plan the hold points around it:
- Structural assessment of the slab and the delivery route is complete before set out.
- Concrete work, plinths, cable trenches and core holes are finished before framing.
- Framing is checked for stud gauge and centres against the lead lined sheet weight.
- Lead battens, lead lined board, frames and window are installed and left exposed for the consulting radiation expert's inspection.
- RF shielding, where there is an MRI, is installed and tested by the specialist before our linings close it in.
- Jointing, finishing and floor finishes follow the shielding sign off.
- Dedicated power and cooling are commissioned before the equipment arrives, because the vendor will not install into a room outside its temperature range.
The delivery itself is a building event. The AusHFG notes that a large magnet will not travel in a hospital lift and may need non standard door heights, demountable windows or a crane, and that a removable panel to the MRI room wall is required so the unit can be replaced later. In a commercial tower that means agreeing the route with building management and leaving one wall of the scan room as a demountable section that we fit last. The equipment specific provisions that belong in a medical fitout requirements framework are, for an imaging suite, the whole brief: the room is finished when the vendor's list is ticked.
We price and build imaging rooms to the physicist's shielding plan and the vendor's site drawing, and we sequence the lead lined plasterboard, the doors and the services so the room is inspected, signed off and ready before the equipment is delivered.
📞 Call us on 1300 60 93 93