
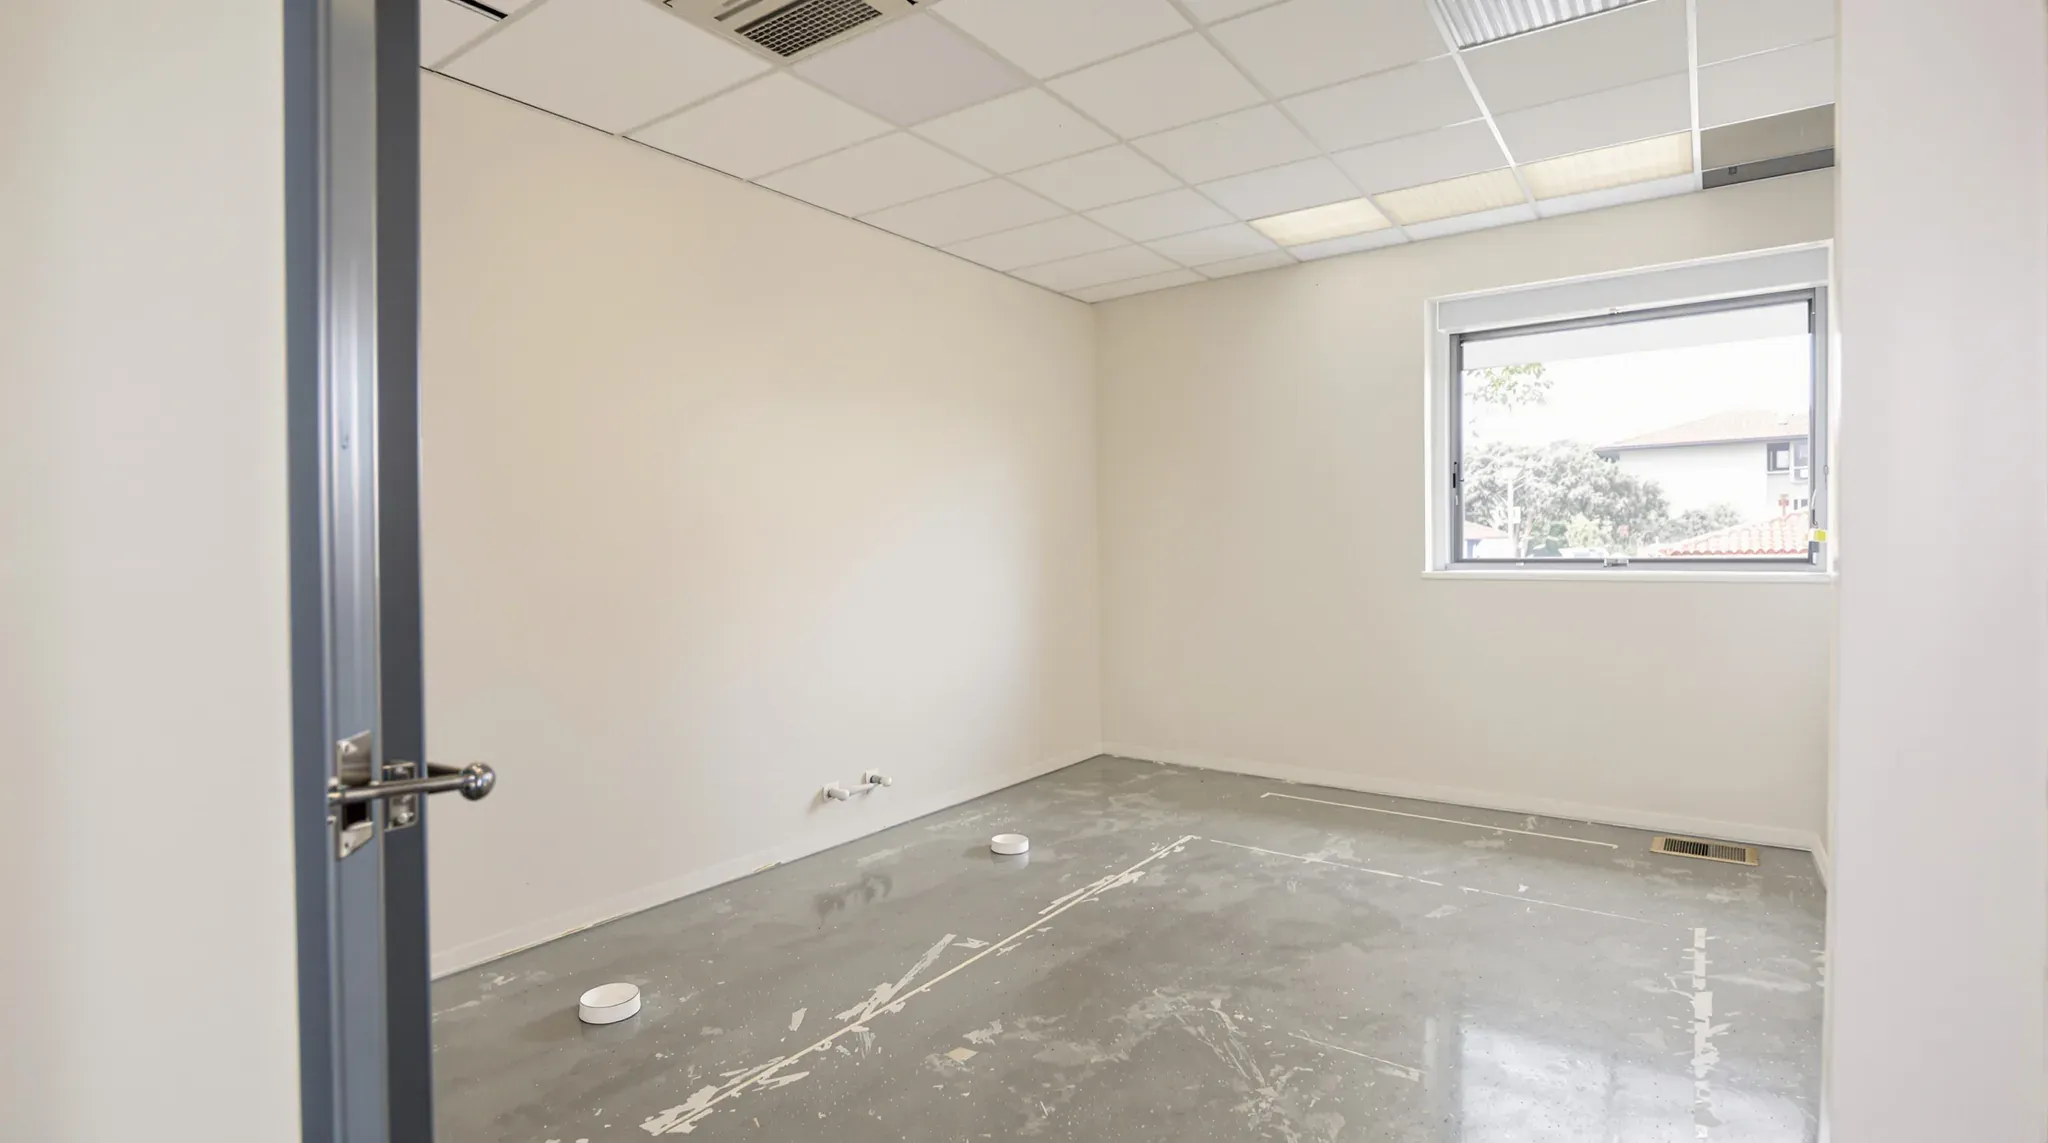
A medical clinic make good depends first on what the landlord wants back. One landlord wants an open floor that any tenant can use, while another, often in a medical building or precinct, may want consulting rooms, basins or the accessible toilet left in place for the next GP, specialist or allied health practice. Either way, the job is a floor of small serviced rooms, each with its own plumbing, fixings and finishes.
A clinic often has a hand basin in each consulting and treatment room, plasterboard walls taken up to the slab for privacy, sealed sheet vinyl in the clinical rooms and equipment fixed to most walls. Each leaves something behind to close up, from capped pipes to fixing holes in the slab. For a practice moving out or a landlord taking the floor back, we price the defit and make good room by room, from the lease's make good schedule, the condition report made at move-in and a walk through every room.
Which Rooms the Landlord Wants Kept
A landlord re-letting to another practice may prefer to keep the rooms that would be costly to build again, such as a row of consulting rooms with their basins, the treatment room or the accessible toilet. The next practice can then plan its medical fitout around rooms that are already plumbed and enclosed. A landlord leasing the floor to an office tenant may want every room out.
We get the list of rooms staying in writing, marked on the floor plan, before the plumber is booked, because a basin that has been removed and capped inside the wall needs new plumbing work to put back. Rooms that stay still get work before handback. We can replace marked ceiling tiles, patch and repaint scuffed walls and renew damaged vinyl in them, so they are left in the condition the landlord has asked for.
Clearing Clinical Waste Before the Strip Out
The tenancy is cleared of clinical material before our crew starts. The NSW EPA pre-classifies clinical and related waste as special waste (opens in a new tab), a group that includes sharps and pharmaceutical, drug or medicine waste, and sets more stringent rules for how it is transported and managed. It leaves through the practice's own clinical waste contractor, separately from the strip out skips.
Sharps containers, clinical waste bins and medicines are removed by the practice. Couches, fridges and other equipment it owns sit outside the build scope and leave with the practice or its removalist. Where it wants to keep a wall-mounted diagnostic set or examination light, we can unfix it and hand it over first. When the rooms are clear, we walk them with the practice manager and agree the dates for disconnecting the clinic's water, power and security devices.
Basins, Taps and the Pipes Under the Floor
RACGP infection control guidelines want a sink or a hand rub dispenser in each room where patients are examined or treated, and the Australasian Health Facility Guidelines data sheet for a consult room includes a handwash basin with elbow-action taps. So a clinic may have a basin in most of its rooms as well as in the toilets. For each one, the plumber removes the basin, taps, trap and waste, then cuts the hot, cold and waste lines back to the points the make good schedule names and caps them.
Some items at the basin need another trade first. Hands-free sensor taps can run on a battery or on mains power through a transformer, and a small water heater under a basin may plug into a power point or be wired to its own circuit. The electrician disconnects those before the plumber takes them out.
In a row of GP consulting rooms, basins are often paired back to back on a shared wall, so one waste serves two rooms and is capped once. Some clinics also temper the basin water with a thermostatic mixing valve, which adds cold to the hot so the water at the tap cannot scald, and the plumber takes that out along with the pipes it fed. The splashback, soap dispenser and towel dispenser come off the wall with each basin.
On an upper floor, basin wastes often drop through the slab and run in the ceiling of the floor below to the building's stack, and with a basin in most rooms there can be a hole under almost every pair of consulting rooms. Cutting those wastes back means working in another tenant's ceiling, which we arrange through the building manager, often outside that tenant's hours.
One building manager's fitout guide asks for abandoned core holes to be filled with concrete or an approved fire-stopping material, not timber or insulation, so the floor keeps its fire separation. We fill each one once its pipe is out, with the product the building manager or certifier confirms.
Wall Fixtures, Equipment Power and Security Devices
The same consult room data sheet lists the fixtures that end up on a clinical room's walls and ceiling, including a wall-mounted diagnostic set, an examination light on the wall or ceiling, a sharps container bracket, dispensers for gloves, hand rub and paper towels, coat hooks and a curtain track around the couch. Heavier items are usually screwed into timber or plywood backing fixed between the studs. We take each item down, and where the wall is staying, we fill the holes and repaint it.
Each piece of equipment also had power. The electrician removes the outlets for the examination light, diagnostic set and electric couch, takes each tenant circuit out back to the switchboard and updates the circuit list.
The vaccine refrigerator needs its own date. Vaccine storage guidelines suggest protecting its power with a locked outlet or a hard-wired connection, and a sticker in the electricity meter box telling electricians not to switch it off. Where the clinic did that, the electrician isolates the fridge circuit only once the practice has moved the vaccines and the fridge out, and takes the sticker down.
Duress buttons, the alarm and any card readers on clinic doors belong to a separate trade. In NSW, installing, repairing and servicing electronic security equipment is done under a Class 2C security licence, so the practice's security contractor removes each device and its cabling, and patient call buttons come out with whichever trade installed that system. We book those visits before the ceilings come down, because much of the cabling runs in the ceiling void.
Walls Built to the Slab for Privacy
The RACGP's standards ask for consulting spaces with auditory and visual privacy. Walls between clinical rooms are often run up past the ceiling and fixed to the slab, with the cavity filled with insulation, so conversation cannot pass over the wall head and through the void above the ceiling. This is how plasterboard partitions in a clinic are commonly built around consulting and treatment rooms.
Taking them down follows a set order. Doors and frames come out first, then the plasterboard, the insulation and the studs. The top track of a full-height wall is fixed into the concrete above, and one steel framing maker gives a maximum of 600 millimetres between track fixings, with the bottom track fixed to the floor slab the same way. Every wall leaves a line of fixing holes in the soffit and the slab, plus a bead of acoustic sealant along its head, and a floor of small rooms has many metres of them.
We cut fixings off flush, scrape away the sealant and fill the holes, so the soffit is ready for the ceiling and the slab is ready for the floor work. Insulation is bagged as each wall is opened.
Relaying the Ceiling Grid Across the Open Floor
With walls built through it, a clinic ceiling is installed room by room. One grid maker's installation guide sets the grid out from the middle of each room so the cut tiles at opposite walls match, with a trim fixed to the walls at ceiling height. Once the walls are gone, each room's grid stops where a wall stood, grid lines rarely run on from one room to the next, and strips of cut tiles and trims are left across the floor.
Where the make good schedule asks for one ceiling across the floor, we can take down the room-by-room grid and relay a suspended ceiling grid across the whole floor as one ceiling, with tiles to match the base building. Before the new grid goes in, the building's fire and mechanical contractors usually move the sprinkler heads, smoke detectors and air conditioning outlets added for each room back to the open-floor layout. Emergency and exit lights added for the rooms are reset at the same stage.
Curtain tracks are fixed directly to the ceiling or hung on rods from above, and some examination lights are ceiling mounted, so their fixings and rods come out with the old grid. Where a treatment or procedure room has a set plasterboard ceiling or washable tiles chosen as a hygienic ceiling, it is cut down with its framing so the new grid can run straight through.
Lifting Coved Sheet Vinyl Back to the Slab
Clinical rooms are often floored in sheet vinyl with welded seams and coved edges. A welding rod is melted into each seam so dirt and moisture cannot get into the join, and at the walls the sheet turns up over a curved cove former, often finishing under a capping strip, leaving no corner between floor and wall to clean. The consult room data sheet lists coved vinyl or carpet, with a wet area vinyl under the basin.
We cut the vinyl into strips, lift it, then pull the coved upturn off the wall with its cove former and capping strip. Where a wall is staying, the band at its base where the coving was glued is patched and painted ready for the base building skirting.
The adhesive left on the slab is the slower part. Flooring adhesive makers ask for old adhesive residues to be removed by mechanical means, which on concrete means diamond grinding or scarifying finished with vacuum cleaning, and for holes, cracks and depressions to be filled before a new floor goes down. We grind the clinical rooms back to clean concrete, fill the track fixing holes left by the walls and level any patches, so the slab is ready for the next floor finish or at the standard the lease names.
Carpet in reception, the waiting room and the offices follows the same carpet reinstatement choices as any office floor. Where the lease asks for new carpet across the open floor, it goes down after the ceiling is finished.
The Order of Works and the Handback File
On a clinic we usually run the work in this order.
- The practice clears clinical waste, medicines and its own equipment.
- The plumber, electrician and security contractor disconnect their services, with access to the floor below booked for the waste pipes.
- We take down wall fixtures and doors, then the room-by-room ceilings and the walls built to the slab.
- The building's fire and mechanical contractors reset their services, and we relay the grid.
- We lift the vinyl, grind and patch the slab, then repaint.
The handback file holds the plumber's certificate of compliance, the electrician's compliance certificate with the revised circuit schedule, and photos of each capped point labelled with the room it served. Rooms the landlord kept get their own pages, with the taps run and the basins draining, so the next practice can see what it is taking over.
We can strip a clinic back room by room, capping each basin at the point the lease names and leaving any rooms the landlord keeps ready for the next practice.
📞 Call us on 1300 60 93 93