
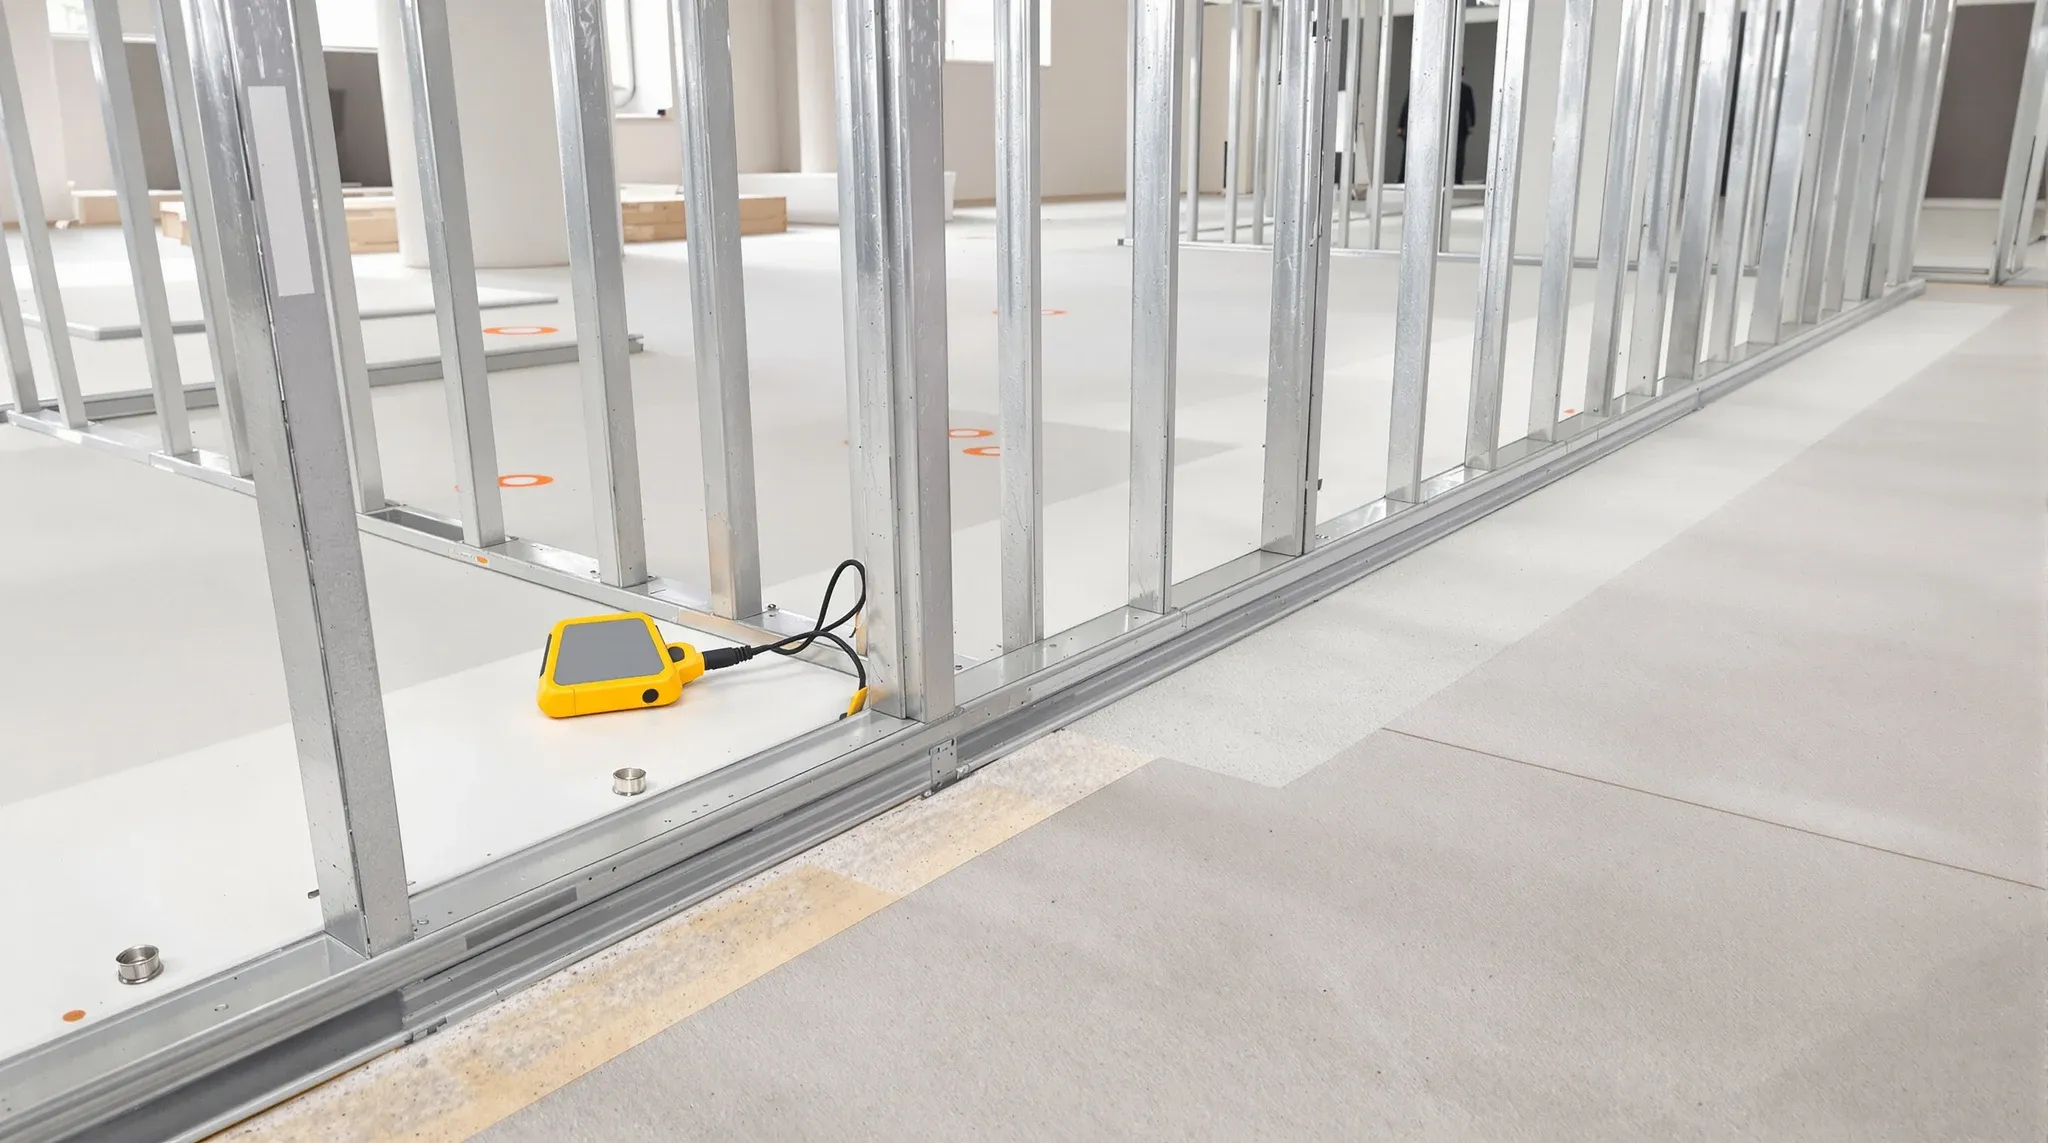
Fixing to a post-tensioned slab means every partition fixing goes into a floor that holds steel tendons under permanent tension, and nothing on the surface shows where they run. Before any wall track goes down, the tendons are located on site, the structural engineer sets the conditions for drilling, and the building usually controls when that drilling can start. That process, more than the walls themselves, is what drives the cost and programme of a partition package on these floors.
Most of the trouble we see comes from timing. Building management asks for a scanning report before the first fixing, nobody has allowed time for it, and the layout is already locked. When it is planned from the start, the work is very manageable.
What Makes a Post-Tensioned Slab Different
In a conventional reinforced slab, the steel sits passively in the concrete. In a post-tensioned slab, high-tensile steel strands run through ducts and are stressed once the concrete has reached its specified strength, which holds the slab in compression. Australian slab systems are typically bonded, meaning the ducts are grouted after stressing so the strands are locked to the surrounding concrete.
Structural designers use the method because it allows thinner slabs and longer spans with fewer columns, and that has made it common in commercial office buildings. For a fitout, the consequence is that the floor is a stressed structural system. A tendon cut during the works becomes a matter for the structural engineer, and the repair can involve strengthening the slab, so drilling on these floors is handled as a controlled activity.
The tendons do not sit at one depth either. They are draped through the slab, rising to high points in the strips over the columns and dropping lower between them, so the concrete cover above a tendon changes across the floor. A fixing the engineer accepts in one zone may not be acceptable a few metres away.
Many two-way slabs also use a banded layout, with tendons bunched along the column lines in one direction and spaced more evenly in the other. A wall line that happens to run along a band sits over concentrated steel for its whole length, which narrows the fixing options available for that run.
Where a Partition Meets the Structure
A plasterboard partition touches the building in two places: the bottom track on the slab and the head at the soffit or ceiling above. The studs, insulation and linings all sit within the wall itself, so the fixing question comes down to those two lines.
The bottom track carries most of the fixings. Rondo's framing manual calls for track to be fixed at no more than 600mm centres, with a fixing within 100mm of each end of a track length, so every 100 metres of wall puts more than 160 fixings into the slab. On a floor of meeting rooms, offices and corridors, that count climbs into the hundreds quickly.
The head matters as well. The soffit above is the underside of the next floor, which in a post-tensioned building carries tendons of its own, and walls built up to a concrete slab often need a deflection head detail fixed into that soffit. Where a tenancy has glass partitions under exposed ceilings, the soffit fixings multiply again, because every glazed head line fixes straight to the structure.
The ceiling trades are in the same position. Suspended ceiling hangers and any seismic bracing above the ceiling also go into the soffit. Post-Tensioning Institute of Australia guidance suggests that where a lot of fixings are going into a soffit, tendon positions are marked and the trades doing the drilling are trained and supervised, so we plan the partition and ceiling fixings as one exercise.
How the Tendons Are Located
As-built drawings, post-tensioning shop drawings and marks left on the concrete give a guide to where the tendons run. PTIA guidance is clear that those guides are not foolproof, and it recommends confirming tendon positions on site with a cover meter or ground-penetrating radar, with the positions set out on the top of the slab before holes are made.
Radar works from one side of the slab and covers large areas quickly, which suits a full partition layout. X-ray needs access to both sides of the slab, an exclusion zone and licensed operators, so it tends to be used for targeted inspections. The scanning contractor and the engineer decide which method fits the building, and the results usually come with a report and a marked-up plan.
The marks on the slab are more perishable than people expect. What we see on site is that floor protection, levelling compound and a few weeks of other trades can hide or wipe them, so we keep the scan as close to set-out as the building allows. Where results are less certain, such as around columns or where bands cross, the scan may show a broad no-fix zone rather than individual strands.
The Fixing Options the Engineer Sets
On a post-tensioned floor, the fixing method comes from the structural engineer and the building's requirements, and we build to those conditions. The options usually fall into a few approaches, and one floor often uses more than one.
The first is a shallow drilled fixing. The PTIA guidance note on post-cut holes (opens in a new tab) treats small drilled holes of 20mm or less that do not cut tendons as minimal risk, provided the hole depth stays within the concrete cover above the tendon and the fixing is designed by a competent engineer. The note also points out that post-tensioned slabs often have minimal conventional reinforcement, so the fixing loads are checked against the slab, and deeper fixings move into a class that needs further assessment.
The same note calls for fixing holes to be drilled with a percussion drill and a tungsten carbide masonry bit rather than a diamond core bit, with drilling stopped and the hole relocated if steel is struck. On our jobs that means the engineer's conditions are on site, the slab is marked up and each run is supervised, instead of anyone drilling by feel.
The second is bonded track, where the bottom track is adhered to the slab rather than anchored through it. It is sometimes proposed for zones where drilling is restricted, but whether an adhesive fixing suits a particular wall height, door opening or load is something the structural engineer and the partition system designer confirm. Where it is accepted, the slab needs to be clean, sound and flat, which can bring levelling an uneven office slab into the scope, and the adhesive's cure time sits in the programme before framing starts.
Powder-actuated fixings are quick on a conventional slab. Whether they are permitted on a post-tensioned floor is decided by the building's rules and the engineer, and we do not assume they are.
Glazed walls raise the same question at the base. A glass partition floor channel still has to be held to the slab, so glass fronts go through the same scan and approval as plasterboard walls.
How the Building's Rules Shape the Start
Building rules vary more than the engineering does. Some buildings nominate the scanning contractor or want the scan report lodged and a permit issued before any drilling starts. Others add a hold point where the marked slab is checked before the first fixing goes in, and PTIA guidance itself suggests a permit system for coring on post-tensioned buildings.
Each of those steps takes time that is easy to leave out of a fitout programme. We ask for the building's requirements when we price, so the scan and the approval steps sit on the programme ahead of the partition start date.
An existing scan is worth asking about. A building may already hold one from a previous tenancy, and depending on its coverage and the engineer's view it can sometimes be extended for the new layout instead of starting again.
Why Late Wall Moves Cost More on These Floors
On a conventional slab, moving a meeting room wall 800mm late in the job is a reset: new set-out, new track, and the day absorbs it. On a post-tensioned floor, the new line may sit on concrete that was never scanned or cleared for fixing.
Getting it cleared means bringing the scanner back, re-marking the slab and, in some buildings, lodging the new results before work resumes. A change that would take half a day elsewhere becomes a return visit and another approval cycle.
The extra cost on these floors rarely sits in the fixings themselves. It builds up through slower controlled drilling, supervision, hold points and runs where the scan forces a change of method partway along. It grows fastest when the last part of the layout is settled on site, so we push for a fixed wall layout before the scan is booked.
What We Confirm Before Pricing the Partitions
The first check is whether the slab is post-tensioned at all. Structural drawings settle it, and filled stressing pockets along a slab edge can be a visible sign before the drawings arrive.
Next is whether a scan already exists, what it covers and whether the building will accept it. Then come the building's own rules on scanning contractors, permits and hold points, because those set the start date for the partitions.
We also look at the soffit. A floor that is restrictive at the base becomes harder again if the head is limited too, for example where an existing ceiling grid has to stay, services are exposed or the soffit carries a sprayed fire coating.
Only then is the fixing method settled, wall by wall and often as a mix across the floor. When we price plasterboard partitions in these buildings, that mix is a large part of what we are quoting, and it is why two similar layouts in two different buildings can carry different prices.
When your partitions have to go into a post-tensioned slab, we coordinate the scan with the wall set-out and build each run to the fixing method the engineer has approved.
📞 Call us on 1300 60 93 93