
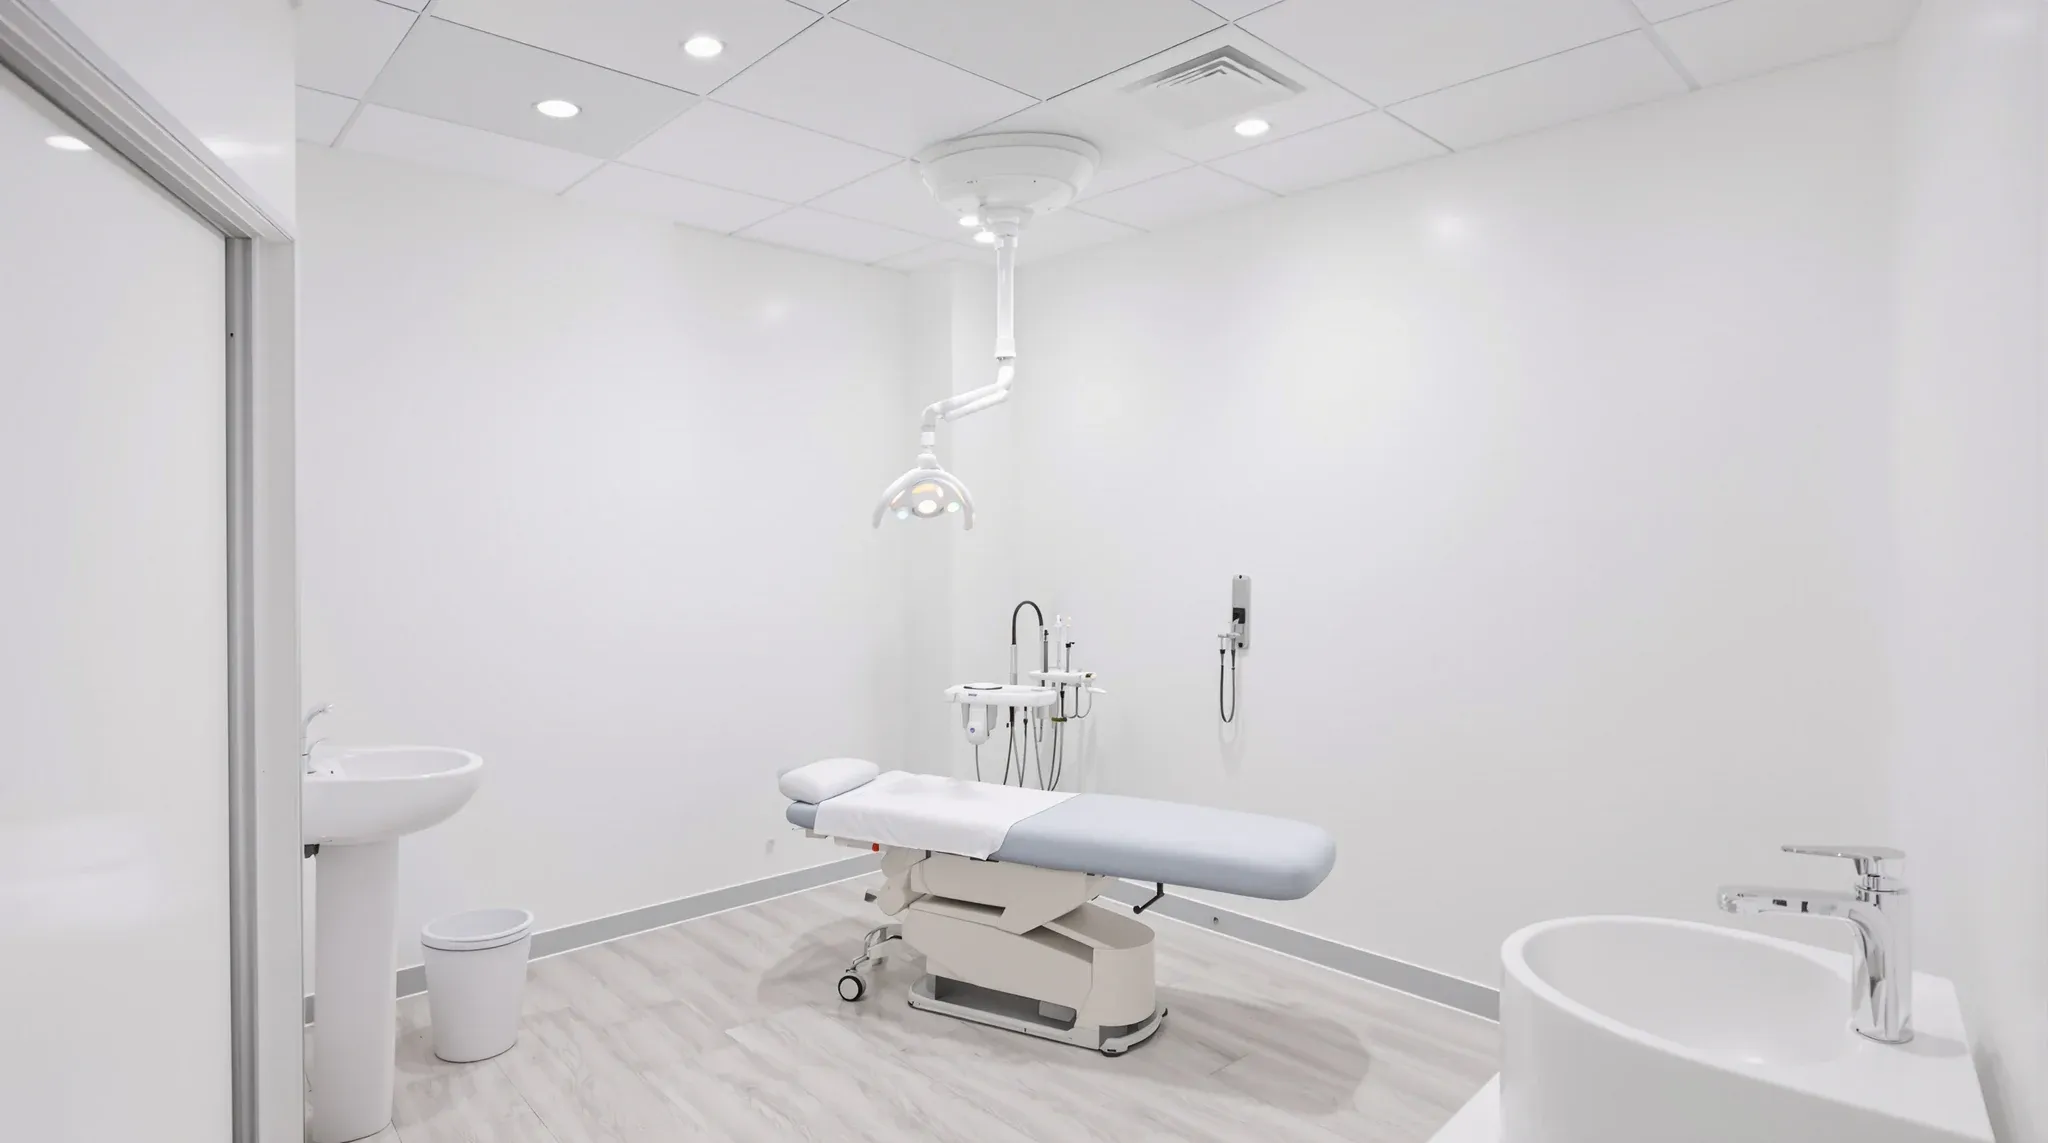
A dermatology clinic is built around one task: seeing skin clearly, in a room where the patient can undress and be examined from every side. That changes the lighting first, because a room lit for reading a screen is not lit for judging a lesion, and then it changes the room shape, the couch position and the way rooms connect, because a patient in a gown should not be walking past the waiting area. A skin clinic also usually carries a minor procedure room with a scrub basin and washable surfaces, a photography space that needs the same light every visit, and often a laser or phototherapy room with its own rules.
When we price and build a dermatology clinic design, those rooms decide most of the scope. The walls, the ceiling, the plumbing runs and the lighting circuits all follow from where the examination couches sit, where the procedure room goes and which rooms need to be dark, bright or shielded. What follows is the part that is specific to skin.
Examination Rooms Sized for a Full Skin Check
In a general consulting room the couch usually sits against a wall. In a dermatology examination room it needs clear floor on both long sides and at the foot, because a full skin check means walking around the patient, and the dermatoscope, the light and the practitioner all move with it. We draw the couch in first with that walking zone around it, then place the door so it opens away from the couch and the patient is not exposed to the corridor when someone comes in.
The room is closer in use to the AusHFG treatment room than to a plain consult room. The treatment room data sheet is briefed at 14 square metres, lists an L shaped privacy curtain track and calls for high sound attenuation and acoustic privacy. On a commercial floorplate that area usually comes from making the room a little deeper rather than wider, so the couch can sit across the room with a passage on each side and a small desk zone near the door.
The basin sits near the door with a splashback and the dispensers beside it. A skin clinic tends to have more wall mounted items than a GP room: a light arm, a dermatoscope dock, a monitor and shelving for consumables. All of these need backing inside the wall, so we ask for the equipment list room by room before framing starts, and the noggings go in then rather than through a finished wall.
Lighting That Shows Skin Colour Accurately
Lighting is the part of a skin clinic that a standard office fitout gets wrong most often. Warm white downlights in a grid look fine in reception and make a rash or a pigmented lesion hard to read. The guidance we work to for dermatology rooms is a daylight white or neutral white source with a colour rendering index of at least Ra 90, which is what the lighting manufacturer TRILUX recommends for dermatology examination and treatment rooms, with general examination rooms in a neutral white range between roughly 3800 and 5300 kelvin. The AusHFG treatment and procedure room data sheets both list colour corrected lighting.
Evenness matters as much as the source. We usually specify a large low glare panel or a pair of panels centred over the couch zone, so there is no hard shadow across the patient when the practitioner leans in, plus a ceiling mounted examination light on its own switch and its own outlet above the ceiling, which is how the AusHFG data sheet separates general, task and examination lighting. The examination light needs a fixed support above the ceiling and a position that clears the curtain track, so it is set out on the reflected ceiling plan with the couch shown.
The finishes support the lighting. A strong wall colour tints the light that bounces onto the skin, so examination room walls and ceilings are usually kept to a neutral white or pale grey in a low sheen washable paint. Where a room has a window, the daylight changes through the day and the year, so we fit a block out blind and light the room to the same level with the blind down.
The Minor Procedure Room and Its Washable Surfaces
Most dermatology clinics do excisions, biopsies and other minor procedures on site. The RACGP practice design guidance allows at least 7 square metres for a basic treatment room and suggests approximately 16 square metres where a practice performs minor procedures, and the AusHFG procedure room data sheet is briefed at 20 square metres for two to four staff around a patient. Where the floor plate is tight, one room at the larger size beats two that cannot fit a trolley beside the table.
The room fabrics on those data sheets are what make a procedure room different to build. The floor is welded sheet vinyl with a coved 150 millimetre skirting and a slip resistant rating, extended under the basin. Walls carry washable acrylic paint, a splashback to the basin and a vinyl wall finish to 1500 millimetres above the floor, with a protection plate on the door to 900 millimetres. The door itself is listed at 1400 millimetres clear opening as a leaf and a half, which is wider than a standard office door and needs a wider frame in the wall set out.
The basin is a scrub type handwash basin with elbow lever mixer taps, and a ceiling mounted procedure light has its own outlet and switch. Our plasterboard partitions work in a procedure room covers the framing for the wider door, backing for the basin, splashback, dispensers and light, and a flush set plasterboard ceiling in a washable paint with a square set junction to the wall instead of a cornice. Sealing at the floor, the skirting and the ceiling line is what keeps the room cleanable, and it is the same detail that makes hygienic ceiling systems hold up in any clinical room.
A Photography Space Lit the Same Way Every Visit
Clinical photography is part of most dermatology work, from a single lesion photographed at each visit to total body mapping on a dedicated system. Both need the same background, the same distance and the same light every time, so images a year apart can be compared, and that is a room requirement before it is a camera requirement.
The manufacturer instructions for one automated total body mapping system state that the device is only used in bright, well illuminated rooms, that direct sunlight is avoided, and that the background is a single colour, non reflective and preferably smooth surface, with the patient positioned close to it at the same distance each time. A 360 degree whole body imaging system from another supplier was designed to fit within a room of 8.75 feet by 8.75 feet, a little under 2.7 metres square, so its home is a small enclosed room rather than a corner of an examination room.
Where a clinic is not buying a mapping system, the photography space is still worth building as its own small room, or as an examination room with one blank wall kept clear. We paint that wall in the background colour the practice wants, keep it free of outlets, switches and skirting that would appear in the frame, block out any window, and put the general lighting on a single undimmed circuit so the level does not drift between visits. Power and data for the camera and workstation go on the opposite wall.
Laser, Light and Phototherapy Rooms
Many dermatology clinics run a laser or intense pulsed light device alongside their medical work, and that room is built to keep the light inside: solid walls, no uncovered glazing, a solid door without a vision panel, matt finishes and a dedicated circuit for the device. The full set of controls and the power planning for aesthetic equipment is the same as for a cosmetic clinic fitout, and the room specification is confirmed with the device supplier and whoever manages laser safety for the practice before we build.
Phototherapy is the room type that is specific to dermatology. A full body UV cabinet is a floor standing unit the patient stands inside, with lamps in the body and often in the doors, delivered as a large, heavy object. We check the route from the loading dock to the room, including lift size and door widths, before the walls go up, and we get the supplier's site requirements for the electrical supply and clearances. One manufacturer's operating specification lists an ambient light level of 250 to 500 lux for the room, which is ordinary office lighting, and an ocular hazard distance from the lamps, so the room is enclosed with a solid door and the cabinet placed so an open door does not put the lamps in line with the corridor.
UV lamps also warm the room, so a small enclosed room with a cabinet running for much of the day needs its own supply air and return, or an exhaust, rather than a diffuser shared with the corridor. We raise that with the mechanical contractor at the same time as the laser room, because both tend to sit together at the back of the plan.
Waiting, Consult and the Route Between Rooms
Patients in a skin clinic spend part of their visit partly undressed, so the plan keeps examination rooms off a corridor that is not visible from the waiting area. Where several dermatologists each have a pair of rooms, the corridor works as a loop or a spur from reception, with the procedure, laser and phototherapy rooms off a second, quieter leg.
Glass has a place in this plan, but only out front. A glazed screen between reception and waiting, or a glass front to a consult room used for results and discussion, lets light into the middle of the floor plate, while every room where skin is examined or treated stays behind solid walls. That is the same logic that leads some medical practices to use glass only in circulation areas, and in a dermatology clinic it is close to a rule. A separate consult room with a desk, a screen and no couch takes pressure off the examination rooms, and because the patient is dressed it can sit on the public side of the plan.
Storage, Liquid Nitrogen and the Back of House
A skin clinic stores more than a consulting practice: consumables for procedures, specimen transport, and in most cases liquid nitrogen for cryotherapy. Liquid nitrogen is kept in a dewar that vents slowly as the liquid boils off, and the supplier's safety data sheet describes storage in a dry, well ventilated area with a firm level floor, away from heavy traffic and emergency exits, with the container upright and secured. A practice level handling sheet used in Australian general practice puts it the same way: a cool, dry, ventilated area, upright and secured, and never a confined space.
For the build, that means the dewar gets a marked position in a store or utility room with mechanical ventilation or an exhaust, not a cupboard under a bench and not a corridor. The door width and the route from the dock matter again here, because dewars arrive on a trolley and are swapped regularly.
The rest of the back of house is a clean up area with a sink, a specimen fridge position with its own outlet, and shelving on walls with backing for the load. Basin and fridge count, the number of wet rooms and whether a nitrogen store is needed all move the price early, and they are the items we ask about first when a practice manager scopes a fitout for a skin clinic.
Sequencing the Build Around the Fixed Items
The fixed items are the couch positions, the procedure room basin, the photography wall, the laser and phototherapy rooms and the nitrogen store. Once those are agreed on one marked up plan, the order of work is settled. Plumbing to every basin and the procedure room goes in first, with core holes or a floor build up for the waste falls, then the full height walls are framed with the wider procedure room door and all the backing for lights, arms, shelving and basins.
Electrical rough in follows, with general, task and examination lighting on separate switches in every clinical room, the laser and phototherapy circuits run back to the switchboard, and the photography room lighting on its own circuit. Ceilings go in after that, with the examination light supports fixed before the board is hung. The vinyl floor and coved skirting in the procedure room are laid before the basin and the door protection plate are fitted, so the coving runs clean under the basin and the plate covers the joint.
Lighting is commissioned last and checked room by room with the blinds down, because the whole clinic rests on the examination rooms being lit the same way. The same discipline of fixing positions before framing carries through the other medical fitouts we build, and it is what keeps a skin clinic on programme rather than in a series of patched walls.
We build dermatology clinics with the couch, basin, light and photography positions fixed on one plan before framing, so the examination rooms are lit evenly and the procedure room is sealed and washable from the day it opens.
📞 Call us on 1300 60 93 93