
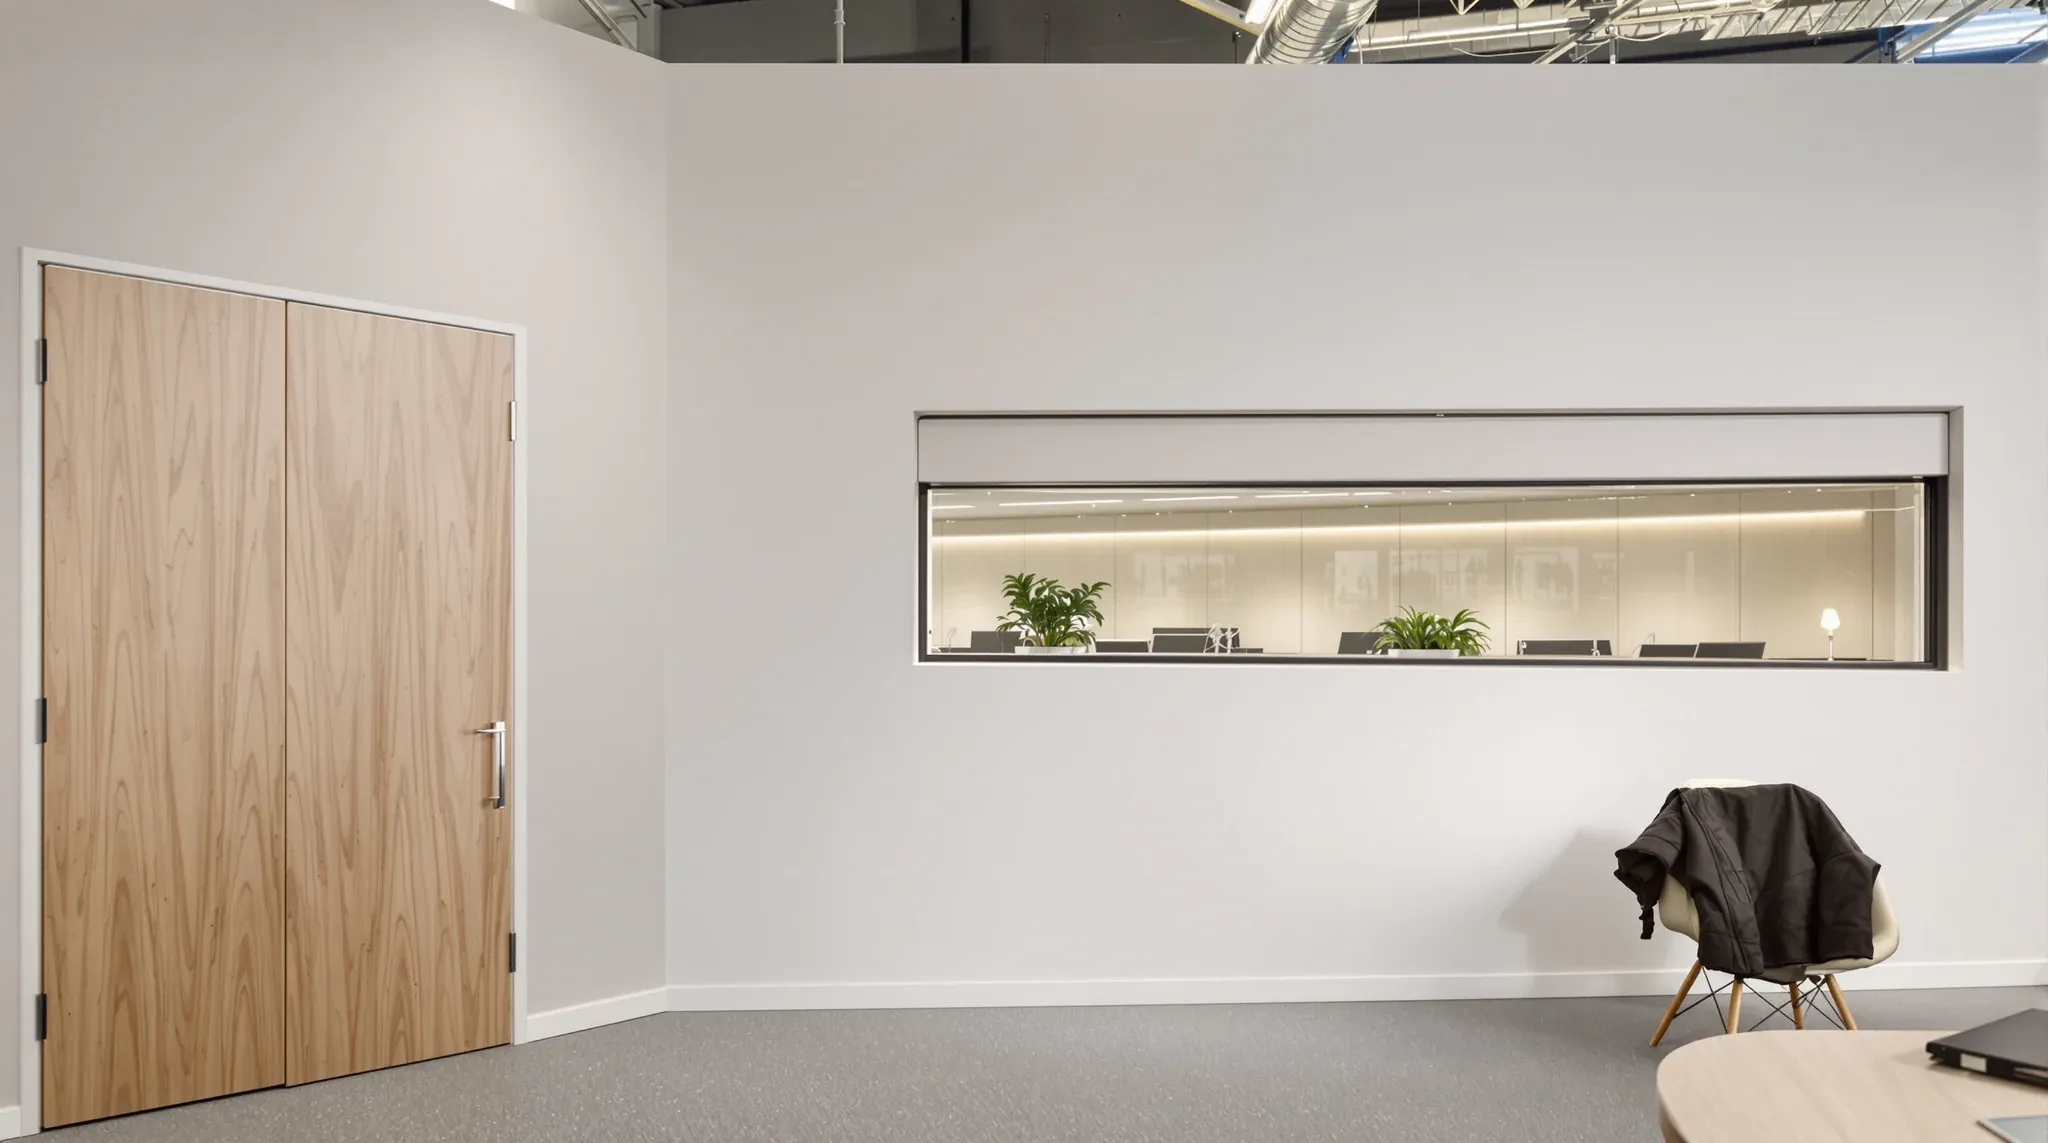
Choosing the right plasterboard system for a commercial office is not a single decision. It is a sequence of smaller decisions, and the right wall for each room falls out of those decisions rather than getting picked off a product list. When teams ask us which plasterboard system they should use, the quickest way to a good answer is usually to walk through the sequence room by room rather than spec the whole floor to one build-up.
The sequence has six or seven questions, each of which narrows the field, and by the end of it the right system is usually obvious. What slows people down is that the questions are often asked in the wrong order, or they get answered generically instead of room by room.
Question one: what is this wall doing in the room?
The first question is the most important, and it is the one that gets skipped most often. What is this particular wall doing in the room? Is it a privacy barrier between desks and a meeting room? A boundary wall between the tenancy and the common corridor? A wet-area enclosure? A decorative feature? A fire compartment wall? An acoustic barrier for a sensitive conversation? A mounting surface for heavy joinery?
The answer matters because each of those purposes has different primary requirements, and a system that is perfect for one is usually overspecified or underspecified for another. Walking the floor plan and tagging each wall with its primary purpose is how we start any partition scope, and it is the step that saves most of the cost downstream. Getting this wrong is how you end up with boardroom-grade walls in breakout zones and ordinary walls where consultation rooms needed acoustic isolation.
Question two: what is the fire or compartmentation trigger, if any?
If the wall is forming part of a tenancy boundary, enclosing a comms room, lining a service riser, separating different building uses, or sitting on an exit path, it usually needs a fire rating. If it is a general office wall inside a single tenancy with no compartmentation role, it usually does not. This is a yes-or-no question for most walls, and a quick scan across the plan identifies the rated walls before the general-office walls are even considered.
A rated wall has a very different build-up from a general wall: specific fire-rated sheeting, specific stud and insulation systems, rated penetration detail, and often slab-to-slab construction with rated sealant at every junction. The rating usually determines most of the other decisions for that wall, so answering this question second saves the time of working through the rest of the sequence for the rated walls.
Question three: how much acoustic isolation does the room need?
Acoustic needs vary by an order of magnitude across a typical office. An open-plan workstation zone needs very little, a quiet-work area needs a basic general wall, a standard meeting room needs a decent single-stud sealed wall, a boardroom or legal consult room needs a double-stud acoustic wall with slab-to-slab construction, and a HR or medical consultation room can need the strongest acoustic system in the building.
Mapping each room’s acoustic requirement to a band (low, medium, high, very high) makes this question easy to answer at speed, and it aligns directly with the broader approach in single-stud versus double-stud plasterboard choices. The bands translate cleanly into build-up options, and the jump in cost between bands is usually justified only where the room requires the higher performance.
Question four: what are the environmental conditions at the wall?
Is the wall in a dry office environment, a wet or humid zone, a plant room with condensation risk, a high-traffic corridor with impact exposure, a ground-floor tenancy with slab moisture, or a high-turnover area with trolley damage risk? Each of these calls for a different board or framing decision.
Moisture-resistant board for wet zones, impact-rated board for corridors, standard board for dry-office walls, and heavier protection for areas that see trolleys or cleaning equipment. This is the point at which the cost of the wall can jump if the environment is harsh, and it is the single decision that prevents the most maintenance problems later. The pattern is the same as the one we see in broader durability decisions for high-traffic walls.
Question five: what finish level does the room demand?
Level 4 jointing and sanding is the commercial standard for almost all office walls, and under normal lighting it is indistinguishable from premium work. Level 5 adds a full skim coat across the entire wall face and is used where grazing light, glossy paint, or unusually critical visual conditions demand it – usually boardrooms, feature walls, reception and executive offices.
The decision is important because Level 5 finishes can add two to four days per wall and noticeably increase the cost, and spending that money on a wall that does not need it delivers no visible benefit. Spending it on a wall that does need it can be the difference between a finish that looks like a well-executed commercial wall and one that looks like a premium environment.
Question six: how much flexibility does the wall need later?
This is the question that determines whether plasterboard is even the right material. Plasterboard walls are essentially fixed: they can be modified, but modifying them is messy, disruptive and expensive, and a wall that is likely to move within twelve or eighteen months is often better built as a demountable or modular system. The plasterboard partition work we specify is usually for walls that are stable for the life of the lease, not walls that are expected to reconfigure.
If the answer to this question is “we need this to be easy to change later,” the right answer might be a modular system around that particular area and plasterboard elsewhere. Mixing the two on a single floor is usually cleaner than forcing plasterboard to do a job it is not well suited for, or forcing a modular system to replace walls that should have been plasterboard from the start.
Question seven: how does this wall connect to the rest of the system?
The last question is easy to miss because it is about the wall in context rather than the wall itself. Does this wall terminate at the ceiling grid or continue slab to slab? What is in the ceiling void above it, and can the wall pass through it cleanly? Does it meet a glass partition, a column, an existing wall, or a structural element, and what detailing is needed at that junction? Are there service penetrations planned through it, and where do they land?
These questions affect the cost and programme of the wall meaningfully, and they are often the difference between a specification that looks simple and a wall that takes two weeks to build. They also surface the conflicts with other trades that would otherwise appear mid-build. This is where the partition decision connects with the broader system we see on every fitout around how penetrations and junctions shape wall performance, and it is worth closing before committing to the system.
From the sequence to a usable wall schedule
When these seven questions are answered for each room, the right plasterboard system usually falls out naturally: a rated slab-to-slab wall with acoustic insulation and a rated door for the comms room; a double-stud double-sheet wall with Level 4 finish for the boardroom; a single-stud single-sheet wall with MR board for the kitchenette; an impact-resistant single-stud wall with Level 4 finish for the high-traffic corridor; and a standard single-stud wall with Level 4 finish for everything general.
The result is a scope that spends where it needs to and stops spending where it does not. It also avoids the common failure mode where a whole floor is specified to one “standard” that is either too heavy for the general walls or too light for the critical rooms. The savings from right-sizing each wall usually cover the premium on the walls that need the upgrade, and the rooms that matter land where the design expected them to. The same decision pattern appears in broader partition system choices, where the right answer is almost never one system applied uniformly.
The practical way to use this sequence on a project is to walk through it once at the planning stage with the floor plan in front of you, tag each wall with its requirements, and produce a wall schedule that lists the build-up for each one. That is a small amount of work up front, and it saves a disproportionate amount of rework and variation later. It also gives the design team, the builder and the tenant a shared understanding of which walls are doing the heavy lifting and which are ordinary.
If you are planning a fitout and want to make sure the plasterboard systems are matched room by room to what the floor needs, we can help you walk through the sequence on your plan and land on a wall schedule that spends the budget where it will be felt.
📞 Call us on 1300 60 93 93