
A toilet inside a tenancy is the one room in an office fitout that cannot go where the plan says it should. Partitions, power and data can be run to almost any point on a floor, but waste has to fall by gravity to a stack that already exists, and the stack sits where the base building put it. That single constraint decides whether an extra toilet, an accessible toilet or a shower is a short branch off the nearest riser, a pumped installation, or a room that has to move.
The rest of the build follows from that answer. Once we know where the waste can run, we know whether the slab needs a set-down or a build-up, where the exhaust has to reach, how much of the wall needs a waterproof lining, and where the wet area sits in the programme so that the plumber, waterproofer and tiler are not waiting on each other.
Where the Drainage Is and How Far It Can Reach
The first thing we do on any tenancy that wants a new wet area is find the sanitary stacks. In most office buildings they run inside the core or in a riser next to the existing amenities, and the base building hydraulic drawings, or a look inside the ceiling of the floor below, show where a branch can be picked up. A room placed against that riser is straightforward. A room placed forty metres away across an open floor is a different job.
Distance matters because a sanitary drain has to fall the whole way. Design guidance drawn from AS/NZS 3500.2 puts the minimum grade for a 100 mm drain at around 1 in 60, and smaller branches need steeper falls again. Over a long run that fall adds up quickly, and the pipe has to sit either in the slab, below it in the ceiling void of the floor beneath, or above it in a raised floor. A conventional office slab has no room for a graded pipe inside it, so a long gravity run usually means either a set-down that the building rarely has, or a run through the ceiling below, which is another tenant's ceiling and another set of permissions.
We check three things before we price a gravity connection: how far the room is from the stack, how much fall the run needs over that distance, and what the pipe would have to pass through to get there. A short branch through a core wall into an existing riser is a small part of the job, while a run through the floor below usually means the room moves or the drainage is pumped.
Pumped Drainage When Gravity Will Not Work
Where the stack is too far away or the run cannot be graded, a macerator or pump-out unit turns the waste into a small-bore pressurised discharge that can run uphill and across the ceiling void to the nearest stack. The manufacturer data for a heavy-duty commercial macerator gives a vertical lift of up to 7 metres or a horizontal run of up to 110 metres, or a smaller combination of the two, through 20 to 25 mm pressure pipe, with inlets for a toilet, a basin and a shower on the one unit. That reach is what makes a toilet possible on the far side of a floor plate.
A pumped installation changes the room in a few ways. The unit needs a power supply and a place to sit, either behind the pan in a joinery void or in an adjacent cupboard, and it needs to be reachable for servicing without pulling the wall apart. The discharge line still has to get to a stack, so it is routed through the ceiling void with the fall and the non-return valve the manufacturer asks for, and the pipe is fixed and lagged so the pump running does not become an office sound. Some building managers will accept a pumped toilet and some will not, so we raise it with the landlord before it is drawn, not after.
We treat pumping as the fallback. Where a room can be shifted a few metres to reach a gravity connection, that is nearly always the cheaper and quieter outcome, and it is settled at layout stage rather than at rough-in.
Exhaust, Vents and Water Supply
Every toilet and shower compartment needs mechanical exhaust, and it has to go outside rather than back into the office air. The commonly applied figure from AS 1668.2 is at least 25 litres per second for a single toilet, shower or bathroom, and a building's mechanical engineer will usually confirm the rate for the floor. What that means on site is a duct from the room through the ceiling void to the nearest toilet exhaust riser or, on some floors, to a new penetration in the facade or roof, and that route has to be found before the room is fixed in position.
The drainage needs air too. Fixture traps hold a water seal, and a branch that is not vented properly can have that seal pulled out when the pan flushes, which is the source of the drain smell that follows a badly detailed toilet. The plumber sizes the vent and connects it into the building's vent system or the stack, and on a longer branch that is one more pipe that needs a route through the ceiling.
Water supply is usually the easy part. Cold water is taken from the tenancy supply, and hot water for a basin or shower comes from a small unit in or near the room unless the building supplies hot water on the floor. The general shape of how tenancy plumbing ties into the base building is the same for any wet area, and we set it out with the building's hydraulics before any wall goes up so the basics of office plumbing do not turn into a redesign halfway through.
Wall Linings, Waterproofing and Floor Falls
In a Class 5 office building the NCC asks for the building elements in a bathroom, shower room or sanitary compartment to be water resistant or waterproof in accordance with AS 3740, applied as if the room were in a residential building. For us that means the room is built as a wet area from the framing up. Walls are lined with moisture-resistant board rather than standard plasterboard, and the choice of where moisture-resistant plasterboard partitions are used and where they are not is made room by room, not as a blanket upgrade.
The floor is where most of the work sits. A shower or a floor waste needs the floor to fall towards it, and the figures generally applied under AS 3740 are a fall of at least 1 in 100 to the waste in the general floor, steepening to 1 in 80 in a shower without a screen, hob or step-down. On a flat office slab that fall has to be made in a screed on top of the slab, which raises the finished floor of the wet area above the office floor outside it unless the slab has a set-down. Most office slabs do not, so we either build a small step or ramp at the door, lift the floor in the surrounding area to match, or use a low-profile shower system with a hob that keeps the build-up shallow.
The waterproofing membrane goes over the screed and up the walls, with the height depending on whether the wall is behind a shower, a basin or a pan. The membrane needs its curing time before tiling, and that time sits in the programme as a fixed pause that cannot be compressed by adding trades.
Sizing an Accessible Toilet
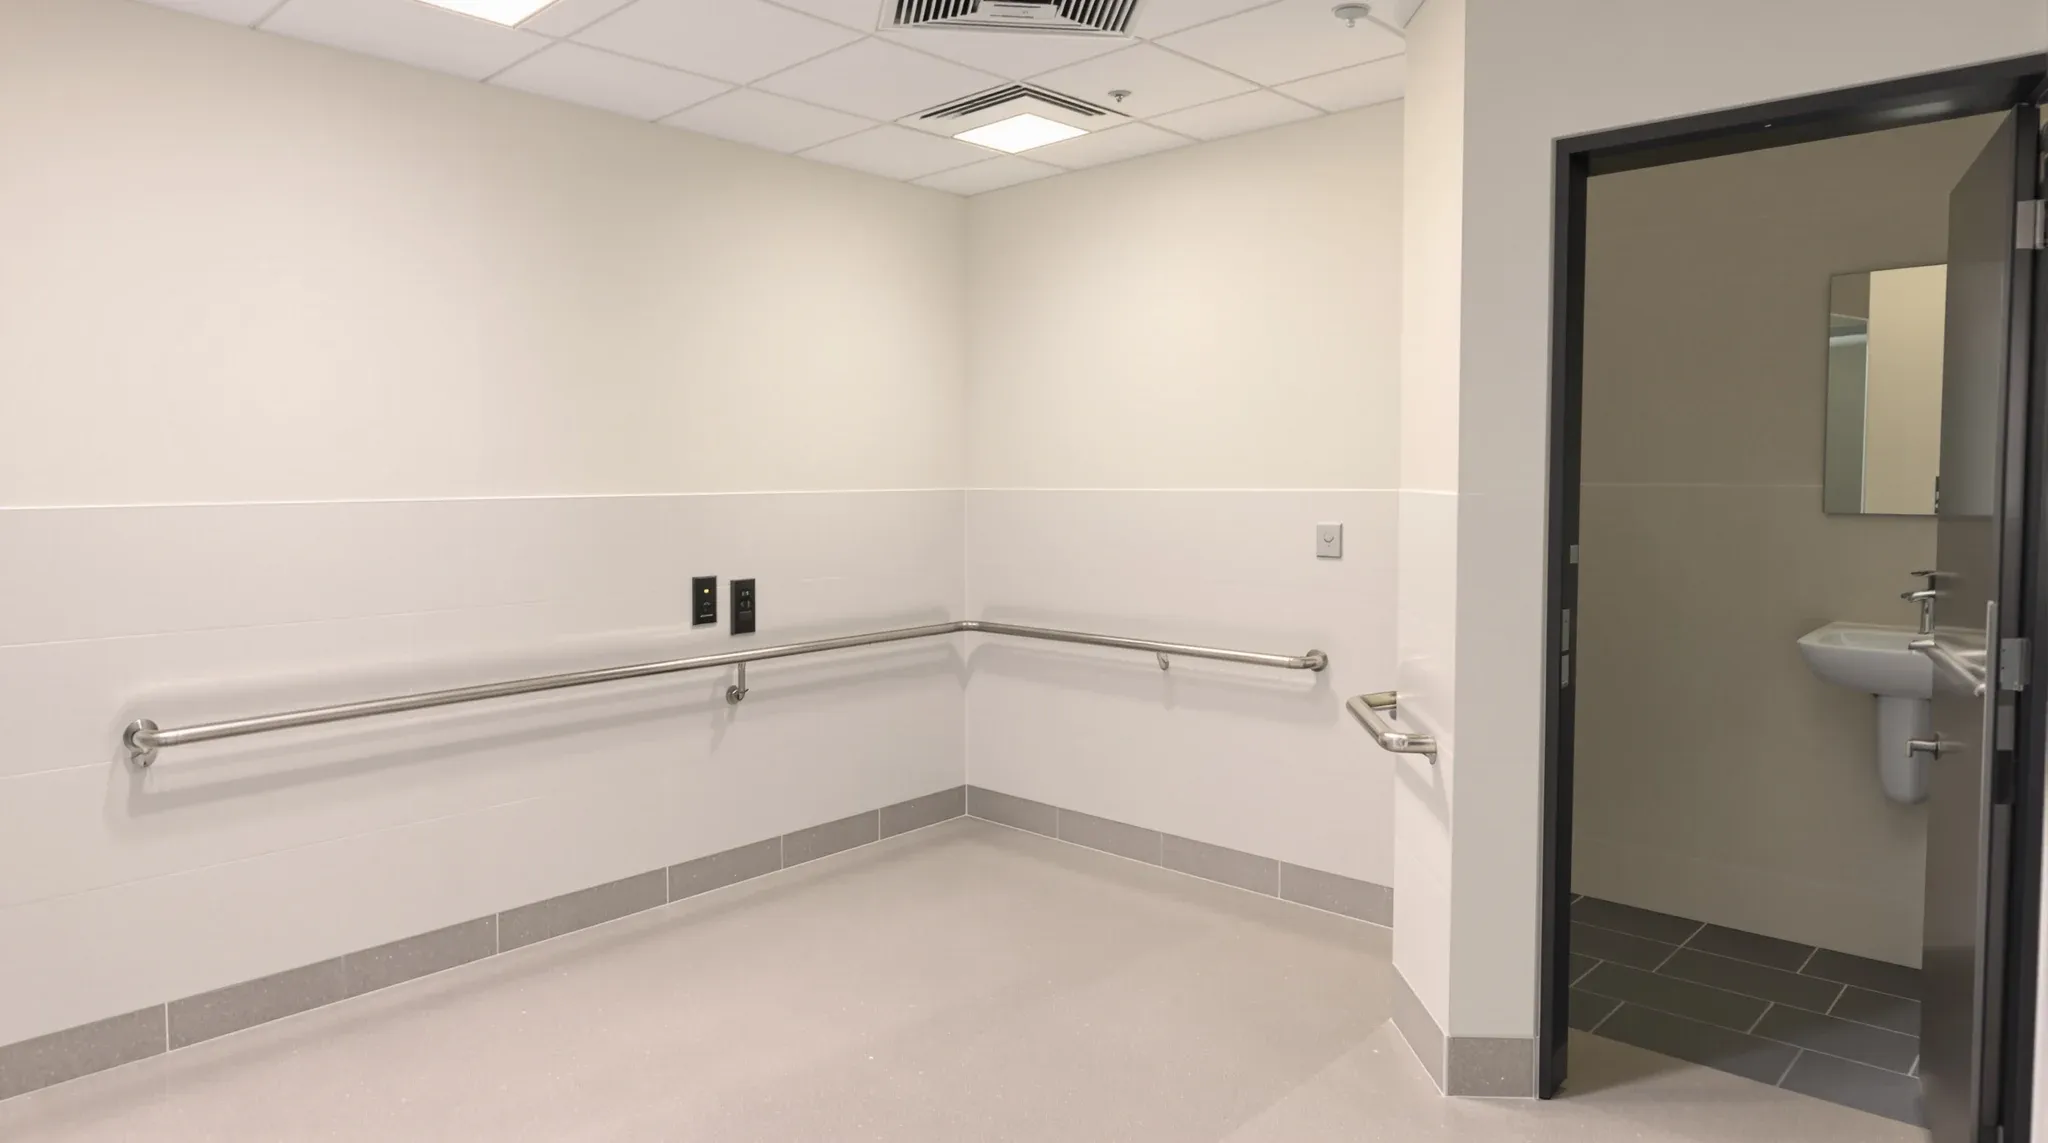
An accessible toilet is a bigger room than most people expect, and the size is set by the circulation space for a wheelchair rather than by the fixtures. Summaries of AS 1428.1 published by access consultants and suppliers describe a clear circulation space of 1900 mm by 2300 mm around the pan, with the pan set about 450 mm from its centreline to the side wall and the front of the pan about 800 mm from the rear wall. Once the basin, the door swing and the wall thicknesses are added, the room typically lands closer to 1900 mm by 2700 mm internally. The exact set-out is checked by the access consultant and the certifier against the standard, and we build to their marked-up drawing rather than to a generic layout.
The door adds to the size. The same summaries give a clear opening around 850 mm, and the door is usually hung to swing outward or fitted as a slider so that a person who falls inside cannot block it. That outward swing has to be planned in the corridor outside, so an accessible toilet cannot be tucked into a corner where its door would swing into a fire egress path or across another door.
Grab rails, the basin position relative to the pan and the height of controls all have set positions in the standard, and they drive the wall framing. Rails need solid fixing, so the studs behind them are noggined or lined with ply before the moisture-resistant board goes on, and that work is done at framing stage, not discovered at fit-off.
Fixture Counts, Landlord Approval and the Certifier
Most office tenancies do not add a toilet because the count is short. The NCC tables for a Class 5 building set fixture numbers by the number of employees, in the order of one closet pan for each 20 male employees and one for each 15 female employees, and the base building amenities usually cover that for the whole floor. A tenant adds a toilet for a different reason: a boardroom suite that wants its own facility, a clinic or clinic-style office that needs a patient toilet inside the tenancy, a staff shower for people who ride in, or an accessible toilet where the nearest one is on another floor. Whether the new room changes what the certifier expects of the tenancy is confirmed at design stage, as is whether a shower is enough on its own or wants the change space and lockers of a full end-of-trip facility.
The landlord is the other gate. A new wet area touches the slab, the sanitary stack, the exhaust system and possibly the floor below, and every one of those is a base building system. The submission usually needs hydraulic and mechanical drawings, the penetration positions, and a fire-stopping detail for every new hole through a fire-rated slab or shaft wall. Knowing what landlords look for before the drawings go in is the difference between a two-week approval and a two-month one, and we draw the wet area to answer those questions first.
Where the room needs a slab penetration, the building's structural engineer looks at the core hole position before it is drilled, because post-tensioned slabs and beams do not tolerate holes wherever the plumber would like them. We scan the slab, mark the tendons and services, and get the hole position signed off as part of the base building engineer coordination that any structural touch on a tenancy involves.
Sequencing the Wet Area Inside the Programme
A wet area has more fixed waiting periods than any other room on the floor, so it starts before the rest of the floor. On a typical fitout we run it in this order:
- Set out the room, confirm the stack connection and exhaust route, and lodge the landlord submission.
- Scan and core drill the slab, or install the pump-out unit position, then rough in the drainage, vent and water and pressure test them.
- Frame the walls with fixing plates for grab rails and the basin, and run the exhaust duct and power for the fan and any pump.
- Lay the screed to falls, waterproof the floor and walls, and let the membrane cure.
- Tile, line the walls with moisture-resistant board and finish them, then close the ceiling with an access panel over the fan and any valves.
- Fit off the pan, basin, shower and rails, commission the exhaust, and flood test the floor waste.
The rough-in and the screed and waterproofing are the two stages that hold the rest of the floor. Partitions elsewhere on the tenancy can be built around the wet area while the membrane cures, but the ceiling grid near the room waits for the exhaust duct, and the floor finish outside the room waits for the threshold height to be fixed. On our complete office fitouts we build the wet area first and let the open floor catch up, because a toilet that is late holds the occupation certificate in a way that a late meeting room never does.
Testing closes the sequence. The drainage is pressure tested before it is covered, the waterproofing is flood tested before it is tiled, and the exhaust is measured after the ceiling is closed.
We price and build new toilets, accessible toilets and showers inside office tenancies, starting with where the waste can run and sequencing the wet area ahead of the open floor so the membrane and the drainage are tested before anything is covered.
📞 Call us on 1300 60 93 93